You need a helmet, a bike suited to the trail, shoes with good grip, water, and a basic repair kit. Add protective gear, clothing layers, and more storage as your trails, weather, and ride length demand it.
If you are starting mountain biking, the essential gear is a properly fitted helmet, a bike suited to the trails you plan to ride, gloves, weather-appropriate clothing, shoes with reliable pedal grip, and a small carry kit with water, a tube or repair option, and basic tools. Beyond that, the right setup depends on terrain, weather, ride length, and how technical the trail gets.
- Start with safety: A properly fitted helmet is the first essential purchase.
- Match the bike to the trail: Hardtail and full-suspension bikes fit different terrain and budgets.
- Don’t ignore contact points: Shoes, pedals, gloves, and clothing affect control and comfort.
- Carry the basics: Water, tools, and a flat-fix option matter on nearly every ride.
What Gear Do You Need for Mountain Biking? The Essential Setup at a Glance
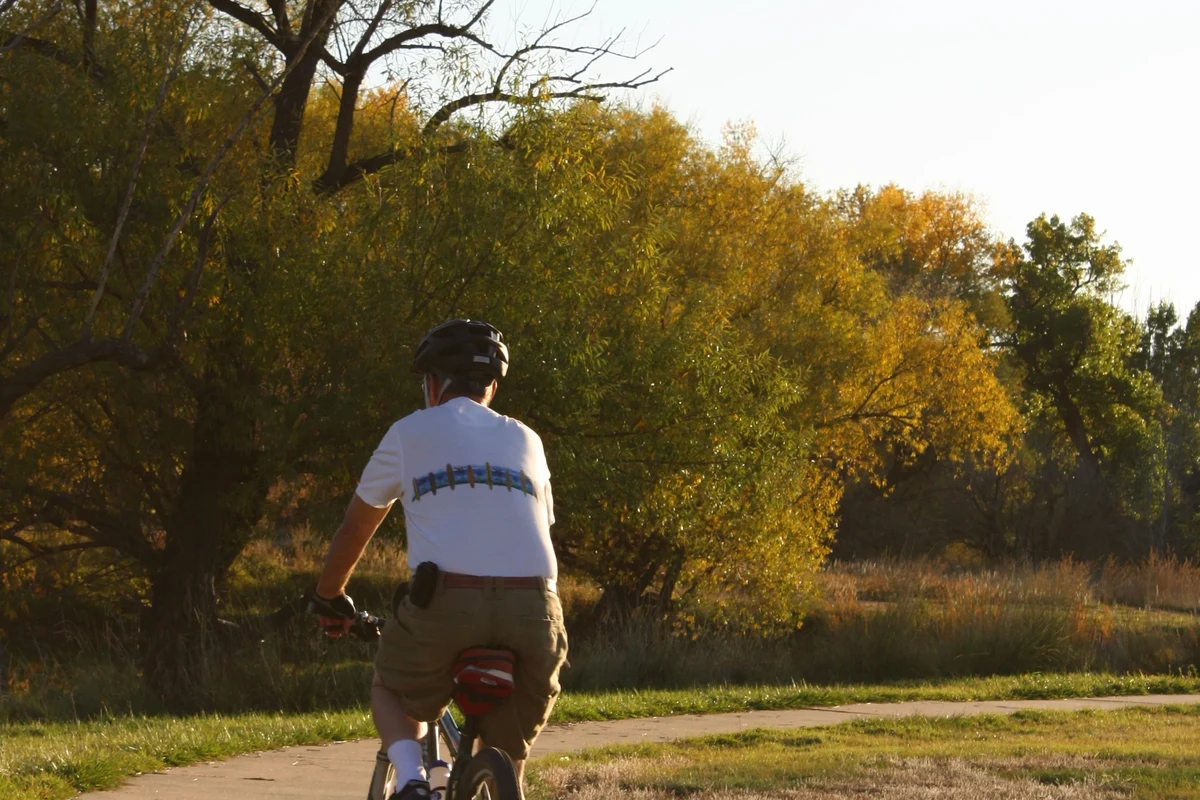
Quick answer: the core gear every rider needs
The core mountain biking setup is simple: helmet, bike, gloves, shoes, hydration, and a repair kit. Most riders also benefit from eye protection, a pump or inflator, and a way to carry tools and snacks without rattling around on the trail.
How terrain, weather, and trail style change your gear list
A mellow dirt path does not demand the same kit as a steep, rocky, or wet trail. Longer rides usually call for more water, more storage, and better nutrition planning, while cold, rain, mud, or heat can change everything from clothing layers to tire choice.
Think of mountain bike gear as a system. The best setup is not the most expensive one; it is the one that matches your trail, weather, and comfort needs without adding unnecessary bulk.
Mountain Bike Helmet and Protective Gear: Fit, Standards, and Limits
How to choose a helmet that fits correctly
A mountain bike helmet should sit level on your head, cover the forehead properly, and feel snug without pressure points. The retention system should hold the helmet steady when you move your head, and the straps should form a clean V around the ears and buckle comfortably under the chin.
Fit matters more than appearance. A helmet that shifts, pinches, or sits too high can be distracting and may not offer the coverage you expect.
- Try the helmet with the hair, cap, or eyewear you normally use.
- Check that the rear adjuster and chin strap can be fine-tuned without forcing them.
- Make sure your goggles or glasses do not push the helmet out of position.
Safety standards to verify in 2026
Look for the safety standard or certification listed by the manufacturer and verify it against the product label, manual, or current governing guidance for your region. Common helmet standards vary by market and helmet type, so do not assume one label covers every use case.
If you ride enduro, downhill, or bike park terrain, check whether the helmet is intended for that style of riding and whether it is full-face or open-face. When in doubt, confirm the current standard with the manufacturer or a recognized safety organization before buying.
Protective gear reduces risk, but it cannot guarantee protection from crashes, impact, or all head injuries. If a helmet shows damage, does not fit correctly, or has been in a significant impact, follow the manufacturer’s replacement guidance.
Gloves, knee pads, elbow pads, and when each makes sense
Gloves are useful for grip, comfort, and hand protection from brush, small falls, and trail vibration. Knee pads make the most sense when the trail includes rocks, roots, jumps, steep descents, or a higher chance of tipping over at low speed.
Elbow pads are less common for casual riders but can be helpful on aggressive trails or bike park days. The more technical and fast the terrain, the more protective gear becomes a practical comfort choice rather than an overreaction.
| Gear | Best For | Key Consideration |
|---|---|---|
| Gloves | Most riders | Grip, comfort, and minor abrasion protection |
| Knee pads | Technical trails | Coverage should stay in place while pedaling |
| Elbow pads | More aggressive riding | Comfort and mobility matter as much as padding |
Inspection, replacement timing, and what protection cannot prevent
Inspect helmets and pads regularly for cracks, broken foam, damaged straps, loose buckles, or worn-out closures. Replace gear according to the manufacturer’s guidance, especially after major impacts or visible damage.
Protection also has limits. Pads can shift, helmets can only absorb so much force, and gear cannot prevent every injury in a crash, so trail choice and riding control still matter.
Stop using damaged protective gear and follow the manufacturer’s inspection, fit, and replacement guidance before the next ride.
The Right Mountain Bike: Hardtail vs Full Suspension, Wheels, and Tires
How bike type affects comfort, control, and cost
A hardtail mountain bike has front suspension only, while a full-suspension bike adds rear suspension for more comfort and control on rough terrain. Hardtails are often simpler and lighter to maintain, while full-suspension bikes usually feel more forgiving on roots, rocks, and descents.
The right choice depends on your trails and budget, not just the label on the frame. A rider on smooth dirt and fire roads may be perfectly happy on a hardtail, while a rider on rougher terrain may prefer the extra traction and comfort of full suspension.
Key specs to compare: frame size, wheel size, suspension travel, and tire width
Frame size should match your height, reach, and riding position, but sizing varies by brand, so use the manufacturer’s chart as a starting point rather than a final answer. Wheel size, suspension travel, and tire width all influence how the bike handles obstacles, climbs, and descends.
More suspension travel usually means more comfort and confidence on rough trails, but it can also add weight and reduce pedaling efficiency on smoother routes. Wider tires can improve traction and comfort, though they may feel slower on hardpack depending on tread and pressure.
Who each setup fits best and common trade-offs
A hardtail is often easier to understand, cheaper to maintain, and a good way to learn trail skills.
A mid-travel full-suspension bike can be a strong match if your local terrain is rough or technical.
Trail-specific geometry, suspension tuning, and tire choice matter more as speed and difficulty increase.
Common trade-offs include price, maintenance, and weight. A more capable bike is not always the best first bike if it limits your budget for helmet, shoes, or basic repair gear.
Clothing and Footwear for Trail Comfort and Control
Jersey, shorts, layers, and weather protection
Mountain biking clothing should let you move freely, manage sweat, and avoid snagging on the saddle or trail. A breathable jersey and trail shorts are common choices, and a lightweight shell or layer can help when the weather changes quickly.
For wet or cold conditions, focus on staying warm without overheating. Clothing that dries quickly and packs down easily is often more useful than heavy layers that trap moisture.
- Choose clothing that allows full leg and shoulder movement.
- Carry an extra layer if the forecast can change during the ride.
- Use bright or reflective elements when riding near roads or at dusk.
- Wearing loose fabric that can catch on the bike or trail.
- Assuming one layer will work for heat, rain, and wind.
- Ignoring visibility when the ride includes road crossings or low light.
Mountain bike shoes, pedals, and grip differences
Mountain bike shoes are usually built for pedaling stability, durability, and trail walking. Flat-pedal shoes rely on outsole grip, while clipless systems connect the shoe to the pedal for a more locked-in feel that many riders prefer for control and efficiency.
Neither system is automatically better. Flat pedals can be more forgiving for beginners and trail riders who want easy foot release, while clipless setups can suit riders who value a consistent foot position and are comfortable with the learning curve.
Pedal choice is personal and trail-dependent. If you are new to the sport, it is often smarter to start with a stable, grippy setup that helps you build confidence before moving to a more specialized system.
What to look for in fit, breathability, and storage
Fit should let you pedal without heel lift, toe pressure, or hot spots. Breathability matters on long climbs, while pockets or storage can reduce the need for a bulky pack on shorter rides.
Look for clothing that works with your bike position, not just while standing upright. A jersey or short that feels fine off the bike may still ride up, bunch, or rub once you are seated and moving over rough ground.
Hydration, Nutrition, and On-Trail Carry Gear
Hydration pack vs water bottle setup
Water bottles are simple and easy for shorter rides or bikes with cage mounts, while hydration packs are useful when you need more capacity, extra storage, or easier drinking on rough trails. The better option depends on ride length, heat, and how much gear you need to carry.
Hydration packs can be more comfortable for technical riding because weight stays centered on the body, but they can feel warm on hot days. Bottles are easier to refill and clean, but they may not be enough for longer rides or very hot weather.
Essential storage: tools, tube, pump, CO2, and trail snacks
A basic trail carry kit usually includes a multi-tool, tube or tubeless repair option, tire inflator or pump, and a small amount of food for longer rides. If your bike uses a tubeless setup, confirm what sealant, plugs, and repair items are compatible with your wheels and valves.
For snacks, choose simple, portable foods that are easy to eat without stopping for long. The goal is to avoid being stranded with a mechanical issue or running out of energy far from the trailhead.
Compatibility and comfort considerations for longer rides
Longer rides expose weak points in your setup. A pack that feels fine for one hour may bounce or chafe after three, and a small bottle may not be enough once heat and climbing increase.
Before a bigger ride, check that your storage does not interfere with pedaling, your hydration is accessible, and your tools are packed where you can reach them without unloading everything.
Tools, Maintenance, and Pre-Ride Checks
Basic repair kit and multi-tool essentials
A practical mountain bike repair kit usually includes a multi-tool with common bike fasteners, tire repair supplies, and a way to inflate a tire. The exact kit depends on whether your bike uses tubes or tubeless tires, and on how far you plan to ride from help.
Keep the kit simple enough that you actually carry it. A perfect repair bag left at home is less useful than a smaller kit you bring on every ride.
Chain care, tire pressure, brake checks, and suspension setup basics
Before riding, check that the chain is clean enough to shift smoothly, the tires have appropriate pressure for the trail, and the brakes feel firm and responsive. Suspension settings should follow the bike and suspension manufacturer’s guidance, because incorrect setup can affect comfort and control.
Small adjustments can change how the bike feels, but avoid guessing when it comes to important settings. If you are unsure, use the official manual or a qualified bike mechanic for setup help.
- Confirm compatibility with your bike’s tire, wheel, and brake system.
- Check the manufacturer’s setup, care, and torque guidance.
- Verify that the item fits your intended trail conditions and ride length.
Safe use, storage, and common maintenance mistakes
Store gear dry and out of prolonged heat or direct sun when possible. Wet pads, dirty helmets, and neglected drivetrains wear out faster and can become less comfortable or less reliable over time.
Common mistakes include over-tightening bolts, riding with worn brake pads, ignoring tire damage, and assuming a quick visual check is enough for every item. If a component looks damaged or feels wrong, stop and inspect it before the next ride.
Buying Guide: How to Choose Gear That Matches Your Riding Style and Budget
Beginner, intermediate, and advanced rider priorities
Beginners should focus on fit, safety, and ease of use. That means a well-fitting helmet, a bike that matches local trails, dependable shoes or pedals, and a simple repair kit before chasing advanced upgrades.
Intermediate riders often benefit from better tires, more comfortable protection, and smarter storage. Advanced riders usually care more about fine-tuning suspension, pedal system choice, and trail-specific equipment that supports speed and technical control.
Value vs performance: where to spend more and where to save
It usually makes sense to spend more on the items that affect safety, fit, and control: helmet, bike fit, shoes, and tires. You can often save on decorative extras, overly specialized clothing, or storage gear that does not add real function.
Value is not the cheapest option. The best value is the gear that fits correctly, lasts long enough for your use, and does not force immediate replacement.
- Better fit improves comfort and confidence
- Right-sized gear reduces wasted spending
- Trail-specific choices can improve control
- Specialized gear can cost more
- Overbuying can leave budget gaps in essentials
- Compatibility mistakes are common
Common mistakes when buying mountain biking gear
One common mistake is buying a bike or helmet based on looks instead of fit and intended use. Another is forgetting that weather, trail type, and ride length change what “essential” gear really means.
It is also easy to overfocus on one item and ignore the rest of the system. A strong bike with poor shoes, no hydration plan, or an ill-fitting helmet is not a balanced setup.
Final Recommendation: Build Your Gear List in the Right Order
Best starting point for new riders
Start with the basics: a properly fitted helmet, a bike matched to your terrain, gloves, grippy shoes, water, and a simple repair kit. That combination covers safety, comfort, and the most common trail problems without overcomplicating the purchase.
What to upgrade first as your skills and trails get harder
As trails get rougher, the first upgrades are usually better tires, more protective gear, and a more capable bike if your current one is limiting control or comfort. After that, riders often refine pedals, shoes, storage, and suspension setup.
Practical verdict for safe, comfortable, and confident riding
The best mountain biking gear is the setup that fits you, matches your trails, and lets you handle common trail issues without stress. Build the list in layers, verify compatibility and safety standards before buying, and upgrade only when your riding style truly demands it.
For most riders, the smartest mountain biking setup starts with fit, protection, hydration, and a bike suited to local terrain. If your trails are rough, long, or technical, prioritize better tires, more protective gear, and a more capable bike before chasing extras.
Common Questions
Not always, but a helmet is non-negotiable and gloves are a smart first add-on. Pads become more useful as trails get steeper or rougher.
You can, but shoes with better grip and a stiffer sole usually give more control. Mountain bike shoes are designed for trail conditions and pedal contact.
It depends on ride length and trail difficulty. Packs carry more water and storage, while bottles are simpler and easier to clean.
Bring water, a helmet, and a small repair kit at minimum. A multi-tool and flat-fix option are especially useful.
Upgrade the items that affect fit and control first: helmet, shoes, tires, and then the bike if needed. Those changes usually matter more than cosmetic accessories.
Frequently Asked Questions
A properly fitted helmet is the most important safety item, followed closely by a bike that matches the trail and shoes that give you control. Water and a small repair kit are also essential for most rides.
Not every rider needs knee pads, but they make sense on technical trails, steep descents, or bike park days. They are a comfort-and-protection upgrade, not a replacement for cautious riding.
A hardtail is often a simpler, lower-maintenance choice for smoother trails and newer riders. A full-suspension bike usually suits rougher terrain better, but it costs more and can add maintenance.
Most riders should carry water, a multi-tool, a tube or tubeless repair option, and a way to inflate the tire. Longer rides may also need snacks, extra layers, and more storage.
They are not mandatory, but they can improve grip, pedaling stability, and comfort. Flat-pedal shoes and clipless shoes serve different riding styles, so choose based on your pedals and experience.
Your helmet should sit level and stay stable, your shoes should hold your feet without hot spots, and your clothing should allow full movement. For bikes and protective gear, use the manufacturer’s sizing and fit guidance as the starting point.