Most MTB riders should carry a bike-specific multi-tool, tire repair gear, and a reliable inflation method. Add chain repair and safety items if you ride longer, farther, or more remotely.
If you ride mountain bikes, the safest answer is to carry a compact repair kit that can handle flats, loose bolts, chain issues, and basic inflation. For most riders, that means a multi-tool, tire repair items, a way to inflate the tire, and a few small safety extras that help you get home.
- Core kit: Multi-tool, tire repair items, and inflation are the essentials.
- Compatibility matters: Match bits, quick links, and hangers to your exact bike.
- Terrain changes the kit: Remote, rough, or wet rides justify more redundancy.
- Maintenance counts: Check sealant, plugs, and tools before they fail.
What Emergency Tools Should Every MTB Rider Carry? The Short Answer for 2025
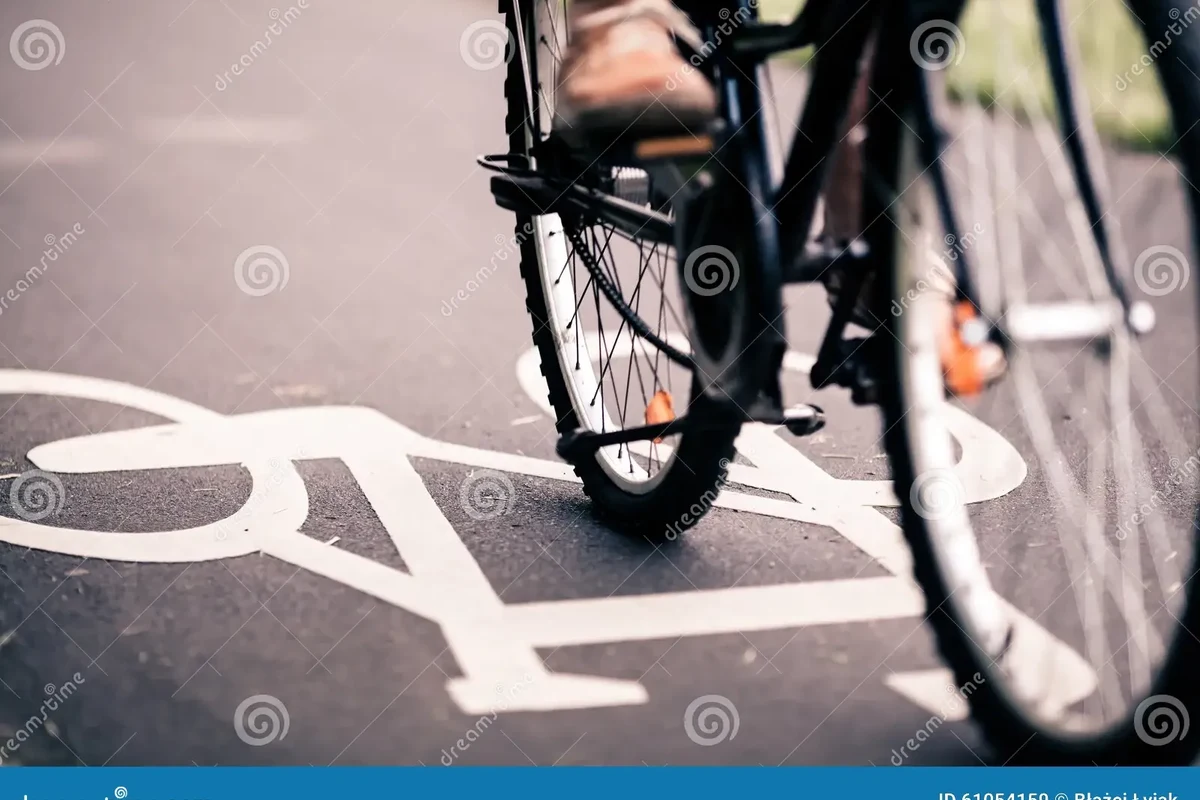
The core emergency kit for most mountain bikers is simple: a bike-specific multi-tool, tire repair gear, a compact pump or inflator, and a chain repair option. From there, the right additions depend on your bike, your terrain, and how far you ride from help.
Think of emergency tools as “ride-saving” gear, not a full workshop. The goal is to solve the most common trail problems safely enough to finish the ride or reach assistance.
Why Emergency Tools Matter on the Trail: The Real Risks MTB Riders Face
Mountain biking puts bikes under more stress than casual road riding. Rough terrain, repeated impacts, mud, water, and vibration can loosen bolts, damage tires, and stress chains or drivetrain parts.
That matters because many trail problems are not dramatic crashes; they are small failures that become ride-ending if you cannot make a basic repair. A flat tire, a broken chain, a loose derailleur bolt, or a slipping cockpit clamp can turn a fun ride into a long walk out.
Emergency tools are also about control. Even when a repair is temporary, having the right tool can help you make a safer decision, such as reducing speed, shortening the route, or stopping before a minor issue becomes a bigger one.
Do not ride on damaged wheels, cracked frames, or parts that feel unsafe after an impact. If a component looks structurally compromised, follow the manufacturer’s guidance and get a professional inspection before riding again.
The Core Emergency Tool Kit Every Mountain Biker Should Carry
A practical kit should cover the problems riders encounter most often, while staying small enough that you actually bring it every ride. The best setup is usually the one that fits your bike, your pack, and your local trails without becoming a burden.
Multi-tool essentials: hex keys, Torx bits, and chain tool
A good MTB multi-tool should match the fasteners on your bike. Most riders need common hex sizes, at least one Torx bit for rotor or accessory hardware on some bikes, and a chain tool if the tool includes one.
The exact bit set depends on your bike’s components. Check your stem, seatpost clamp, brake levers, derailleur, rotor bolts, and accessory mounts so you are not carrying the wrong sizes.
- Confirm the hex and Torx sizes on your bike
- Check whether the tool includes a chain breaker and spoke key
- Make sure the tool is easy to use with gloves on
- Verify that the tool does not interfere with your pack or frame storage
Tire repair basics: spare tube, tubeless plugs, patch kit, and tire levers
Flat tires are one of the most common trail issues, so tire repair gear deserves a permanent place in your kit. If you run tubeless, plugs can often get you rolling quickly; if you use tubes, a spare tube is usually the simplest backup.
Tire levers and a patch kit are useful, but compatibility matters. Some modern tire and rim combinations are tight enough that levers must be used carefully to avoid damaging the bead, tube, or rim tape.
Carry the repair method that matches your setup first, then add a backup. For tubeless riders, that usually means plugs plus a tube; for tube riders, a tube plus patches.
Chain and drivetrain fixes: quick link, mini chain breaker, and derailleur hanger
A broken chain is less common than a flat, but it can end a ride quickly if you have no way to repair it. A compatible quick link and a mini chain breaker are the usual essentials.
A spare derailleur hanger is worth considering on bikes that use a replaceable hanger, especially for remote riding. Hanger shapes are highly bike-specific, so this is one item you must match exactly to your frame and derailleur setup.
Quick links, chain widths, and derailleur hangers are not universal. Confirm compatibility with your drivetrain generation and frame model before you depend on them on the trail.
Inflation and seal support: mini pump vs CO2 inflator vs tubeless sealant
Every rider needs a way to restore tire pressure, but the best choice depends on preference and ride style. A mini pump is reliable and reusable, while CO2 inflators are fast but depend on cartridges and careful use.
Tubeless sealant helps prevent and seal small punctures, but it is not a substitute for carrying repair gear. Sealant also needs regular checking because it dries out over time, especially in hot or dry conditions.
- Choose a pump that reaches your tire pressure range without excessive effort
- Carry at least one backup inflation method if your rides are long or remote
- Check tubeless sealant periodically and top it up per the manufacturer’s guidance
Safety and visibility add-ons: whistle, compact light, and emergency cash/ID
Small non-mechanical items can matter just as much as repair tools. A whistle helps you signal for help, a compact light can help if a ride runs late, and emergency cash or ID can be useful if you need assistance away from your bike.
These items do not take much space, and they are easy to overlook when riders focus only on mechanical fixes. For solo rides or unfamiliar trails, they are smart additions.
How to Choose the Right Tools for Your Bike, Terrain, and Ride Length
The right emergency kit is not identical for every rider. A short local loop, a long backcountry ride, and a shuttle-assisted enduro day all create different risk profiles and different tool priorities.
Hardtail, trail, enduro, and e-MTB differences
Hardtail riders often prioritize tire repair and basic bolt checks because the bikes are simpler and usually lighter to pack for. Trail and enduro riders may need more drivetrain and suspension-adjacent checks because rougher terrain can shake hardware loose more often.
E-MTB riders should pay extra attention to the bike’s manual and component compatibility. Battery systems, display mounts, and integrated controls can add complexity, so it is smart to focus on the tools that match the exact hardware on the bike.
Trail conditions, weather, and remoteness: what changes in your kit
Wet, muddy, or rocky trails often justify a slightly more complete kit because the chance of contamination, impact, and tire damage increases. Remote rides also justify redundancy: a backup inflation method, a spare quick link, or a more robust multi-tool can make a real difference.
For short rides near town, a lighter kit may be enough. For long backcountry routes, the better choice is usually the kit that solves more than one problem, even if it weighs a little more.
Compatibility checks: axle type, rotor bolts, cassette, and bolt standards
Compatibility is where many riders get tripped up. A tool can look impressive and still be useless if it does not match your axle hardware, rotor bolts, chain width, or fastener standards.
Before buying, compare the tool’s bit set and repair features with your bike’s actual parts. The official bike manual and component manufacturer specs are the safest references when you are unsure.
Key Specifications to Verify Before You Buy Emergency MTB Tools
Emergency tools are small, but they still need to be judged on the basics: compatibility, quality, usability, and durability. A compact tool that is frustrating to use or incompatible with your bike is not much help on the trail.
Tool quality, weight, size, and packability
Look for a tool that fits your storage system and does not rattle, snag, or force you to leave it behind. Weight matters, but packability matters more if you ride with a hip pack, jersey pocket, or small frame bag.
For most riders, the best tool is the one that balances enough capability with easy carry. Ultra-light kits can be attractive, but they may leave out the one feature you need most.
Durability, corrosion resistance, and real-world usability with gloves
Trail tools are exposed to sweat, rain, mud, and dirt, so corrosion resistance and solid construction are worth checking. Also look at how the tool folds out and whether the bits are easy to access with gloves or cold fingers.
Small design details matter in the field. Sharp edges, overly tight hinges, and tiny bit holders can slow down a repair when you are already tired or dealing with poor light.
Stop using any tool that is bent, cracked, stripped, or difficult to engage securely. Follow the manufacturer’s care and replacement guidance instead of forcing a worn tool onto critical fasteners.
Load limits, pressure range, and sealant compatibility where relevant
Some emergency gear has important limits. Pumps have practical pressure ranges, CO2 inflators rely on cartridge size and valve compatibility, and tubeless repair items may be designed for specific tire constructions or sealant types.
When the specification is relevant, verify it before buying. If the product page does not clearly state compatibility, check the manufacturer’s documentation or ask the retailer for clarification.
How Emergency Tools Work on the Trail: Practical Use Scenarios
Knowing what to carry is only half the job. Riders also need a rough plan for how the tools solve the most common problems without making a small issue worse.
Fixing a flat quickly without damaging the tire or rim
For a tubeless tire, the usual sequence is to locate the puncture, try a plug if appropriate, and then re-inflate. If the hole is too large or the tire will not hold air, a tube may be the better temporary solution.
For tube systems, remove the wheel carefully, inspect the tire for debris, and avoid reinstalling a tube into a tire that still has glass, thorns, or sharp rim damage. The goal is a safe temporary repair, not a perfect home-shop finish.
Reconnecting a broken chain and getting home safely
If a chain fails, a quick link and chain tool may allow a temporary repair if the damaged section is small enough to remove. The exact process depends on the drivetrain, and it is important to confirm that the chain and link are compatible before relying on them.
After a chain repair, ride conservatively. If shifting feels rough or the drivetrain still skips, reduce effort and head out on the safest route rather than pushing the bike harder.
Adjusting a loose cockpit, brake lever, or derailleur mid-ride
Loose controls can create handling problems, so a multi-tool is valuable even when nothing has broken. A few careful turns can tighten a slipping brake lever, stem bolt, or accessory mount enough to finish the ride safely.
That said, trail-side tightening should stay within common-sense limits. If a bolt will not hold, feels stripped, or keeps backing out, stop and inspect the part properly after the ride.
Common Mistakes MTB Riders Make When Packing Emergency Gear
Most packing mistakes come from either overconfidence or overpacking. The best trail kit is focused, compatible, and maintained.
Carrying the wrong bits or missing bike-specific standards
A generic multi-tool is not always enough. Riders often forget Torx sizes, rotor hardware, or the exact quick link their chain requires.
Before relying on a tool, compare it to the parts actually on your bike. This is especially important if you have upgraded components or bought a used bike with mixed standards.
Overpacking heavy tools but forgetting the essentials
Some riders carry too many “just in case” items and still forget the basics, like tire repair gear or a way to inflate the tire. That adds weight without improving your odds of finishing the ride.
A better approach is to build around the most likely failures first, then add one or two bike-specific extras based on your terrain and ride length.
Ignoring maintenance, rust, worn plugs, or expired sealant
Emergency gear only helps if it still works. Rusty tools, dried-out sealant, cracked tire plugs, and missing quick links are common problems when riders stash a kit and forget about it.
Make maintenance part of your bike routine. Check the kit before bigger rides, after wet weather, and whenever you service the bike.
Best Practices for Safe Use, Storage, and Ongoing Maintenance
Good emergency gear should be easy to reach, easy to inspect, and easy to replace. If your kit is buried too deep or spread across multiple bags, you are less likely to use it when you need it.
How to store tools in a hip pack, frame bag, or jersey pocket
Hip packs are usually the easiest place for a compact repair kit because they keep weight stable and tools accessible. Frame bags can work well too, especially for longer rides, while jersey pockets are best for the lightest essentials.
The right storage depends on your ride style. What matters most is that tools do not bounce around, puncture other items, or get buried under snacks and layers.
Inspection and replacement guidance for worn or missing items
Check your kit regularly for missing bits, damaged bits, dried sealant, and corroded metal. Replace anything that no longer works smoothly or that no longer matches your bike’s current setup.
After any big ride or wet ride, a quick clean and dry-out helps prevent long-term wear. Small maintenance habits are usually what keep emergency kits dependable.
Pre-ride checks and simple trail-side troubleshooting habits
Before rolling out, give the bike a quick check: tire pressure, quick-release or thru-axle security, brake feel, chain condition, and visible bolt tightness. This does not replace a full service, but it catches many easy-to-fix issues early.
On the trail, troubleshoot in the simplest order: identify the problem, choose the least risky fix, and stop if the repair feels uncertain. If in doubt, ride out carefully rather than forcing a questionable repair to do more than it should.
Final Recommendation: The Best Emergency Tool Setup for Most MTB Riders
For most mountain bikers, the best emergency setup is a compact multi-tool matched to your bike, tire repair gear that fits your setup, and a reliable way to re-inflate the tire. Add a chain repair option, a whistle, and a small light if you ride longer, farther, or more remotely.
If you only build one kit, build it around compatibility and reliability, not maximum gadget count. The best emergency tools are the ones you can use quickly, safely, and confidently when the trail does not go your way.
- Carry a bike-specific multi-tool, tire repair gear, and inflation method first.
- Add chain repair and visibility items for longer or more remote rides.
- Verify standards, keep the kit maintained, and replace worn items before they fail.
Frequently Asked Questions
Most riders should carry a bike-specific multi-tool, tire repair gear, and a way to inflate the tire. A chain repair option and a small safety item like a whistle or light are smart additions for longer rides.
Yes, many tubeless riders still carry a spare tube as a backup. Plugs may fix small punctures, but a tube can help when a cut is too large for a plug to hold.
Check the fasteners on your bike, including hex sizes, Torx bits, and any chain tool or spoke key needs. The bike and component manuals are the best place to confirm exact compatibility.
A mini pump is reusable and dependable, while CO2 is faster but depends on cartridges and careful use. Many riders prefer a pump for reliability and add CO2 only if they want a speed boost.
Check it before bigger rides, after wet weather, and whenever you service the bike. Replace worn plugs, corroded tools, missing quick links, or dried-out sealant before your next ride.
Stop riding hard and inspect the bike more closely. If a part looks cracked, bent, or unreliable, follow the manufacturer’s guidance and get professional help before continuing.
