Use a front light, a rear light, and reflective or high-contrast details to stay visible on early morning MTB rides. Match the setup to your route, weather, and helmet or pack compatibility.
For early morning mountain bike rides, the safest visibility setup is usually a layered one: a quality front light, a visible rear light, and a few reflective or high-contrast details on your body and bike. The goal is not just to see the trail, but to make yourself easier to notice on road connectors, trailheads, parking lots, and mixed-use paths.
- Layer visibility: Combine active lights with reflective or bright gear for better dawn visibility.
- Match the route: Technical trail, road connectors, and shared paths call for different beam and mount choices.
- Check compatibility: Make sure lights are not blocked by packs, jackets, or helmet fit.
- Inspect before riding: Confirm battery charge, mount security, and clean lenses every time.
MTB Visibility Tips for Early Morning Rides: The Fast Answer for Safer Dawn Starts
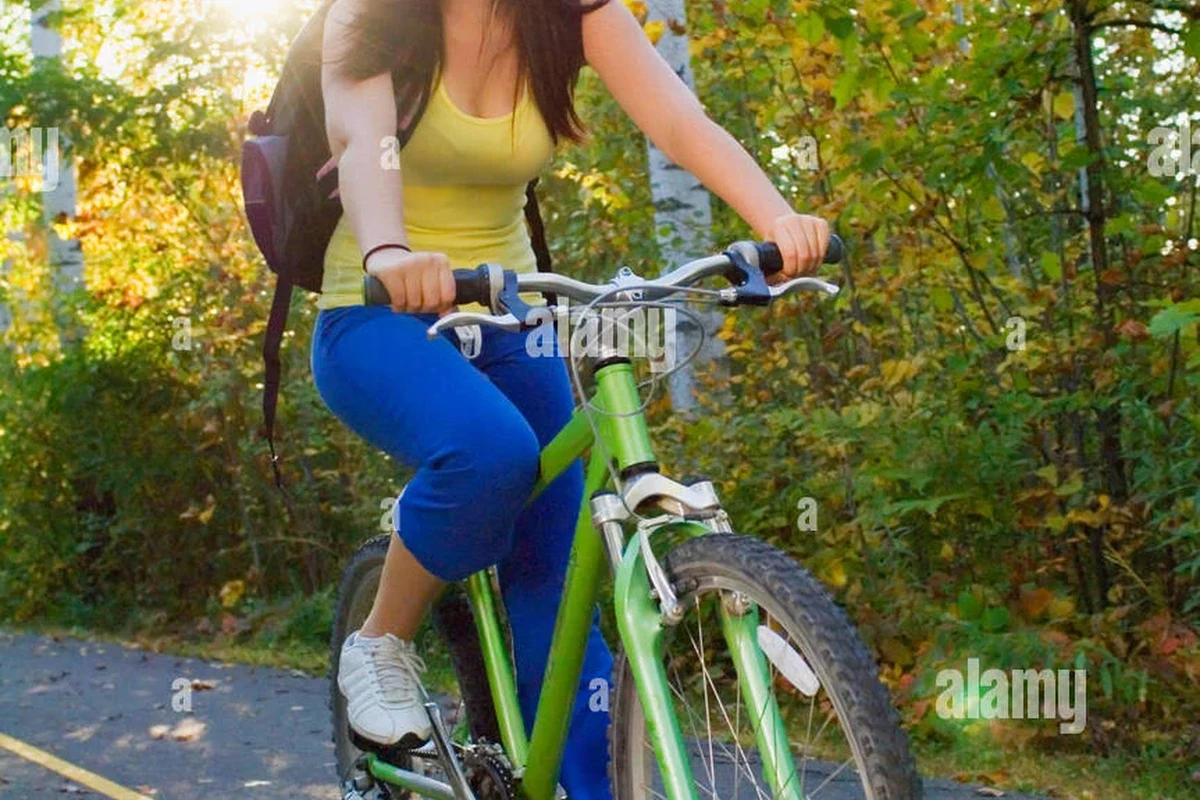
If you ride before sunrise, prioritize a front light for seeing the trail, a rear light for being noticed, and reflective or bright gear that stands out when headlights hit it. The best setup depends on your route, but most riders benefit from combining active lighting with passive visibility instead of relying on just one method.
Why Early Morning MTB Visibility Matters in 2025
Early morning rides create a visibility problem that changes fast. At dawn, you may move between near-dark trail segments, shaded roads, foggy open areas, and brighter sunrise conditions in a single ride. That means other people can have a hard time judging your speed, direction, and distance, especially at intersections or trail crossings.
Visibility also matters because mountain biking often includes mixed terrain. Even if most of the ride is off-road, many riders still face parking lots, neighborhood streets, gravel connectors, and shared-use paths. In those spaces, being seen can matter as much as having enough light to avoid roots, rocks, curbs, and wet pavement.
Reflective materials work best when a light source, such as a car headlight or another rider’s lamp, shines toward them.
What Actually Helps You Stay Seen on the Trail and Road
The most effective visibility tools do one of two jobs: they help you see where you are going, or they help other people notice you sooner. For early morning mountain biking, you usually need both. The exact mix depends on how much of your ride is in darkness, how fast you travel, and whether cars, pedestrians, or other cyclists are present.
Front and rear lights: lumen range, beam pattern, and flash modes
A front light helps you read the trail and spot obstacles. For mountain biking, beam pattern often matters more than raw brightness alone because a narrow beam may not show enough of the trail edges, while a wider beam can improve peripheral awareness. Manufacturer lumen claims can help with comparison, but actual usefulness still depends on beam shape, mounting angle, battery output, and terrain.
Rear lights are mainly about being noticed. A rear-facing light with a steady or attention-getting flash mode can help on road connectors and trail access roads, but some shared paths or group rides may have rules about flash patterns. Check local rules, event guidance, and the light’s manual before relying on any mode in traffic-heavy areas.
Reflective clothing and bike accents: where they work best
Reflective material is most useful when it moves. Ankles, shoes, pedals, gloves, and lower-leg accents can catch attention because they create motion cues as you ride. Reflective strips on a jacket, backpack, or helmet can also help, especially when a vehicle’s headlights hit from behind or from the side.
Bike accents such as reflective tire sidewalls, frame tape, spoke reflectors where allowed, or reflective decals can add another layer of visibility. These are passive tools, though, so they do not replace lights in dark conditions. They work best as backup visibility rather than the main source of safety.
High-contrast colors, helmet add-ons, and motion cues
High-contrast colors stand out better than black or dark gray in low light. Bright jerseys, light-colored helmets, and contrasting gloves or sleeves can make your outline easier to pick up at a glance. In early morning conditions, even small contrast changes can help other people identify that you are a cyclist rather than a shadow or roadside object.
Helmet add-ons such as rear lights or reflective stickers can be useful if they do not interfere with fit, ventilation, or the helmet’s intended design. Motion cues matter too: moving lights, rotating wheel reflections, and visible leg movement can make a rider more noticeable than a static shape.
Visibility results vary by weather, background lighting, traffic speed, and the color of nearby surfaces. What stands out on an open road may be less obvious in dense woods or wet fog.
How to Choose Visibility Gear for Mountain Biking
The right setup depends on where you ride, how long you ride, and how much of the route happens before sunrise. A commuter-style light kit may be enough for a short paved connector, while a longer pre-dawn trail ride may need a more capable front beam and a more secure mount.
Terrain, weather, and route type: singletrack, road connectors, and mixed use
On singletrack, the main job of the front light is trail reading. On road connectors, the same light may need to help you be seen by drivers, which can make beam shape and brightness more important. In mixed-use areas, a lower glare setting can be more courteous and may reduce the chance of blinding others.
Weather changes the equation. Fog, drizzle, mist, and dust can all scatter light and reduce how far you can see. In those conditions, a very bright beam is not always better if it creates glare or washes out contrast. A balanced setup with good beam placement and reflective accents is often more practical.
| Route Type | Best Visibility Priority | Key Consideration |
|---|---|---|
| Singletrack | Trail illumination | Beam pattern and mount stability |
| Road connector | Being noticed by traffic | Rear visibility and side awareness |
| Mixed-use path | Balanced lighting | Glare control and courtesy |
Compatibility with helmets, hydration packs, gloves, and jerseys
Before buying visibility gear, check whether it fits with the rest of your kit. Helmet-mounted lights can be helpful for looking through corners, but they must work with your helmet shape and not shift the fit. Bar-mounted lights may conflict with large handlebar bags, bike computers, or suspension setups.
Hydration packs, rain shells, and loose jersey sleeves can also cover reflective details or block rear lights. Gloves and jerseys with reflective zones are useful only if those areas stay visible while you ride. A setup that looks bright on a hanger may be less useful once a pack or jacket covers it.
Key specs to verify: brightness, battery life, mounting security, and water resistance
When comparing lights, confirm the manufacturer’s stated brightness, runtime, charging method, and water-resistance information. Those details vary by model, and real-world runtime often depends on temperature, flash mode, and output level. If the product page does not clearly explain what the numbers mean, check the manual.
Mounting security matters just as much as output. A light that shifts on rough ground can point too high, too low, or sideways. For early rides on bumpy trails, a secure mount and a lens that stays clean are often more valuable than a slightly higher lumen claim.
- Confirm the light fits your bars, helmet, or pack without interfering with steering or ventilation
- Verify battery runtime in the mode you actually plan to use
- Check water-resistance guidance in the manual, not just marketing copy
- Make sure reflective items remain visible when you wear a pack or jacket
Best Practices for Setting Up MTB Visibility Gear Before Sunrise
Good visibility setup is not just about owning the right gear. Placement, angle, and pre-ride checks have a big effect on whether that gear does its job once you roll out in low light.
Light placement and angle for seeing and being seen
Front lights should be aimed so they illuminate the trail without pointing directly into oncoming eyes. On a mountain bike, that often means adjusting the beam lower than you would for a road-only ride. If the light is too high, it may create glare and reduce useful trail detail.
Rear lights should be mounted where they remain visible from behind and not blocked by a bag or jacket. If you ride with a hydration pack, check that the pack does not cover the light when you lean forward. Side visibility can also matter on intersections and trail crossings, so some riders choose lights or reflective details that show from more than one angle.
Layering visibility without reducing comfort or mobility
Layering works best when each piece has a clear job. A bright jersey, a rear light, and reflective ankle details can work together without adding much bulk. What you want to avoid is overloading your kit with so many attachments that they snag on branches, flap in the wind, or make it harder to move naturally.
Comfort matters because uncomfortable gear gets adjusted, ignored, or left behind. If a reflective vest rubs under a pack, or a helmet light feels heavy on technical climbs, you may stop using it consistently. The best setup is the one you will actually wear on dark mornings.
- Keep one front light and one rear light dedicated to pre-dawn rides so you are not constantly moving gear between bikes.
- Use reflective accents on moving body parts, especially ankles or shoes, for extra motion visibility.
- Store a charging cable near your bike area so you can top off lights after late returns.
Quick pre-ride checks for batteries, straps, and lens cleanliness
Before every early ride, confirm that the battery is charged, the mounts are tight, and the lens is clean. Dirt, mud, and condensation can reduce light output more than many riders expect. A quick wipe with a soft cloth is usually enough, but follow the manufacturer’s cleaning guidance for coated lenses or specialty housings.
Also check straps and rubber mounts for cracking or looseness. If a mount slips on rough ground, the beam can end up pointing into the sky or bouncing unpredictably. That is a problem for both trail visibility and courtesy toward others.
Stop using damaged lights, cracked mounts, frayed straps, or gear that no longer holds position securely. Follow the manufacturer’s inspection and replacement guidance.
Real-Use Benefits and Trade-Offs of Different Visibility Options
Every visibility option helps in a different way, and each one has a trade-off. The best choice depends on whether you need trail illumination, traffic visibility, or a lightweight backup layer that is easy to keep on every ride.
When brighter lights are worth the extra weight and cost
Brighter lights can be worth it when your ride includes fast descents, technical singletrack, foggy mornings, or road sections with moving traffic. In those cases, more output or a better beam pattern may improve both confidence and reaction time. The trade-off is usually more weight, more cost, or shorter runtime at higher settings.
For riders who start in darkness and finish near sunrise, a light with multiple modes can be a smarter choice than a single high-output setting. That lets you conserve battery on easier sections and save stronger output for the parts of the ride where it matters most.
When reflective gear is enough and when it is not
Reflective gear can be enough for short, low-speed rides in areas with some ambient light, especially if you are already carrying a front light for the trail. It is also a good backup if your route includes a brief street crossing or neighborhood connector. But reflective gear alone is not enough when the path is truly dark or when you need to see obstacles in front of you.
Think of reflective gear as a visibility multiplier, not a substitute for lighting. It helps others notice you, but it does not help you see a rock garden, a pothole, or a wet root before you reach it.
Comfort, storage, and packability for early starts
Early-morning riders often value gear that is easy to grab, charge, and store. Compact lights and foldable reflective items are easier to keep in a gear bin or pack pocket, which can improve consistency. If a setup is bulky or difficult to mount, it may stay in the garage on rushed mornings.
That said, ultra-compact gear can come with compromises in runtime, beam quality, or durability. The right balance depends on how often you ride before sunrise and how much of the route is technical or traffic-adjacent.
- Layered visibility helps in both trail and traffic settings
- Reflective details add visibility without much weight
- Multiple light modes can extend usable runtime
- More gear means more charging and more setup
- Bright lights can create glare if aimed poorly
- Cheap mounts and worn straps can reduce reliability
Common Mistakes That Reduce Early Morning MTB Visibility
Many visibility problems come from setup mistakes, not from choosing the wrong category of gear. A decent light or reflective item can underperform if it is mounted poorly, blocked by clothing, or allowed to run down before the ride starts.
Using a light that is too narrow, too dim, or badly aimed
A narrow beam may look bright in a garage but fail to show enough of the trail at speed. A dim light may be fine on a neighborhood path but not enough for technical terrain. And a badly aimed light can either blind others or leave the trail edges too dark to read safely.
If you are unsure about beam angle, start with a lower aim and test it in a safe area before heading into traffic or rough terrain. The goal is balanced visibility, not maximum glare.
Relying on black outerwear or low-contrast gear
Black jackets, dark helmets, and muted gloves blend into dawn shadows. That does not mean dark gear is unusable, but it should be paired with active lighting and reflective accents. If your outer layers are dark, add contrast where you can, especially on moving parts like wrists, ankles, or the back of the helmet.
Low-contrast gear can also disappear when wet or dusty. Early morning conditions often make that effect worse, especially under trees or in overcast weather.
Ignoring battery drain, weather sealing, and dirty lenses
Cold mornings can shorten battery performance, and a light that seems fine indoors may not last as long outside. Weather sealing matters too, but you should still follow the manufacturer’s guidance for rain exposure, charging, and drying. A product that is not designed for certain conditions should not be treated as if it is.
Dirty lenses and muddy reflectors are another common issue. If your lens is coated with grime, the light may be on but not doing much for visibility.
If a light flickers, a mount slips, or a reflective item peels, replace or repair it according to the manufacturer’s instructions before the next ride.
Care, Storage, and Replacement Guidance for Visibility Gear
Visibility gear lasts longer and works more reliably when it is cleaned, stored, and charged with a little care. That matters for riders who depend on the same setup several times a week.
Cleaning lights, reflectors, and reflective fabrics safely
Use gentle cleaning methods unless the manual says otherwise. A soft cloth is usually safer than harsh scrubbing for lenses and reflective surfaces. For reflective fabrics, avoid aggressive chemicals that could damage coatings or reduce reflectivity over time.
After wet rides, dry gear before storing it. Moisture trapped in a bag or garage bin can shorten the life of straps, mounts, and fabric details.
Battery storage and charging habits for colder mornings
Charge lights according to the manufacturer’s guidance and avoid guessing at remaining runtime if you ride in the dark regularly. Cold weather can affect battery performance, so it helps to start rides with a full charge when possible. If a light uses removable batteries, store and handle them according to the battery maker’s instructions.
Do not leave charging gear in places where heat, moisture, or crushing could damage it. Safe charging habits are part of visibility planning, not an afterthought.
When to replace worn straps, cracked mounts, or faded reflective materials
Replace straps that no longer hold tension, mounts that crack, and reflective materials that look worn, faded, or peeling. Once those parts lose their shape or surface quality, they may not stay positioned or visible enough to be dependable.
If you are unsure whether an item is still safe to use, check the manual, the brand’s support guidance, or a current recall notice before taking it on a dark ride.
For early morning mountain biking, the best visibility setup is usually a front light for the trail, a rear light for traffic, and reflective or bright details that stay visible when your body moves.
Final Recommendation: The Most Practical MTB Visibility Setup for Early Morning Rides
The most practical setup for most riders is a secure front light, a rear light, and at least one reflective or high-contrast element on moving body parts or outer layers. If your route includes technical trail, darker road connectors, or foggy conditions, prioritize a better beam pattern and more reliable mounting over chasing the highest lumen number.
If you want the simplest answer: choose gear that helps you see the trail, helps others notice you, and still feels comfortable enough that you will use it every time before sunrise. That combination is usually better than one oversized light or a pile of accessories that are annoying to wear.
Frequently Asked Questions
Most riders do best with a front light, a rear light, and reflective or high-contrast details. The right mix depends on whether your ride includes dark singletrack, road connectors, or shared paths.
Brightness needs vary by terrain, speed, and beam pattern, so lumen claims alone are not enough. A light that illuminates the trail evenly and stays securely mounted is often more useful than a higher number on the box.
Reflective clothing helps other people notice you, but it does not help you see the trail. In dark conditions, it should be paired with active lighting.
Front lights should be aimed to light the trail without blinding others, and rear lights should stay visible from behind. Make sure packs, jackets, or accessories do not block the beam.
Check battery charge, mount security, strap condition, and lens cleanliness before you roll out. If anything flickers, slips, or looks damaged, follow the manufacturer’s guidance before riding.
Replace cracked mounts, worn straps, damaged lights, and reflective materials that are faded or peeling. If you are unsure about safety or compatibility, review the manual or the brand’s current support guidance.
