To set up mountain bike lights for night trails, mount a bright front light on the handlebars or helmet and a rear light on the seatpost for visibility. Aim the front beam slightly downward to light the trail without blinding others, and test the setup before riding.
- Fit: Mount the helmet light for steering and the handlebar light for terrain visibility on.
- Decision factor: Choose beam pattern based on trail type; wider beams help tight turns, longer beams.
- Safety: Start with a lower brightness setting to preserve battery and avoid blinding other riders.
- Maintenance: Check battery charge, mount tightness, and cable routing before every night ride to prevent.
- Limitation: Lights improve visibility, but they do not replace daytime trail knowledge, reflective gear, or.
How to Set Up Mountain Bike Lights for Night Trails
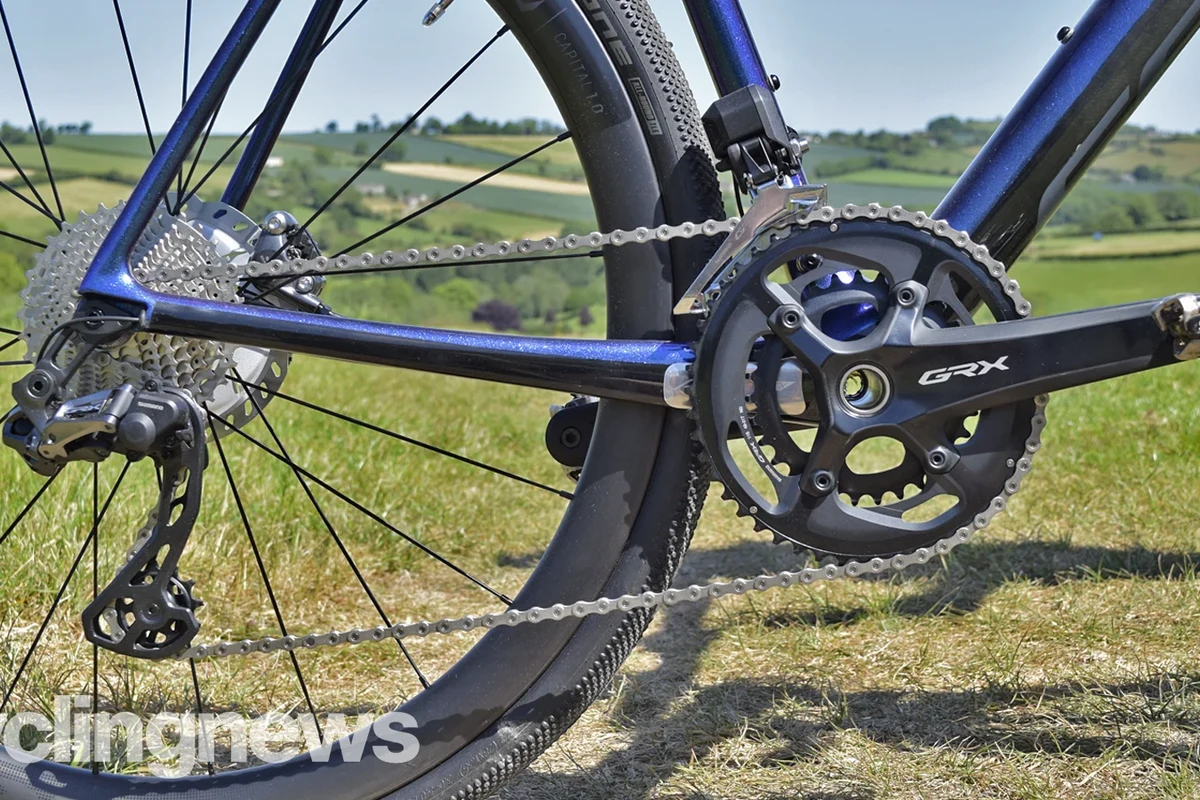
Setting up mountain bike lights for night trails is less about buying the brightest setup and more about placing the right lights in the right positions. A good setup helps you read the trail, judge turns, and spot obstacles without blinding yourself or other riders.
The best approach depends on your trail speed, terrain, handlebar width, helmet fit, and how long you plan to ride. For most riders, the safest and most useful setup is a combination of a handlebar light for the trail ahead and a helmet light for looking through corners and scanning the trail.
Start With the Right Light Setup for Your Riding Style
Before mounting anything, decide what kind of night riding you actually do. A casual fire road ride has different lighting needs than a technical singletrack loop with roots, rocks, and tight switchbacks.
In general, mountain bike lights fall into two jobs: one light that stays pointed where the bike is aimed, and another that follows your head movement. That division matters because your handlebars and your eyes do not always point in the same direction on a trail.
Common night-trail lighting setups
| Option | Best For | Key Consideration |
|---|---|---|
| Single handlebar light | Beginners, short rides, smoother trails | Simple and easy to mount, but limited cornering visibility |
| Single helmet light | Backup lighting or slow technical scouting | Great for looking around, but not ideal as the only light |
| Handlebar + helmet light | Most trail riders | Best balance of depth, control, and line reading |
| Dual handlebar lights | Wide bars, faster riding, dark open trails | Can improve coverage, but must be aimed carefully to avoid glare |
Light output, beam shape, battery life, and mounting hardware vary by model. Always confirm the manufacturer’s specifications and manual before relying on a setup for long rides or technical terrain.
Choose Beam Pattern and Brightness for the Trail, Not Just the Spec Sheet
Brightness numbers can be useful, but they do not tell the whole story. Two lights with the same output can feel very different if one has a wide, even beam and the other throws a narrow hotspot straight ahead.
For mountain biking, beam shape often matters as much as total output. A wider beam helps you see the edges of the trail, while a more focused beam can help on faster, straighter sections. Many riders want a mixed beam that balances distance and peripheral awareness.
What to look for
- Wide flood for technical trails: Helps show roots, rocks, and trail edges.
- Longer throw for faster riding: Useful when you need to see farther down the trail.
- Low mode options: Helpful for climbing, group rides, and conserving battery.
- Easy mode switching: Important when trail conditions change quickly.
A helmet-mounted light can make corners feel easier to read because the beam follows your line of sight, not just the front wheel.
Do not aim high-powered lights directly into the eyes of other riders, hikers, or drivers. Excess glare can reduce visibility for everyone on the trail.
Mount the Handlebar Light Correctly
The handlebar light is your main forward-facing beam, so its placement affects how well you can read the trail. A stable mount matters more than people think. A light that bounces, rotates, or slips during rough sections becomes distracting and less useful.
Try to center the light on the bar or place it where it will not interfere with cables, a bike computer, or an out-front mount. If your bars are crowded, check the light’s clamp size and mounting style before heading out.
Wipe dirt, moisture, and grit from the handlebar so the mount grips properly.
Place it where the beam is unobstructed and the switch is still easy to reach with gloves on.
Secure the mount firmly, but do not force hardware beyond the manufacturer’s guidance.
Make sure brake lines and shifter cables do not block the beam or snag the light body.
- Test the beam on a wall or garage door before the ride to see where it lands.
- Angle the handlebar light slightly downward so it lights the trail, not the treetops.
- If the mount uses rubber straps, inspect them regularly for cracking or stretching.
Set Up the Helmet Light for Cornering and Scanning
A helmet light is not just a backup. On technical trails, it helps you look through turns, inspect line choices, and spot obstacles before your bike reaches them. That can make the trail feel more natural because your vision and head movement work together.
Helmet lights should usually sit centered or slightly offset depending on the helmet mount system. The goal is a stable fit that does not shift when you move your head. If the light feels top-heavy or pulls the helmet forward, reconsider the setup or try a lighter model.
Helmet fit and comfort checks
- The mount should not block vents more than necessary.
- The light should not wobble when you look left and right.
- The battery pack, if separate, should be secured so it does not bounce or tug.
- The helmet should still fit snugly with the light installed.
Stop using damaged mounts, cracked straps, frayed cables, or loose helmet adapters. Follow the manufacturer’s inspection and replacement guidance before riding again.
Helmet compatibility varies by shape, vent pattern, and mounting system. Some lights work better with certain helmets than others, so confirm fit before assuming a universal mount will work well.
Balance Battery Life, Weight, and Runtime Before You Ride
Night-trail lighting is a tradeoff. More brightness can mean less runtime, more heat, and sometimes more weight. For short after-work laps, a compact setup may be enough. For long winter rides or group night sessions, battery management becomes part of the ride plan.
When comparing lights, look beyond the headline brightness claim. Ask how long the light lasts in the mode you will actually use, whether the battery is built in or separate, and how easy it is to recharge or swap batteries between rides.
- Check how long the light runs in the mode you need most often.
- Confirm whether the battery is internal, removable, or external.
- Make sure the charger, cable, and connectors match your routine.
- Review water resistance claims carefully and follow the manual for wet conditions.
- Verify return policy, warranty terms, and any current recall notices before using the light outdoors.
- Higher output can improve trail visibility on faster descents.
- Larger batteries may support longer rides.
- Separate battery packs can reduce weight on the helmet.
- More power often means more heat and shorter runtime in max mode.
- Heavy helmet setups can feel awkward over time.
- Battery claims may vary by temperature, age, and riding mode.
Check Weather, Trail Conditions, and Group-Ride Etiquette
Night riding adds another layer of planning when the weather turns wet, cold, or windy. Moisture can affect grip, visibility, and battery performance. Cold temperatures may also reduce runtime, depending on the light and battery type.
If you ride with others, agree on light etiquette before dropping in. A bright helmet beam can be useful for line choice, but it can also blind the rider ahead if aimed carelessly. On shared trails, be especially mindful around hikers and equestrians, and follow local trail rules.
Practical trail habits
- Use lower modes on climbs and switch up only when needed.
- Keep a backup light or spare battery for longer rides.
- Carry a small tool or strap if your mounting system needs periodic tightening.
- Dry the light after wet rides before storing it.
Do not assume a light’s weather resistance means it is waterproof in every condition. Follow the official manual for rain, mud, washing, charging, and storage.
Maintain the Lights So They Work When You Need Them
Night-trail lights need basic care to stay reliable. Dirt, sweat, vibration, and repeated charging all add wear over time. A quick post-ride check can prevent surprises on the next outing.
Clean the lens with a soft cloth, inspect the mount for looseness, and check the battery charge before storing the light. If the battery is removable, store it according to the manufacturer’s guidance, especially in hot garages or cold sheds.
Mild cleaner if approved by the manual
Chargers and cables
Spare battery or backup light
Basic hand tools if your mount requires them
- Charge the light before every night ride instead of guessing how much battery remains.
- Wipe mud off mounts before it dries and becomes abrasive.
- Store lights indoors when possible to reduce temperature-related battery stress.
Common Mistakes to Avoid
Many lighting problems come from setup mistakes rather than the light itself. The most common issue is relying on a single light and expecting it to do everything. Another is aiming the beam too high, which wastes useful light and can create glare.
Riders also forget that a helmet light does not replace a handlebar light. If the helmet battery dies or the mount loosens, you may lose your main ability to scan the trail. Backup planning matters on remote trails or long winter rides.
- Test the full setup before riding in the dark.
- Use a beam angle that lights the trail surface, not just the distance ahead.
- Carry a backup light if the ride will last longer than your battery estimate.
- Mounting a light loosely and hoping vibration will not matter.
- Using one high-output mode all night and draining the battery too soon.
- Ignoring cracked straps, damaged cables, or loose hardware.
Final Recommendation for Night Trail Setup
For most mountain bikers, the best night-trail setup is a stable handlebar light paired with a helmet light. That combination gives you both forward trail coverage and the ability to look through corners, which is especially helpful on technical singletrack. If you ride shorter, smoother routes, a single handlebar light may be enough. If you ride longer or more technical trails, dual-light coverage is usually worth the extra setup effort.
The smartest approach is to choose lights based on beam shape, runtime, mounting stability, and helmet compatibility—not brightness alone. Check the official manual, confirm weather and charging guidance, and inspect the mounts before every ride. If a light or battery shows damage, stop using it until you can verify it is safe.
Set up mountain bike lights by matching the beam to the trail and mounting the lights so they stay stable under vibration. A handlebar light plus a helmet light is the most versatile choice for night trails, while a single light can work for simpler rides. The main limitation is battery and fit variability, so confirm compatibility, runtime, and care instructions before you head out.
Frequently Asked Questions
Mountain bike lights are best for riders who plan to ride after dark, pre-dawn, or in heavily shaded trails where natural light is limited. The right setup depends on your riding style, trail difficulty, speed, and how much visibility you want, so needs can vary by user and terrain. If you ride technical trails, faster descents, or in wet weather, you may need a different light setup than a casual rider on smoother routes.
Check that the mounting system matches your handlebar, helmet, or fork setup before buying. Compatibility varies by model, size, manufacturer, and sometimes retailer, so don’t assume every light includes the same mounts or adapters. Measure your available space and confirm the product listing or official instructions for your bike and helmet type.
Look at beam pattern and runtime first, since those usually affect trail visibility more than a single number. The best choice varies by terrain, weather, riding speed, and activity, because a wide flood beam may suit tight trails while a more focused beam may help on faster sections. Always compare the manufacturer’s guidance for how the light performs in real use, since specifications can differ by model.
Mount the main light so it points where you want to look, and make sure it does not blind other trail users. Many riders use a bar light for the trail ahead and a helmet light for looking through corners, but the ideal setup varies by rider and trail conditions. Test the beam before riding, and if any mount or light is damaged or unstable, stop using it and check the official guidance or a qualified professional.
Keep the lens, mounts, and charging contacts clean and check them before each ride. Maintenance needs vary by model and weather exposure, so follow the manufacturer’s instructions for charging, storage, and water care. Replace batteries, straps, or damaged mounts when they no longer hold securely, and stop using the light if it becomes loose, cracked, or unreliable.
A common mistake is choosing a light without checking beam shape, mounting compatibility, or runtime for your actual rides. People also often place the light too low, aim it poorly, or forget that trail speed, terrain, and weather can change how much light they need. Compare a few options before buying, and rely on the official product details because features vary by model, region, and retailer.
