Ride slower than daylight, use a properly aimed light setup, and plan your route around battery life and visibility. The safest night rides come from conservative speed, good fit, and checking local trail rules before you go.
Riding trails after dark can be safe and enjoyable if you treat it like a different sport, not just a daytime ride with a light attached. The essentials are simple: see farther than you can react, make yourself visible to others, slow down for reduced depth perception, and use gear that fits the conditions instead of guessing.
- Light first: Match beam pattern and runtime to your trail speed and ride length.
- Fit matters: Helmets, mounts, and protective gear should stay stable on rough terrain.
- Ride conservatively: If you cannot clearly see ahead, reduce speed immediately.
- Check conditions: Wet trails, glare, fog, and wildlife can change the risk level fast.
- Inspect before leaving: Batteries, brakes, tires, and bolts deserve a quick pre-ride check.
How to Ride Safely on Trails After Dark: The Core Rules Every Rider Should Follow
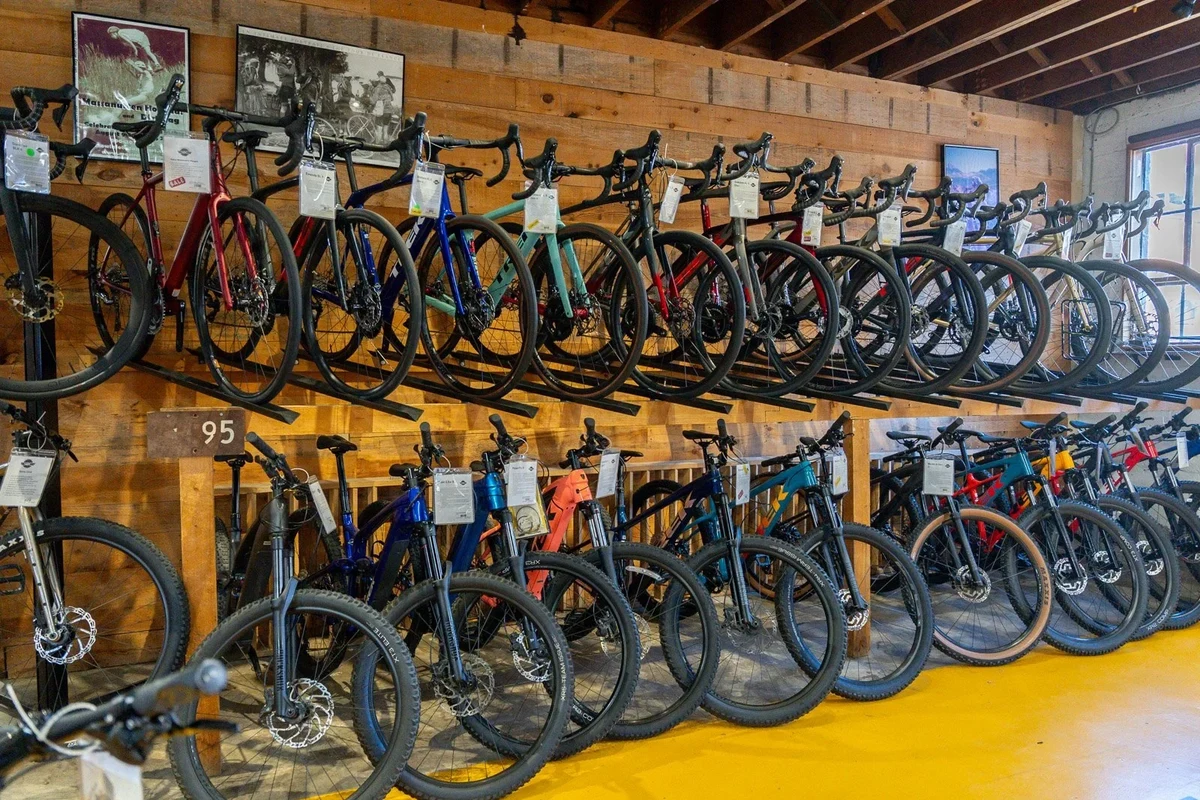
The safest night rides start before you leave the house. Plan a route you already know, carry enough light for the full ride, and assume every obstacle will be harder to judge once the sun is gone.
One useful mindset is to ride at the speed your lighting and visibility allow, not the speed you can manage in daylight. If you cannot clearly identify trail texture, corners, roots, drops, and other riders ahead, you are going too fast for the conditions.
For after-dark trail riding, the best setup is the one that helps you see the trail early, stay seen by others, and avoid surprises when fatigue, weather, or terrain make judgment harder.
What Changes After Sunset: Visibility, Terrain, Speed, and Reaction Time
Night riding changes how your eyes and brain process the trail. Depth perception drops, peripheral awareness narrows, and the same feature that looked obvious in daylight can disappear into shadow after sunset.
Why trail hazards feel harder to judge in low light
Roots, rocks, ruts, loose gravel, and abrupt grade changes are harder to read when the light is directional and the trail surface is uneven. That means you may not notice how tall an obstacle is, how deep a depression is, or whether a corner tightens until you are already committed.
This is why many riders feel more confident on familiar trails at night than on new ones. Familiarity helps, but it does not replace a slower pace or a wider safety margin.
How weather, shadows, and glare affect night riding
Wet trails reflect light differently than dry ones, which can make shiny patches look like mud, water, or smooth dirt when they are not. Fog, mist, and dust can also bounce light back toward you, reducing contrast and making it harder to see farther ahead.
Shadows from trees, rocks, and trail features can hide small drops or off-camber sections. Glare from an overly bright or poorly aimed light can also flatten the scene, so brighter is not automatically better.
Essential Lighting Setup for Night Trail Riding
Lighting is the single biggest safety factor for riding trails after dark. The goal is not just to make the trail bright, but to create enough usable light, in the right pattern, for the speed and terrain you are riding.
Choosing a front light: brightness, beam pattern, and battery life
A good front light for trail riding usually needs a focused beam with enough spill to show the trail edge and nearby hazards. Exact brightness needs vary by trail speed, terrain, and how technical the route is, so check the manufacturer’s output claims and beam pattern rather than choosing by a single number alone.
Battery life matters as much as output. A light that is bright for 45 minutes may be fine for a short loop, but not for a longer ride or a cold night when battery performance can drop.
Rear lights and helmet lights: when each one helps most
A rear light is most useful when other riders, trail users, or road sections are part of your route. It helps you stay visible from behind, especially in mixed-use areas or on access roads leading to the trail.
Helmet lights serve a different purpose. Because they point where you look, they can help with line choice in corners and on technical climbs, but they should complement a handlebar light rather than replace it. A helmet-mounted light can also feel more directional, which is helpful for scanning but less ideal as the only source of illumination.
Mounting, aiming, and compatibility checks before you ride
Before heading out, make sure every light is firmly mounted and aimed correctly. A light that points too high can dazzle oncoming riders or waste beam distance, while one that points too low can leave you reacting late to trail features.
- Check mounts, straps, and charge status before every ride
- Test beam aim on a wall or quiet path before the trail
- Confirm the light is compatible with your bar, helmet, or helmet mount
- Relying on a loose mount or a light with unknown runtime
- Pointing the beam so high that it reduces trail detail
- Using a damaged battery or charger
Do not modify batteries, charging systems, or mounts beyond the manufacturer’s instructions. If a light, battery, or charger shows damage, stop using it and check the official manual or support guidance.
Protective Gear and Fit: What to Wear for Safer After-Dark Riding
Protective gear cannot eliminate risk, but it can improve comfort, visibility, and impact protection when everything fits correctly. After dark, the best clothing is the kind that helps other trail users see you without interfering with movement or vision.
Helmet fit, coverage, and standards to verify in 2025
A helmet should sit level, feel snug without pressure points, and stay stable when you move your head. Coverage and retention system design vary by model, so verify the helmet’s intended use and the safety standard listed by the manufacturer or retailer before buying.
For current purchases, confirm the exact certification or compliance claim on the product label, packaging, or official product page. If you are unsure whether a helmet is appropriate for mountain biking, e-biking, or another cycling category, check the manufacturer’s guidance rather than assuming all helmets are interchangeable.
Gloves, eyewear, reflective layers, and body protection trade-offs
Gloves can improve grip and help protect your hands in a fall, while eyewear may help shield your eyes from dust, branches, and low-angle debris. Reflective layers can help other people notice you, but they do not replace lights and they are not equally visible from every angle.
More coverage often means more warmth and more protection, but also more heat and sometimes less freedom of movement. The right balance depends on temperature, trail speed, and how technical the route is.
- Improves comfort and control in low light
- Reflective accents can increase visibility
- Eye and hand protection reduce exposure to trail debris
- Too much coverage can trap heat
- Reflective gear is not a substitute for lighting
- Poor fit can reduce both comfort and protection
Inspection, replacement timing, and limits of protection
Inspect helmets, gloves, and reflective gear regularly for cracks, crushed foam, loose straps, worn padding, or damaged closures. Follow the manufacturer’s replacement guidance after any impact or if the gear shows visible damage, even if it still looks usable.
Stop using protective gear that is cracked, heavily worn, or no longer fits securely. Check the manufacturer’s replacement and inspection guidance before your next ride.
Trail and Bike Preparation Before You Roll Out
A night ride becomes much safer when the bike is quiet, predictable, and ready for the conditions. Preparation matters because darkness gives you less time to diagnose a problem once you are already on the trail.
Tire choice, pressure, braking, and suspension setup for night conditions
Tire selection and pressure affect traction, comfort, and how much feedback you get from the trail. Exact setup varies by tire model, rider weight, terrain, and weather, so use the manufacturer’s guidance and adjust conservatively if the trail is slick or loose.
Brakes should feel consistent, and suspension should be set so the bike remains controlled without diving excessively or bouncing unpredictably. If you are unsure about suspension settings, consult the bike or fork manual rather than guessing.
Battery checks, spare power, and storage planning
Many night-riding problems are really power-management problems. Check the charge level of every light before the ride, and consider carrying a backup light or spare battery if your route is long, remote, or likely to run later than planned.
Store backup lights or power banks where they are easy to reach, not buried under tools or snacks. If a light has a low-power mode, learn how long it can realistically run before you depend on it.
Pre-ride inspection for cables, bolts, drivetrain, and wheel security
Dark trails are not the place to discover a loose wheel, rubbing brake, or shifting problem. Do a basic pre-ride check of wheel security, quick releases or thru-axles, brake function, chain condition, and any visible cable or housing wear.
- Confirm light runtime, mount compatibility, and charging method
- Verify helmet fit, intended use, and current certification claims
- Inspect tires, brakes, wheels, and drivetrain before every night ride
- Carry spare power or a backup light for longer routes
Riding Technique After Dark: Speed Control, Line Choice, and Group Etiquette
Technique matters more at night because you have less time to process what is coming next. Smooth inputs, conservative speed, and clear communication reduce the chances of over-correcting when the trail changes suddenly.
How to manage corners, descents, and blind obstacles safely
Enter corners slower than you would in daylight until you know how your lights reveal the trail. On descents, keep your speed matched to the distance your front light clearly covers, not to the slope or your confidence level.
Blind obstacles deserve extra caution. If you cannot see what is behind a rise, around a bend, or beyond a shadow, assume the line may change and leave room to react.
Spacing, communication, and passing rules for group rides
Group rides after dark work best when riders keep enough space to avoid overlapping light beams and wheel paths. Call out hazards early and clearly, and avoid sudden stops unless there is a real safety reason.
If you need to pass, do it deliberately and with enough room for the other rider to hold a steady line. In mixed-use areas, be respectful of hikers, runners, and wildlife by slowing down and announcing yourself when appropriate.
When to slow down, stop, or turn back
Turn back if your lights are failing, visibility drops sharply, the trail becomes wetter or more technical than expected, or you are too tired to stay smooth. Night riding should not depend on pushing through obvious warning signs.
Common Mistakes Riders Make on Dark Trails
Most night-riding problems come from trying to ride as if it were still daylight. The fix is usually not more aggression; it is better preparation and a more conservative pace.
Over-riding your light range or battery capacity
If you ride faster than your light can show the trail, you are creating a delayed reaction problem. The same is true if you start a long ride with a battery that barely covers the expected time.
Plan for reduced output over time, especially in cold conditions, and do not assume the highest brightness mode will last the entire ride.
Ignoring local trail rules, wildlife, and changing conditions
Some trails close after dark, some allow night riding only in certain areas, and some have seasonal restrictions. Confirm local rules before you go, and remember that wildlife activity can increase at night on many routes.
Trail access rules vary by park, land manager, and season. Check current local guidance before riding, especially in shared-use or protected areas.
Poor maintenance, bad fit, and unsafe gear shortcuts
A helmet that shifts, a light that wobbles, or a tire with questionable condition can turn a manageable ride into a stressful one. Night riding magnifies small problems because you have less visual feedback and less time to correct them.
Shortcuts like weak straps, loose mounts, or gear that is “good enough for now” are not worth the risk when the trail is dark and the terrain is changing fast.
Best Practices for Care, Storage, and Long-Term Value
Good care extends the life of your lighting, protective gear, and visibility clothing. It also reduces the chance that a small maintenance issue becomes a ride-ending failure on the trail.
Cleaning lights, helmets, and high-visibility gear after wet rides
After wet or muddy rides, wipe lights and mounts clean according to the manufacturer’s instructions. Let helmets and reflective layers dry fully before storing them, and avoid harsh cleaners that could damage straps, lenses, or coatings.
Battery charging, cold-weather storage, and replacement planning
Charge batteries with the correct charger and store them in a place that is dry and temperature appropriate for the product. If your gear uses rechargeable batteries, review the manual for long-term storage guidance and replacement timing.
Do not leave damaged batteries charging unattended, and do not use chargers or cables that show wear, overheating, or intermittent connection. Follow the manufacturer’s instructions for storage and disposal.
What makes a night-riding setup worth the investment
The best value usually comes from gear that fits your actual riding style: a reliable front light with a usable beam, a secure mount, a helmet that fits properly, and visibility pieces that you will actually wear. If you ride only occasionally, a simpler setup may be enough; if you ride technical trails often, durability and runtime matter more than flashy features.
Before buying, compare the official specifications, intended use, warranty terms, and return policy. If a product’s claims are unclear, verify them with the manufacturer or current retailer listing before you depend on it for after-dark riding.
- Use lighting that matches your trail speed and ride length, not just the brightest option.
- Fit and inspect your helmet, mounts, tires, brakes, and batteries before every night ride.
- Ride slower than you would in daylight and turn back when visibility or conditions degrade.
- Check local trail rules and plan for backup power on longer or colder rides.
Frequently Asked Questions
A front light with a useful beam pattern is the priority, and many riders also benefit from a rear light and a helmet light. The best setup depends on trail speed, terrain, and battery runtime, so check the manufacturer’s specifications before buying.
A helmet should sit level, feel snug, and stay stable when you move your head. Verify the intended use and any current certification claim on the product label or official product page before you rely on it.
Reflective gear can help other trail users notice you, but it does not replace lights. It works best as a visibility layer along with a properly aimed front light and, when appropriate, a rear light.
Check wheel security, brakes, tire condition, drivetrain wear, and light mounts before you leave. If anything feels loose, damaged, or unreliable, follow the manufacturer’s guidance before riding.
Slow down whenever you cannot clearly see the trail far enough ahead to react safely. Turn back if lights fail, weather worsens, the trail gets more technical than expected, or fatigue makes your riding less smooth.
Wipe gear clean and let it dry fully before storage, following the manufacturer’s instructions. Store batteries correctly, use the proper charger, and replace damaged components instead of trying to keep them in service.
