
Use a bike multi tool for small, safe trail repairs like minor bolt tightening, shifting tweaks, and basic chain fixes. Match the correct bit, make small adjustments, and stop if the repair affects braking, steering, or frame safety.
A bike multi tool is for small, safe trail-side fixes: tightening a loose bolt, correcting a minor shifting issue, or dealing with a chain problem well enough to get home. The key is to know which repair is appropriate, use the right bit, and stop before a quick fix turns into a damaged part or a safety issue.
- Match the hardware: Use the exact bit size and confirm compatibility with your bike’s fasteners and chain.
- Make small changes: Trail repairs should be conservative, with quick checks after each adjustment.
- Know the limits: Damaged bolts, brake issues, and structural problems need proper service, not force.
- Carry it consistently: The best tool is the one you can comfortably bring on every ride.
How to Use a Bike Multi Tool on the Trail: The Fast Answer for Trail Repairs
Start by identifying the problem, matching the correct tool bit to the fastener, and making the smallest adjustment that solves it. If a bolt is damaged, a component is cracked, or the repair affects steering, braking, or frame integrity, the safer choice is to end the ride or seek proper service rather than forcing a fix.
Trail repairs should be about getting home safely, not fully tuning every part on the spot. A multi tool is most useful when it helps you make a controlled, temporary correction.
What a Bike Multi Tool Does and How It Works
A bike multi tool combines several small tools into one compact body so you can make common adjustments without carrying a full workshop kit. Most trail models focus on the fasteners and emergency repairs riders are most likely to need away from home.
Core functions: hex keys, Torx bits, screwdrivers, chain tools, and more
Many trail multi tools include hex keys for bolts on stems, seats, and accessories; Torx bits for certain brake rotors or cockpit hardware; flat or Phillips screwdrivers; and, on some models, a chain tool. Some also add tire levers, spoke wrenches, or a quick-link storage slot, though those features vary by model.
Torx fasteners are common on many modern bikes because they can help provide secure tool engagement when the correct bit is used.
Why compact trail tools matter compared with full shop tools
A shop tool is usually easier to hold, gives more leverage, and is better for precise work. A trail tool trades that comfort for portability, which matters when you need to carry it in a pack, saddle bag, jersey pocket, or frame bag.
The trade-off is simple: the smaller the tool, the more careful you need to be with fit and torque. On the trail, controlled pressure matters more than speed.
Choosing the Right Multi Tool for Trail Riding
The best tool is the one that matches your bike’s hardware and the repairs you are most likely to face. Before buying, check your bike’s fasteners, drivetrain type, and whether the tool includes the chain features you may actually need.
Key specifications to verify: bit selection, chain compatibility, weight, and size
Look for the bits your bike uses most often, especially the hex sizes on your cockpit, seatpost, and accessory mounts. If you ride with a modern drivetrain, verify whether the chain tool supports your chain speed and whether the tool can handle the chain style you run.
Compatibility checks for modern bikes, drivetrains, and brake systems
Not every multi tool works equally well on every bike. Some brake systems use Torx hardware, some rotors need specific torque care, and some drivetrain parts are designed for exact tool sizes. Always confirm the official component specifications before relying on a tool for a critical adjustment.
Do not use a multi tool to guess at brake or cockpit hardware if you are unsure of the correct fastener size, torque requirement, or service procedure. Incorrect tightening can create a serious safety risk.
Trade-offs: portability vs. capability vs. durability
More functions usually mean more versatility, but also more bulk and sometimes less comfort in the hand. A lighter tool may be easier to carry every ride, while a heavier one may be better for bikepacking or longer backcountry days where self-sufficiency matters more.
- Easy to carry on every ride
- Handles common trail fixes
- Helps with emergency chain or bolt issues
- Less leverage than shop tools
- Can be awkward with tight access
- Not ideal for major repairs
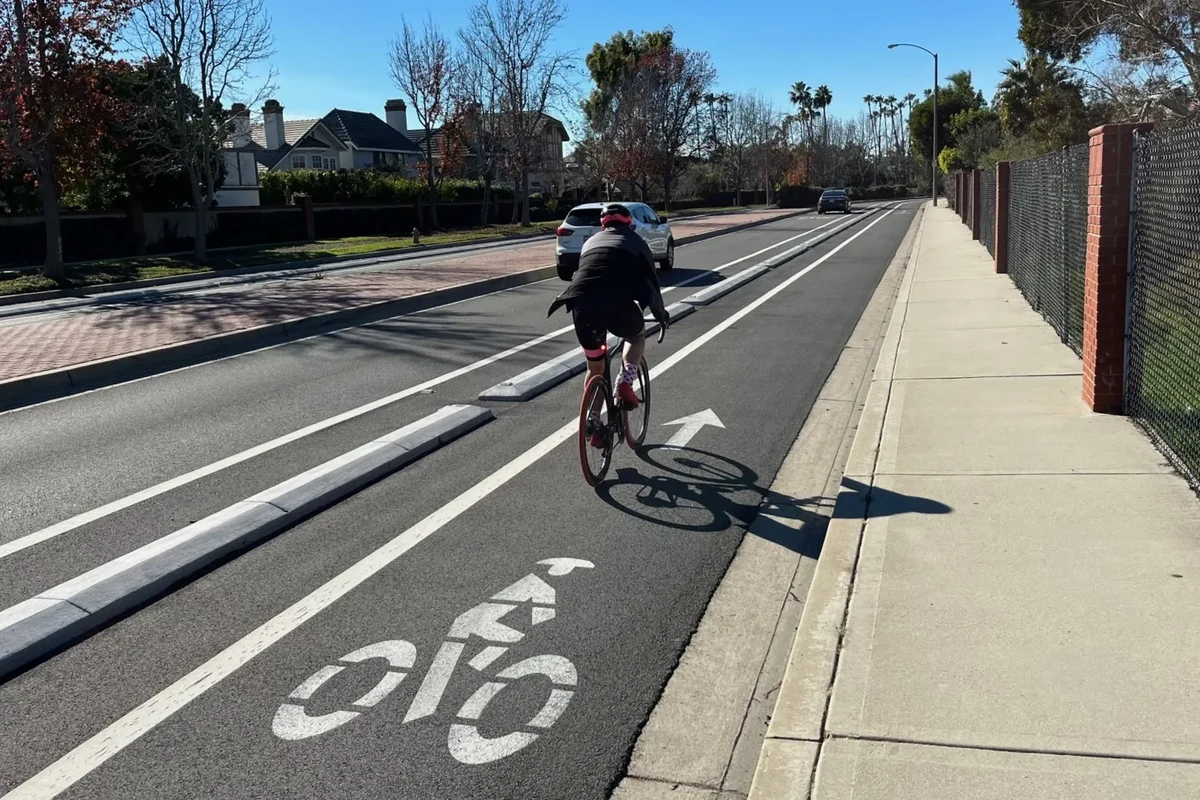
How to Use a Bike Multi Tool on the Trail for Common Repairs
The safest way to use a multi tool is to make one change at a time, test the result, and avoid over-tightening. If the first adjustment does not solve the problem, stop and reassess instead of forcing the hardware.
Adjusting a loose saddle, stem, or handlebar bolt safely
First, identify the exact bolt and confirm the correct bit size. Turn the fastener only enough to remove play, then recheck alignment and stability before riding again.
- Use the correct bit fully seated in the fastener before turning.
- Tighten in small increments instead of one hard crank.
- If a bolt keeps loosening, inspect the part later for wear or contamination.
Fixing a slipping derailleur or indexing issue
For minor shifting problems, a multi tool can help you make small barrel adjuster or limit screw corrections, depending on your setup. Work in tiny steps and test the chain movement after each change so you do not overcorrect.
Shifting behavior varies by drivetrain, cable condition, hanger alignment, and contamination. A trail adjustment may improve the ride enough to finish the route, but it may not replace a proper drivetrain setup later.
Using the chain tool for a broken chain or quick trail-side repair
If your tool includes a chain breaker, confirm that it matches your chain type before you need it. The basic idea is to remove the damaged section, reconnect the chain with the proper joining method for your drivetrain, and then check that the chain moves smoothly before riding on.
If the chain pin, quick link, or surrounding links look bent, cracked, or badly worn, do not continue forcing the repair. Replace the damaged parts according to the manufacturer’s guidance.
Making small brake adjustments without over-tightening
A multi tool can help with minor brake lever reach or pad alignment adjustments on some systems, but brake work deserves extra caution. Make only small changes, then spin the wheel and squeeze the lever gently to confirm nothing rubs, drags, or feels inconsistent.
- Use the exact bit and make small corrections
- Test steering, shifting, and braking after each adjustment
- Stop if a brake feels soft, inconsistent, or unsafe
- Cranking bolts down “until they feel tight”
- Using force on stripped or rounded fasteners
- Riding away after a brake repair that still feels questionable
Safe Trail Use: Best Practices, Mistakes to Avoid, and Limits of the Tool
A multi tool is a problem-solving tool, not a substitute for proper workshop torque control or a full inspection. The best trail use is conservative use: correct bit, small adjustment, quick test, and a clear stop point.
How to avoid stripping bolts, damaging threads, or rounding fasteners
Make sure the bit is fully engaged before turning, keep the tool straight, and avoid using extra body weight to force a stubborn fastener. If a bolt is already damaged, stop before you make the repair harder or unsafe.
When a trail repair is safe to finish and when to stop riding
It is usually reasonable to continue when the repair restores basic function and the part feels stable under light checks. Stop riding if steering, braking, wheel retention, or frame integrity seems compromised, or if you cannot confirm that the repair holds under normal use.
Weather, mud, and glove-friendly handling considerations
Wet weather, cold hands, and muddy conditions make trail repairs harder. A tool with a secure grip, clear bit access, and a compact shape that works with gloves can be easier to manage when conditions are poor.
Keep a small rag in your pack or bag. Wiping grit off a bolt or chain before using the tool can improve bit engagement and reduce slippage.
Who a Bike Multi Tool Fits Best in 2026
Most riders benefit from carrying some form of multi tool, but the ideal version depends on how far you ride from help and how much repair confidence you already have. The farther you go from service, the more value you get from a tool with the right chain and fastener coverage.
Ideal riders: mountain bikers, gravel riders, commuters, and bikepackers
Mountain bikers often need a compact tool for cockpit bolts, derailleur issues, and occasional chain problems. Gravel riders and commuters may care more about portability and quick adjustments, while bikepackers usually benefit from broader repair capability because they may be farther from a shop.
Skill level considerations: beginner vs. experienced home mechanic
Beginners should look for a simple tool with the sizes they are most likely to need and clear markings on the bits. Experienced home mechanics may prefer a more complete setup, but even they should avoid guessing on torque-sensitive parts in the field.
Good if you want a basic emergency tool and are willing to learn your bike’s fastener sizes.
Good if you ride often and want a reliable carry tool for common adjustments.
Good if you want a compact backup, though you may still prefer shop tools for detailed work.
Storage and carry options: saddle bag, pack, jersey pocket, or frame bag
Where you carry the tool matters almost as much as which one you buy. A saddle bag or frame bag can keep it protected, while a jersey pocket or pack may offer faster access depending on your riding style and what else you carry.
| Carry Option | Best For | Key Consideration |
|---|---|---|
| Saddle bag | Small repair kits | Easy storage, but check fit and rattle |
| Jersey pocket | Quick access | Comfort and weight distribution matter |
| Frame bag | Bikepacking and long rides | Good space, but organize tools so they do not wear other gear |
| Pack | Longer rides with extra supplies | Easy to carry more, but less convenient to reach quickly |
Care, Storage, and Maintenance After the Ride
Trail tools last longer when they are cleaned, dried, and checked after muddy or wet rides. Even a simple multi tool can wear out if grit gets into the joints or if a chain tool is left dirty and neglected.
Cleaning grit, drying moisture, and checking moving parts
Wipe the tool clean after use, especially if it touched chain lube, mud, or rainwater. Let it dry fully before storing it so moisture does not sit in the hinge or around the bits.
Inspecting wear, rust, loose bits, and chain-tool function
Look for rounded edges, bent tools, or corrosion, and make sure any folding arms still lock or seat properly. If the chain tool feels sloppy or the pin looks worn, treat that as a sign to replace or service the tool before the next ride.
Do not keep relying on a damaged multi tool for critical repairs. If the tool no longer fits fasteners securely, it can make a small problem much worse.
How to store a multi tool for long-term reliability
Store it somewhere dry and easy to find, preferably with the rest of your ride repair kit. If your tool includes loose bits or accessories, keep them organized so they do not fall out or get damaged in transit.
Final Recommendation: What to Look for Before You Buy a Trail Multi Tool
The best trail multi tool is the one that matches your bike, fits your carry setup, and handles the repairs you are most likely to face without being awkward to use. For most riders, value comes from the right hex sizes, at least one appropriate chain repair option if needed, and a shape that is easy to control with cold or gloved hands.
Best-value features versus premium features
Best-value tools usually prioritize the essential bits, a dependable body, and enough leverage to make safe adjustments. Premium features can be useful, but only if they match your bike and your riding style; extra functions that you never use do not help on the trail.
- Confirm compatibility with your bike’s fasteners, chain type, and brake hardware
- Choose a size and weight you will actually carry on every ride
- Check whether the tool is easy to grip, especially with gloves
- Review the manufacturer’s instructions for any torque-sensitive or chain-related use
- Inspect the tool regularly for wear, rust, and loose parts
Transparent verdict on what matters most for trail-ready reliability
For trail use, the smartest purchase is usually a compact tool that covers your bike’s real-world needs and does those jobs cleanly. If a model looks impressive but lacks the exact bits or chain support your bike requires, choose the more practical option instead.
A good bike multi tool should be simple, compatible, and easy to control when conditions are messy or you are far from home. Prioritize the correct bits, solid build quality, and a design you can carry consistently; choose a more specialized repair kit only if your riding style demands it.
Common Questions
It handles small repairs like bolt tightening, minor shifting adjustments, and some chain fixes. It is meant for getting safely home, not for full maintenance.
Use the correct bit, keep it fully seated, and turn slowly with light, controlled pressure. If the bolt feels damaged, stop before making it worse.
Not for every rider, but it is useful if you ride far from help or want more self-sufficiency. Check that it matches your chain type before relying on it.
Sometimes, for small adjustments only. If the brake still feels unsafe or inconsistent, stop and get proper service.
Common options are a saddle bag, frame bag, jersey pocket, or pack. Choose the place that keeps it protected and easy to reach.
Frequently Asked Questions
Focus on the bits your bike actually uses, plus any chain or Torx features that match your setup. Comfort, grip, and carry size matter because a tool you leave at home will not help on the trail.
Sometimes, but many riders can use one compact tool for both. The main difference is whether you need extra chain support or a more complete repair set for longer, rougher rides.
Check your bike’s manual or component specs for fastener sizes and brake or drivetrain hardware. If the tool does not match the exact hardware, it is not the right choice.
Wipe off dirt, dry it fully, and inspect the moving parts and bits. A clean, dry tool is less likely to corrode or bind the next time you need it.
Not always. A premium model only makes sense if the extra features match your bike and the tool is still easy to carry and use.
It cannot replace proper torque, full leverage, or a complete workshop setup. It is best for temporary, cautious repairs that help you finish the ride safely.
