Begin with grips, saddle, gloves, shorts, and pedals, since those contact points usually affect comfort the most. Choose accessories that match your bike, terrain, and fit needs instead of buying the most padded option.
If you’re new to mountain biking, comfort accessories can make the bike feel easier to control, less tiring to ride, and more forgiving on rough ground. The smartest beginner upgrades usually start at the contact points: grips, saddle, shorts or gloves, and pedals.
- Start at contact points: Grips, saddle, gloves, shorts, and pedals usually matter most for beginners.
- Fit beats padding: The right shape and sizing often matter more than extra softness.
- Check compatibility: Bar size, saddle rails, pedal threads, and seatpost fit all need verification.
- Adjust gradually: Make one change at a time so you can tell what actually improved comfort.
- Inspect often: Worn, slipping, or cracked gear should be replaced, not ignored.
What Mountain Bike Comfort Accessories Actually Do for Beginners
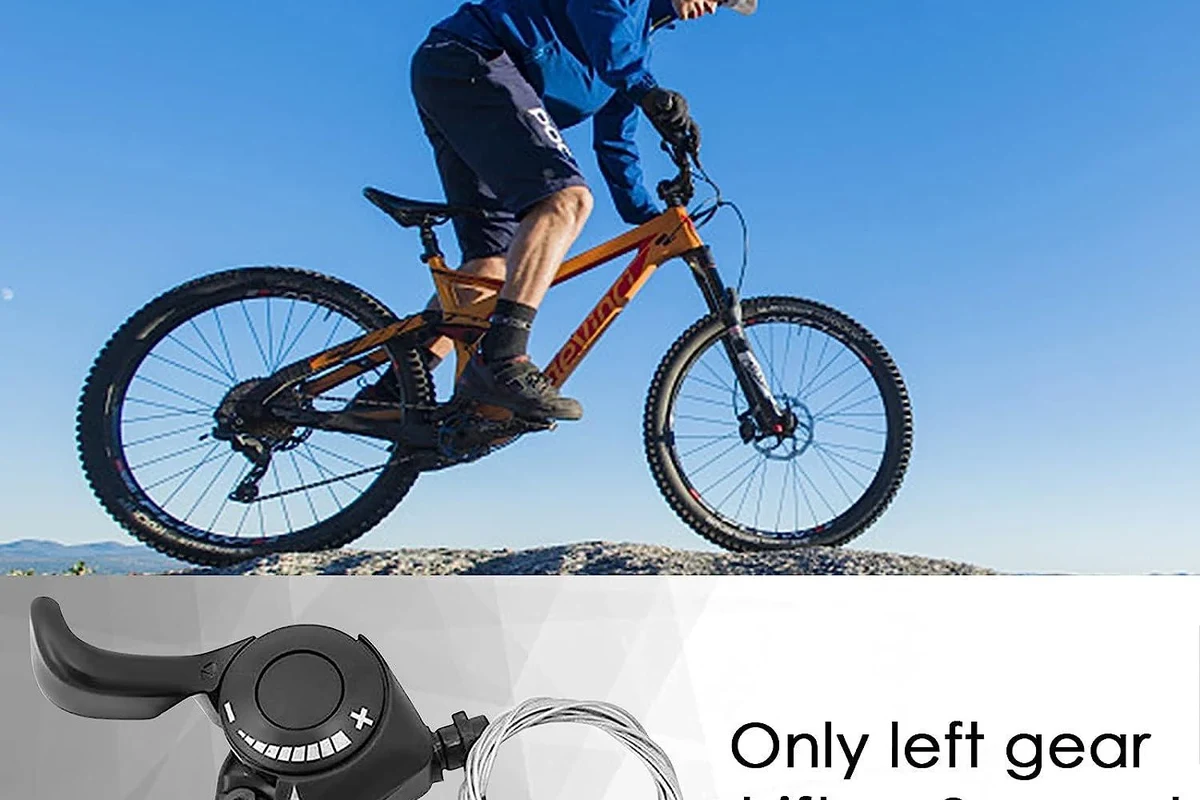
Comfort accessories are not about making a bike “luxury.” They are about reducing the small stresses that add up on the trail: vibration through your hands, pressure on your sit bones, foot movement on rough sections, and friction from clothing or gloves. For beginners, those issues can distract from skills like braking, cornering, and line choice.
How comfort upgrades reduce fatigue, hand numbness, and trail shock
Mountain bikes transmit more feedback than road bikes because trails include roots, rocks, washboard dirt, and repeated bumps. Comfort accessories can soften some of that feedback by adding padding, changing pressure distribution, or improving grip security. That does not remove trail impact, but it can make longer rides feel more manageable and help you stay relaxed.
For example, grips with the right diameter may reduce hand strain, while a saddle that matches your body shape can reduce pressure in the wrong places. Padded shorts or liners can also reduce chafing from repeated pedaling motion. The goal is not to hide every bump; it is to keep discomfort from becoming the main thing you notice.
Who benefits most: new riders, casual trail riders, and longer-distance cyclists
Beginners often benefit the most because they are still learning how to move on the bike and may tense up on rough ground. Casual trail riders who want relaxed weekend rides also tend to appreciate comfort upgrades, especially if they ride mixed terrain or spend time on bike paths getting to the trailhead. Riders who cover longer distances, even at easy pace, may also notice that comfort gear helps them stay fresh later in the ride.
How to Choose the Right Comfort Accessories for Your Bike and Riding Style
The right accessory depends on where you ride, how long you stay out, and how your bike is set up. A good comfort choice for a smooth bike path may be a poor choice for rocky singletrack, and a plush saddle that feels nice in the store may not suit your riding posture.
Terrain, weather, and ride length: what matters most in 2025
Terrain should guide most comfort decisions. Rougher trails usually reward grip, vibration control, and stable foot placement, while smoother paths place more emphasis on sit comfort and breathability. Weather matters too: hot conditions favor breathable gloves and shorts, while wet or cold rides may call for materials that dry quickly and still grip well when damp.
Ride length is another major factor. Short rides often need only modest comfort help, but longer rides make small fit issues more obvious. If you tend to ride for an hour or more, even a minor pressure point can become annoying by the end.
Compatibility checks for handlebars, saddle rails, grips, pedals, and suspension points
Before buying, confirm that the accessory matches your bike’s hardware. Grips need to fit the handlebar diameter and the style of bar ends or controls you already have. Saddles need compatible rail type and clamp design. Pedals must match your crank threads and your shoe or platform preferences. If you are considering a suspension seatpost or similar comfort part, check frame clearance and seatpost diameter carefully.
Compatibility can vary by bike model, year, and component standard. When in doubt, check the manufacturer’s specifications or ask a shop to confirm fit before you buy.
Fit and sizing criteria: reach, sit-bone width, glove size, and contact-point pressure
Good comfort gear should match your body, not just your bike. Saddle fit often depends on sit-bone width and riding position, because a narrow racing-style saddle is not automatically better for a beginner. Gloves should fit snugly without bunching, and shorts or liners should stay smooth where they meet the saddle.
Reach also matters. If your cockpit is too long, no grip or glove will fully solve the strain. If your saddle is too high or too far back, comfort issues can show up in your knees, hips, or lower back. Comfort accessories work best when your basic fit is already close.
Best Beginner Comfort Accessories to Prioritize First
If you are building a setup from scratch, start with the items that affect every ride. Those usually deliver more value than niche add-ons and are easier to understand and adjust.
Grips and bar tape: vibration control, diameter, and material trade-offs
Grips are one of the easiest comfort upgrades for mountain bikes with flat bars. Thicker grips can feel softer, but too much diameter may reduce your ability to wrap your hands securely around the bar. Softer compounds can absorb some vibration, though they may wear faster or feel less precise in wet conditions.
Bar tape is more common on drop-bar bikes, but some riders use it in specific setups or on certain bar types. For beginners, the main decision is usually between a grippier feel and a more cushioned feel. If your hands go numb or feel beat up after rough rides, this is often a smart first place to improve.
Saddles and seatposts: shape, padding, suspension, and ride position support
A saddle should support your sit bones rather than press on soft tissue. More padding is not always better; too much padding can shift around, create friction, or feel worse on longer rides. Shape matters just as much as cushioning, especially if you lean forward more or sit upright more often.
Seatposts can also change comfort. A suspension seatpost may smooth small trail chatter, but it adds complexity and can change pedaling feel. It is worth considering if your routes include repeated bumps and your frame setup allows it. For many beginners, a properly chosen saddle and correct height adjustment are the better first step.
- Choose the saddle based on riding posture, not just padding thickness.
- Make one change at a time so you can tell what actually improved comfort.
- Keep the original seatpost and saddle hardware in case you want to revert later.
Gloves, shorts, and liners: chamois quality, padding placement, and breathability
Gloves can improve grip, reduce palm irritation, and help on rough descents. Look for a fit that does not bunch in the palm or pinch at the fingers. Padding placement matters more than total padding amount, because the wrong padding can create pressure where you do not want it.
Shorts and liners are especially useful on longer rides or if your saddle and shorts are causing friction. A good chamois should stay in place and breathe well. Too much bulk can trap heat, so breathable materials are often more useful than thick foam for beginners.
Pedals and shoes: platform stability, traction, and foot support
Pedals influence how stable your feet feel over roots, rocks, and loose dirt. Flat pedals with a grippy platform are often the easiest beginner choice because they allow quick foot placement and simple step-on, step-off use. Shoes with a supportive sole and good tread can improve traction even if you are not using clipless pedals.
Clipless systems can offer a secure connection, but they require more practice and careful setup. If you are new to trail riding, a stable flat-pedal setup is often the least stressful way to start. The main comfort goal here is keeping your feet planted without forcing your ankles or arches to work harder than necessary.
- Confirm handlebar, saddle rail, seatpost, and pedal compatibility
- Check fit, sizing, and pressure points before assuming the accessory is “wrong”
- Review the manufacturer’s care and installation guidance
How These Accessories Work in Real Riding Conditions
Comfort gear behaves differently depending on the surface under your tires. What feels amazing on a smooth path may feel only slightly better on a rocky climb, and that difference is normal.
Comfort gains on gravel, XC trails, bike paths, and rough singletrack
On gravel and bike paths, comfort accessories often make the biggest difference because the ride is steady enough for you to notice pressure points and hand fatigue. On XC trails, comfort gear can help you stay relaxed and conserve energy, especially when the terrain is rolling rather than extremely technical. On rough singletrack, the benefits may be smaller but still meaningful, particularly for grip, foot stability, and reducing saddle irritation.
The more aggressive the terrain, the more important bike handling becomes relative to padding. In other words, comfort gear helps, but it does not replace skill, tire choice, or a properly tuned bike.
Limits of comfort gear: what it can improve and what it cannot fix
Comfort accessories can reduce unnecessary strain, but they cannot fix a frame that is the wrong size, a cockpit that is too long, or a saddle position that is far off. They also cannot make a bike safe if hardware is loose or damaged. If discomfort is sharp, one-sided, or persistent, it may point to a fit issue rather than a gear issue.
Do not use comfort accessories to mask pain, numbness, or unstable handling. If symptoms continue after basic fit adjustments, consider professional bike fitting or qualified medical guidance if needed.
Common trade-offs: added weight, bulk, heat retention, and reduced feel
Most comfort upgrades come with at least one trade-off. More padding can mean more heat, more bulk, or less trail feel. Suspension parts can add weight and complexity. Softer grips may wear faster. Padded shorts can improve comfort but feel warmer in hot weather.
The best beginner setup usually balances comfort with control. If an accessory makes the bike feel vague or awkward, it may be too much of a good thing.
Setup and Adjustment Guide for First-Time Buyers
Comfort gear only works well when it is installed and adjusted correctly. Small setup mistakes can create the very discomfort you were trying to avoid.
Installing grips, saddles, and pedals safely without over-tightening
Always follow the manufacturer’s installation instructions and torque guidance if provided. Over-tightening can damage parts, strip threads, or create unsafe clamping. Under-tightening can allow parts to slip during riding, which is also a safety problem.
Inspect bars, rails, clamps, and pedal threads for wear or damage before installation.
Use the specified tools and tightening method rather than guessing by feel.
Confirm that nothing has shifted, creaked, or loosened.
Dialing in saddle height, fore-aft position, and handlebar reach
Comfort accessories work best when the bike fit is reasonable. Saddle height should let you pedal smoothly without overreaching or rocking your hips. Fore-aft saddle position affects how your weight sits on the bike, and handlebar reach affects how much pressure ends up in your hands and shoulders.
If you are unsure, make small changes and note how each one affects comfort. Avoid changing several variables at once, because that makes it hard to know what helped.
Breaking in new gear gradually to avoid soreness and poor fit assumptions
New comfort gear can feel different for the first few rides. Gloves may relax slightly, saddles may settle in, and your body may need time to adapt to a new pressure pattern. That does not mean you should ignore obvious pain, but it does mean you should give reasonable setup changes a short adjustment period before judging them.
Introduce one new item at a time when possible. That makes troubleshooting much easier if something feels off.
Safety, Standards, and Comfort Gear Maintenance
Comfort accessories are still bike components or wear items, so they need regular checks. A soft grip, worn short, or loose saddle clamp can become a problem if you ignore it.
What to inspect before each ride: wear, slippage, tears, and loose hardware
Before you head out, glance over the contact points. Look for cracked grips, torn glove seams, loose saddle rails, worn pedal pins, or straps that no longer hold securely. If anything slips under load or feels unstable, stop and correct it before riding.
Stop using damaged gear and follow the manufacturer’s inspection or service guidance. If a part is cracked, slipping, or badly worn, replace it rather than trying to “ride through it.”
Cleaning, drying, and storing gloves, shorts, grips, and saddles properly
Most soft goods last longer when they are cleaned according to the care label and dried fully before storage. Gloves and shorts can break down faster if they stay damp in a bag. Grips and saddles usually need simple cleaning with mild soap and water, but avoid harsh chemicals unless the manufacturer approves them.
Store accessories away from direct heat and prolonged sun exposure when possible. That helps preserve foam, elastic, and synthetic materials.
When to replace worn comfort accessories and warning signs to watch for
Replace comfort accessories when they no longer stay secure, no longer clean up well, or no longer support you the way they should. Warning signs include flattened padding, torn seams, soft spots, visible cracks, or hardware that repeatedly loosens. If a saddle or grip has become slippery, unstable, or visibly damaged, it is past the point where comfort matters more than safety.
Value Breakdown: What’s Worth Buying First and What Can Wait
Beginners do not need to buy everything at once. The best value usually comes from improving the parts that affect every ride and solving the biggest discomfort first.
Best budget upgrades versus premium options for beginner riders
Budget-friendly comfort upgrades often include basic gloves, a better-fitting set of grips, or simple flat pedals with good traction. Premium options may offer more refined materials, better durability, or more adjustability, but they are not always necessary for a new rider. In many cases, the premium choice only makes sense after you know exactly what problem you are trying to solve.
How to compare comfort, durability, and cost per ride
Instead of focusing only on sticker price, think about how often you ride and how much discomfort the accessory removes. An item that lasts longer and solves a real fit issue may be better value than a cheaper option that needs replacing quickly. Also consider whether the part can move to another bike later.
Accessories that offer the biggest improvement for the least money
For many beginners, the biggest value usually comes from grips, gloves, and a properly chosen saddle. Flat pedals and supportive shoes are often next, especially if foot stability is a problem. Shorts or liners can be a strong value too if your rides are long enough for chafing to become an issue.
Often the quickest way to improve control and reduce hand fatigue, with minimal setup complexity. The main limitation is that they cannot fix a poor bike fit.
Helpful when sit-bone pressure or chafing is the main issue. The drawback is that fit is more personal, so selection may take more trial and error.
Final Recommendation: Building a Comfortable Beginner Mountain Bike Setup
The best beginner comfort setup is simple: start with the contact points, make one change at a time, and choose parts that match your terrain and body. That approach usually delivers more comfort than buying several expensive accessories at once.
Suggested starter combinations for different budgets and riding goals
If you want the simplest low-cost setup, start with comfortable grips, well-fitting gloves, and a basic saddle check. For mixed trail and path riding, add flat pedals with good traction and supportive shoes. For longer rides, consider shorts or liners in addition to the contact-point basics. Riders who spend a lot of time on rough ground may also look at a suspension seatpost, but only after confirming compatibility and basic fit.
What to avoid as a beginner and the smartest next upgrade after the basics
Avoid buying comfort gear only because it looks soft, expensive, or heavily padded. Also avoid stacking multiple changes before you know what problem you are solving. The smartest next upgrade after the basics is usually the one that addresses your most obvious remaining pressure point, whether that is saddle comfort, hand fatigue, or foot stability.
- Begin with the bike contact points: grips, saddle, gloves, shorts, and pedals.
- Match comfort accessories to your terrain, ride length, and bike compatibility.
- Make small setup changes and inspect gear regularly for wear or slippage.
- Choose value based on real comfort improvement, not just extra padding or higher price.
Frequently Asked Questions
Most beginners should start with the contact points: grips, gloves, saddle, or flat pedals. The best first choice depends on whether hand fatigue, sit-bone pressure, or foot movement is the biggest issue.
A good saddle supports your sit bones without creating pressure, numbness, or rubbing. Fit depends on your body shape, riding posture, and bike position, so the right choice can vary by rider and model.
They can be helpful if you ride long enough for chafing or pressure to become noticeable. Breathability, fit, and chamois placement matter more than thick padding.
Yes, but the benefit is usually smaller than on smoother terrain because trail impacts are more intense. They can still help with grip, foot stability, and reducing friction.
Check handlebar size, saddle rail type, seatpost diameter, pedal thread compatibility, and any frame clearance limits. Manufacturer specifications are the safest source if you are unsure.
Replace them when they slip, crack, tear, flatten, or no longer support you properly. If a part is damaged or unstable, stop using it and follow the manufacturer’s inspection guidance.
