Set the helmet level, form the side straps into a V under the ears, and tighten the chin strap until it is snug but comfortable. If the helmet still shifts or needs over-tightening, the size or shape is likely the real problem.
To adjust mountain bike helmet straps properly, start with the helmet sitting level on your head, then shape the side straps into a clean V under each ear and set the chin strap snugly under the chin. The goal is a secure, stable fit that stays put when you move, without pinching, choking, or shifting during a ride.
- Level first: The helmet should sit flat on your head before you fine-tune any straps.
- V-shape matters: Side straps should meet just below the ears to help stabilize the helmet.
- Snug, not tight: The chin strap should hold the helmet secure without pinching or choking.
- Test before riding: Shake your head, turn side to side, and check the buckle before you roll.
How to Adjust Mountain Bike Helmet Straps Properly: The Fast, Safe Answer
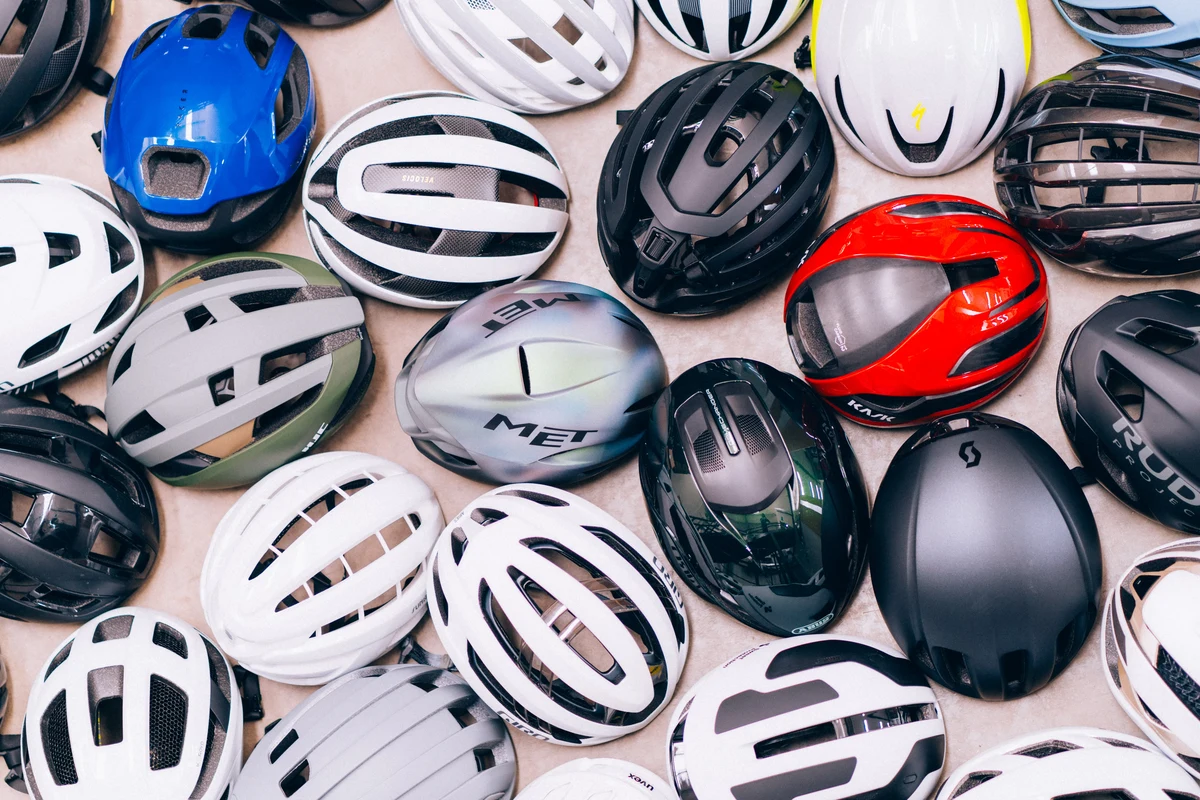
The simplest way to think about helmet straps is this: the helmet should sit correctly first, and the straps should hold it there second. If the helmet is the wrong size or the retention system is misused, strap adjustment alone will not create a safe fit.
For most riders, the proper setup is a level helmet, straps forming a V just below the ears, and a chin strap tight enough that only a couple of fingers fit under it. If you can open your mouth comfortably and the helmet does not rock forward, backward, or side to side, you are in the right range.
Why Proper Strap Adjustment Matters for MTB Safety and Comfort
Mountain biking adds bumps, vibration, sweat, dust, branches, and sudden head movement, so a loose or poorly routed strap can become distracting fast. A helmet that shifts during a climb or descent can block vision, press on sunglasses, or leave you adjusting it instead of focusing on the trail.
Proper strap adjustment also helps the helmet stay in the position the manufacturer intended. That matters because the shell, foam, vents, and retention system are designed to work together, and a helmet worn too high, too low, or too loose may not provide the coverage you expect.
A helmet reduces risk, but it cannot guarantee protection in every crash. If the helmet is damaged, does not fit your head shape, or cannot be adjusted securely, stop using it and follow the manufacturer’s guidance.
Know Your Helmet System: Straps, Buckles, Fit Dial, and Retention Limits
Before adjusting anything, it helps to know which part does what. Many riders try to solve fit problems with the chin strap alone, but mountain bike helmets usually rely on a combination of shell position, side straps, buckle placement, and a rear retention system such as a fit dial or cradle.
What each strap and buckle does
The side straps guide the helmet so it stays centered around the ears. The chin strap keeps the helmet from lifting or rolling off during movement, while the buckle lets you connect and disconnect the strap quickly.
Some helmets also have a rear adjustment dial that tightens the inner cradle around the back of the head. That dial is not a substitute for correct strap routing, but it can fine-tune the fit after the straps are set.
How helmet fit differs from strap adjustment
Fit is the overall match between your head and the helmet shape. Strap adjustment is the process of positioning the retention system so that the helmet stays stable on that head shape.
If the helmet sits crooked, feels unstable before you even fasten the strap, or needs extreme tightening to stay still, the size or shape may be wrong. In that case, a different helmet may solve the issue better than more strap tension.
Helmet sizing and shell shape vary by brand and model. Always check the manufacturer’s size chart and fitting instructions for the exact helmet you own or plan to buy.
Step-by-Step Guide to Adjusting Mountain Bike Helmet Straps
Set the helmet level, not tilted back like a cap. The front edge should sit low enough to protect the forehead without blocking your upper vision.
Adjust the side sliders so the straps meet just below and slightly in front of each ear, creating a symmetrical V. This keeps the helmet centered and reduces side-to-side wobble.
Place the buckle under the chin and center the strap so it lies flat on both sides. The strap should rest comfortably against the skin or a thin layer of fabric, not twist or rub.
Tighten until you can fit roughly one to two fingers under the chin strap, then open and close your mouth to confirm comfort. If the helmet still shifts, adjust the rear retention dial or recheck the helmet size before tightening more.
Position the helmet correctly on your head
Start with the helmet sitting level across the forehead. If it rides too high, the front edge may leave too much forehead exposed; if it rides too low, it may interfere with your field of view.
Once the helmet is in place, use the rear adjustment system if your model has one. This should be done before fine-tuning the chin strap so the helmet sits in its intended position.
Set the side straps into a clean V-shape
The side straps should meet below the ear, not directly on top of it. A clean V-shape helps keep the helmet from rotating and reduces the chance of the straps sliding into uncomfortable spots.
If the left and right strap lengths are uneven, the buckle may sit off-center and the helmet can feel crooked. Make small adjustments on both sides until the straps mirror each other.
Center and secure the chin strap
The buckle should sit centered under the chin, and the strap should lie flat without twists. Twisted webbing can feel irritating and may make the fit harder to judge accurately.
After buckling, pull the loose end so the strap is snug. You should be able to speak and breathe normally, but the helmet should not lift noticeably when you open your mouth or move your head.
Check tension: snug, not choking
Too loose is the more common problem, but too tight can be just as distracting on the trail. A strap that presses into the throat, jaw, or under-chin area can cause discomfort over time and tempt riders to loosen it mid-ride.
Use comfort as part of the fit test, not the only test. The right tension is firm enough to stabilize the helmet and gentle enough that you forget about it after a few minutes.
- Adjust straps with your usual eyewear on if you ride with glasses or goggles.
- Make one change at a time so you know what improved the fit.
- Recheck strap tension after a few minutes, since some webbing settles slightly.
Fit Checks Every Rider Should Do Before Hitting the Trail
Once the straps are set, do a few quick checks before you roll out. These checks help catch a helmet that feels fine while standing still but moves too much once you start turning your head or bouncing over rough ground.
The shake test, head-turn test, and buckle check
Gently shake your head side to side and up and down. The helmet should move with you rather than slide around independently.
Then turn your head left and right as if checking a trail feature behind you. The helmet should stay centered, and the buckle should remain flat and secure. Finally, make sure the loose strap tail is managed so it does not flap or catch on gear.
How to verify comfort with sunglasses, goggles, or eyewear
If you wear sunglasses or goggles, put them on before your final fit check. Frame arms, goggle straps, and helmet straps can compete for the same space around the temples and ears.
Look for pressure points where the helmet strap crosses eyewear arms or where goggles push the helmet upward. A small strap repositioning can fix this, but if the helmet and eyewear constantly interfere, a different helmet shape may be a better match.
Signs the helmet is too loose, too tight, or misaligned
A helmet is likely too loose if it rocks, slides forward when you look down, or shifts when you touch the shell lightly. It may be too tight if the chin strap digs in, the rear cradle creates hot spots, or the helmet leaves deep pressure marks quickly.
Misalignment usually shows up as uneven strap angles, a buckle sitting off-center, or a helmet that tilts to one side. Correcting alignment is often easier than tightening the straps further.
Helmet Standards, Sizing, and What to Verify Before You Ride
Strap adjustment matters, but the helmet itself must be appropriate for the ride. Before buying or using a helmet, check the size range, intended use, and any certifications or labeling required in your region or event rules.
Key safety certifications to look for in 2025
Look for the certifications or compliance statements listed by the manufacturer for your market, and confirm they match your local requirements. For cycling helmets, common references in the U.S. include CPSC, while other regions may use different standards.
Some mountain bike helmets also advertise additional coverage or performance features, but those claims should be treated as model-specific rather than universal. Always verify the exact labeling on the helmet and the official product documentation.
How to choose the right size and shell shape
The right size is the one that matches your head circumference and shape without forcing the retention system to work at its limit. A helmet that is technically “your size” can still fit poorly if the shell is too round, too narrow, or too deep for your head.
When possible, compare the manufacturer’s size chart with your own head measurement, then confirm the fit with the helmet on and buckled. If the helmet only feels secure when overtightened, it may not be the right model for you.
| Fit Factor | Best For | What to Check |
|---|---|---|
| Head size | Basic sizing match | Manufacturer size chart and head circumference range |
| Head shape | Comfort and stability | Helmet profile, pressure points, and shell depth |
| Retention system | Fine-tuning fit | Dial range, cradle adjustment, and strap routing |
Who benefits most from specific MTB fit features
Riders who wear glasses often benefit from easy-to-adjust side straps and a smooth buckle layout. Riders on rough trails may prefer a retention system that stays stable under repeated movement, while commuters and casual riders may prioritize quick on-and-off convenience.
Parents fitting a helmet for a growing rider should pay extra attention to adjustment range and comfort over time. If the helmet has to be tightened more every few weeks just to stay secure, the rider may be outgrowing it.
Common MTB Strap Mistakes and How to Fix Them
Most strap problems are small but important. A twisted strap, misplaced buckle, or uneven side adjustment can make a helmet feel wrong even if the shell size is technically correct.
Twisted straps, loose buckles, and chin strap placement errors
Twisted webbing creates pressure points and can make the strap feel tighter on one side than the other. Straighten the strap before buckling, then check that the buckle rests flat beneath the chin.
If the buckle sits too far to one side, the helmet may feel lopsided. Re-center the strap and recheck both side sliders so the V-shape remains symmetrical.
Over-tightening, poor ear alignment, and incorrect buckle position
Over-tightening the chin strap is a common reaction to a helmet that is actually too loose at the shell or cradle. If you have to clamp down hard just to stop movement, revisit the helmet size and rear adjustment first.
Also check that the side straps do not sit on top of the ears. Straps that cross the ear area can cause irritation and may shift out of place during a ride.
When to re-adjust after hair, weather, or clothing changes
Hair volume, hats, balaclavas, and cold-weather layers can all change how a helmet fits. If you switch from a thin summer setup to a thicker cold-weather setup, recheck the straps before riding.
Wet hair, sweat, and dust can also affect comfort. If the helmet starts to feel different mid-season, do not assume the fit is still correct without a quick inspection.
- Recheck fit whenever your headwear changes
- Keep straps flat and symmetrical
- Confirm the buckle stays centered under the chin
- Using the chin strap to fix a bad helmet size
- Riding with twisted or uneven straps
- Ignoring discomfort that keeps coming back
Care, Inspection, and Replacement: Keeping Helmet Protection Reliable
Strap adjustment is only part of helmet care. A helmet can fit correctly one day and become unreliable later if the straps fray, the buckle fails, or the shell and foam are damaged.
How to inspect straps, buckles, foam, and shell damage
Before and after rides, look for fraying webbing, cracked buckles, loose anchors, compressed foam, or visible shell damage. If any strap or attachment point looks compromised, follow the manufacturer’s inspection guidance rather than trying to improvise a fix.
Stop using a helmet with cracked foam, damaged straps, or a broken buckle until you confirm whether replacement is required.
Cleaning and storage tips that help preserve fit and materials
Clean straps and padding according to the care instructions for your specific helmet. Mild soap and water are often used for general cleaning, but always confirm what the manufacturer allows before soaking or machine washing any part.
Store the helmet in a cool, dry place away from direct sunlight, chemicals, and crushing weight. Heat and pressure can affect straps, foam, and the fit system over time.
When to replace a helmet after impact, age, or wear
Replace the helmet after any significant impact if the manufacturer says to do so, even if the damage is not obvious. Also replace it when the straps or retention parts no longer hold securely, or when the helmet shows age-related wear that affects fit or integrity.
If you are unsure, check the official manual, warranty guidance, and any current recall notices from the manufacturer or relevant safety authorities. That is the safest way to decide whether the helmet should stay in service.
Final Recommendation: The Best Way to Balance Safety, Comfort, and Trail Performance
The best mountain bike helmet strap setup is simple: level helmet, clean V-shaped side straps, centered chin buckle, and snug tension that keeps the helmet stable without discomfort. If you still need to overtighten the chin strap to get that result, the real issue is usually fit, shape, or retention range—not just strap adjustment.
For the most reliable setup, verify the helmet’s sizing guidance, check the certification label for your region, and re-inspect the straps regularly. A well-adjusted helmet should feel secure, stay centered, and disappear into the background once you start riding.
Common Questions
The helmet should stay centered and stable when you shake or turn your head. The chin strap should feel secure without digging in.
It should sit centered under the chin. An off-center buckle can make the helmet feel crooked and less comfortable.
Only to a point. If you need to overtighten the chin strap to stop movement, the helmet may be the wrong size or shape.
Yes, because eyewear can change how the straps sit around your ears. Put your eyewear on before your final fit check.
Recheck it before each ride and whenever your hair, headwear, or weather layers change. Small changes can affect comfort and stability.
Frequently Asked Questions
They should be snug enough to keep the helmet stable, but not so tight that they pinch or make it hard to breathe comfortably. A common check is whether you can fit about one to two fingers under the chin strap.
The side straps should form a clean V shape just below and slightly in front of each ear. That helps keep the helmet centered and reduces side-to-side movement.
If the helmet rocks, slides, or only feels secure when you overtighten the straps, the size or shell shape may be wrong. Check the manufacturer’s size chart and fit guidance before assuming the straps are the problem.
Check the label or product documentation for the certification that applies in your region. In the U.S., cycling helmets commonly reference CPSC, but requirements can differ by market and event rules.
Replace the helmet if straps, buckles, foam, or the shell are damaged, or if the helmet no longer fits securely. After a significant impact, follow the manufacturer’s replacement guidance even if the damage is not obvious.
Yes, hair volume, hats, balaclavas, and cold-weather layers can all change the fit. Recheck the straps whenever your setup changes so the helmet still sits level and secure.