Cheap MTB lights often fail on trails because their beam, mount, battery, and weather protection are usually not built for rough off-road riding. They can work for short, low-risk rides, but trail riders should verify runtime, fit, and sealing before relying on them.
Cheap MTB lights often fail on trails because the beam, battery, mount, and weather protection are usually built for casual use rather than rough, fast off-road riding. That does not mean every budget light is bad, but it does mean trail riders need to judge performance by more than a big lumen number.
- Beam quality matters: Trail riding needs a useful mix of flood and throw, not just a high.
- Mounts fail first: Vibration and impacts can make weak clamps or straps shift, sag, or break.
- Runtime is the real test: Cold weather, battery age, and brightness level can shorten usable ride time.
- Weather protection counts: Mud, rain, and dust can expose weak seals and charging-port covers.
- Best for casual use: Budget lights fit slower, familiar routes better than fast technical trails.
Why Cheap MTB Lights Fail on Trails: The Short Answer
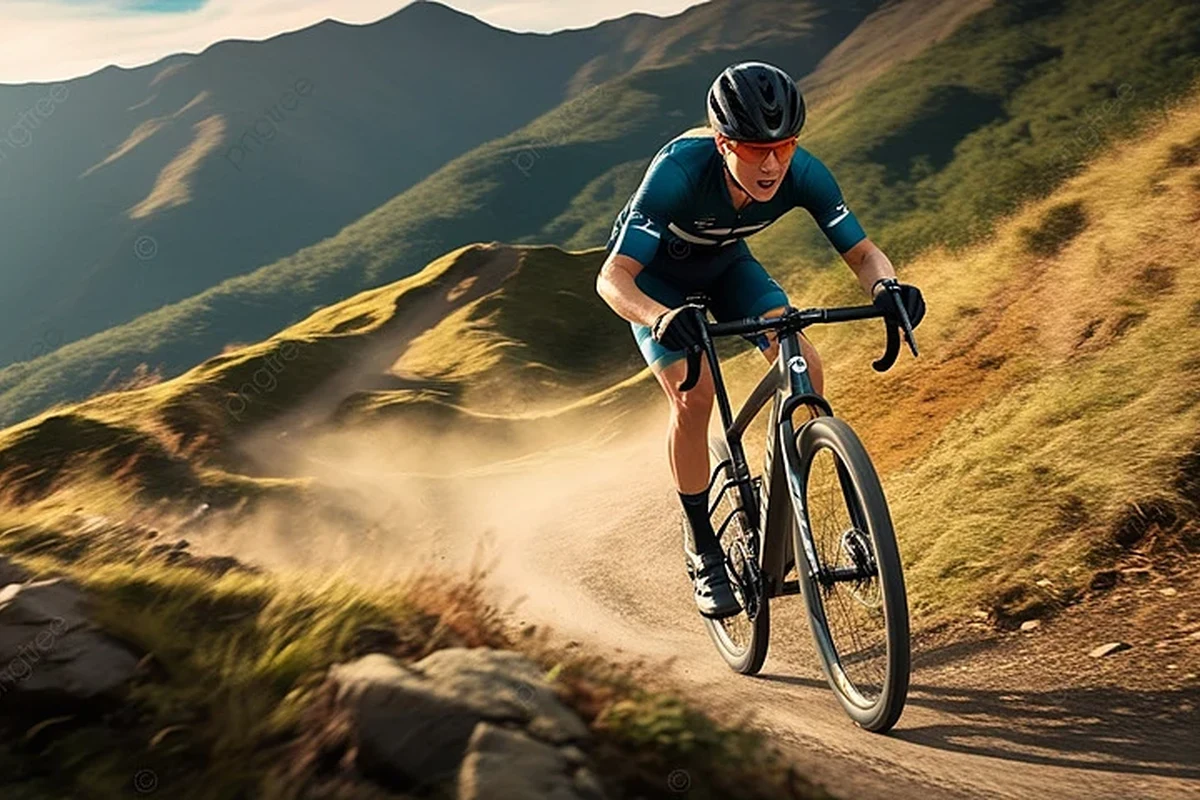
The short answer is that trails expose weak points very quickly: shaky mounts, uneven beam patterns, short real-world runtime, and poor sealing against mud or rain. On smooth paths, a bargain light may seem fine; on roots, rocks, cold nights, and repeated vibration, its limits become obvious.
That is why the cheapest option is not always the best value. A light that looks bright on paper but flickers, shifts, or fades early can be less useful than a modest model with steadier output and a better mount.
How MTB Lights Work on Real Trails
Mountain bike lights have one job: help you read the trail fast enough to react safely. On uneven terrain, that means the light must show close obstacles, reveal corners, and maintain enough output for the whole ride, not just the first few minutes.
Beam pattern, lumens, and throw vs. flood
Lumens describe total light output, but they do not tell the whole story. A trail-friendly light needs a beam pattern that balances throw, which reaches farther ahead, and flood, which lights the sides and immediate trail features.
Many cheap MTB lights advertise high lumen numbers yet use a narrow or poorly shaped beam. That can create a bright hotspot in the center while leaving corners, roots, and berm edges dim. On technical singletrack, those dark zones matter because they reduce your ability to line up turns and spot changes in surface texture.
Manufacturer lumen claims are not always measured the same way across brands. When comparing lights, look for beam photos, runtime charts, and mounting style rather than relying on one big number.
Battery output, heat management, and runtime
Cheap lights often struggle to hold output once the battery voltage drops or the housing gets hot. Some models start strong and then dim faster than expected, especially if the battery pack is small or the electronics are basic.
Heat management matters because LEDs and drivers perform better when the housing can shed heat efficiently. On a slow climb or a warm night ride, a poorly managed light may reduce brightness to protect itself, which can feel like the light is “failing” even when it is technically working as designed.
Runtime is usually more useful than peak brightness when you ride trails, because consistent output helps you plan your pace and return time.
Where Budget Lights Usually Break Down
Budget lights tend to fail in the same places: output accuracy, durability, and weather resistance. Those weaknesses are easy to miss in a parking lot test but hard to ignore once the trail turns rough or the weather changes.
Brightness claims vs. usable trail illumination
A light can be bright in a small indoor space and still be poorly suited to trail riding. The problem is not only brightness, but how that brightness is spread across the path ahead.
Some budget models use inflated marketing claims or optimistic “max” settings that cannot be sustained for long. Others provide enough light for rolling paths but not enough for faster descents, where you need a wider, more controlled beam and better depth perception.
- Compare runtime charts at the brightness level you would actually use, not only the highest setting.
- Look for beam shape details, not just lumen claims.
- Check whether the light has a low-battery warning or clearly stated step-down behavior.
Vibration, impacts, and mount failure
Trail riding creates constant vibration, repeated bumps, and occasional impacts. If the mount is soft, loose, or poorly designed, the light can bounce downward, twist sideways, or slip off the bar or helmet.
That matters because a shifting beam forces you to stop and readjust, and in some cases the light can point into the front wheel or the trees instead of the trail. Cheap mounts may also wear out faster, especially if they rely on thin straps or plastic parts that do not tolerate repeated stress well.
Stop using any light with cracked housings, stretched straps, loose clamps, or damaged battery leads. Follow the manufacturer’s inspection and replacement guidance before riding again.
Weather sealing, mud, and cold-weather performance
Trails are messy. Water spray, mud, dust, and cold temperatures can all expose weak seals or low-quality connectors. A light that seems fine in dry weather may flicker, corrode, or shut down after repeated exposure to wet conditions.
Cold weather also changes battery behavior. Many batteries deliver less usable power when temperatures drop, so a budget light with limited capacity may lose runtime faster than expected on winter rides. If the light’s sealing or charging port cover is weak, moisture can create even more problems over time.
Do not assume a light is weatherproof unless the manufacturer clearly states its protection level and usage limits. If the manual does not explain wet-weather use, confirm it before relying on the light in rain or muddy conditions.
What to Look For in a Trail-Ready MTB Light
Trail-ready does not always mean expensive, but it does mean specific. A good choice should match your terrain, speed, riding time, and mounting setup instead of chasing the biggest number on the box.
Key specifications that matter in 2025
In 2025, the most useful buying criteria are still the basics: beam quality, usable runtime, mount stability, battery reliability, and weather protection. If a brand provides clear runtime charts, beam descriptions, and manual details, that is usually more helpful than vague marketing language.
Mount compatibility, helmet vs. handlebar use
Handlebar lights illuminate the trail surface and help you see turns, while helmet lights point where you look and help with scanning. Many riders use both, but a single light can still work if it matches the ride style.
Cheap lights often fail here because the mount is not secure enough for off-road movement or does not fit common bar diameters and helmet shapes well. Before buying, confirm whether the mount is designed for your setup and whether the light stays aimed where you need it after bumps and braking.
- Confirm bar or helmet compatibility
- Check runtime at the brightness level you need
- Review the weather-sealing guidance in the manual
- Verify charging method, spare battery options, and cable type
Battery type, charging method, and spare power options
Battery design affects convenience as much as performance. Integrated batteries can be simple to charge, while external packs may offer more flexibility for longer rides, but the right choice depends on the model and your storage habits.
For trail use, it helps if the light offers a clear charging indicator, predictable recharge behavior, and a safe way to carry spare power if the ride is long. If the battery is not replaceable, the light’s long-term value depends even more on the quality of the electronics and the manufacturer’s support policy.
Who Cheap MTB Lights Fit — and Who Should Avoid Them
Cheap MTB lights are not automatically wrong. They can make sense for slower, shorter, lower-risk rides, but they are a poor match for riders who need dependable output in demanding conditions.
Best use cases for casual riders and low-risk routes
Budget lights can work for casual riders who stay on familiar paths, ride at moderate speeds, and do not depend on the light for long technical descents. They may also suit commuters who want backup visibility or riders who only need occasional night use.
If your route is predictable and you can afford to slow down, a lower-cost light may be acceptable as long as you verify the mount, runtime, and weather guidance. The key is to treat it as a convenience item, not a high-trust safety system.
Riders, terrain, and speeds that demand better gear
Riders who move fast, descend technical trails, ride in wet weather, or depend on night riding for training should look for stronger gear. The faster you go, the more a weak beam pattern or unstable mount becomes a real problem.
Steeper terrain, loose surfaces, and frequent braking all increase the need for reliable illumination. If a light is intended for enduro-style riding, long backcountry loops, or winter sessions where visibility is critical, it is usually worth choosing a model with better thermal control, sturdier hardware, and clearer manufacturer documentation.
Can fit if rides are short, slow, and close to home, and the rider checks the mount and runtime carefully.
May fit for backup or casual night use, but durability and battery consistency become more important.
Usually needs a more dependable beam, stronger mounting, and better weather protection for trail speed and technical terrain.
Common Mistakes That Make Budget Lights Seem Worse
Sometimes the light is not the only problem. Setup errors, unrealistic expectations, and poor planning can make a budget light look worse than it really is.
Poor mounting angle and blind spots
If a handlebar light points too low, it only lights the front wheel and the ground directly ahead. If it points too high, it can waste light into the trees and reduce your view of the trail surface.
That is why beam angle matters. A proper setup should show enough of the trail immediately in front of you while still giving you time to react to turns, drops, and obstacles. If the mount is easy to shift, the beam can drift after a few bumps and create blind spots.
- Set the beam angle on a familiar, low-risk path before riding technical terrain
- Recheck the light after the first rough section
- Use a helmet light if you need to look through corners
- Assuming the factory angle is correct for your bike and riding position
- Ignoring a light that slowly rotates or sags during the ride
- Depending on one weak beam for fast descents
Ignoring runtime, reserve power, and temperature effects
Many riders focus on the maximum advertised runtime and forget that real use is different. Brightness level, cold weather, battery age, and repeated stop-and-start riding can all reduce the actual time the light stays useful.
If you ride at night, leave reserve power in the battery instead of planning to use every last minute. A light that fades near the end of the ride can create a bigger problem than one that is slightly less bright but consistent the whole way home.
Overestimating lumen numbers and underestimating trail conditions
High lumens do not automatically equal better trail visibility. A poorly designed 2,000-lumen light can be less effective than a more balanced light with lower output but better optics and a steadier beam.
Trail conditions also change the experience. Wet roots, dust, fog, and reflective surfaces can affect what you see, so a light that seems bright on a dry path may feel less useful once conditions become more complex. That is why trail riders should compare real-world usability, not just marketing specs.
Safe Use, Care, and Storage for MTB Lights
Even a good light needs basic care. Regular inspection, careful charging, and proper storage can help prevent avoidable failures and make the light more dependable over time.
Pre-ride checks and night-riding safety habits
Before a night ride, confirm that the light turns on, changes modes correctly, and stays secure on the bar or helmet. Check battery level early enough to avoid starting with too little reserve.
- Pack a backup light or spare power source for longer rides when possible.
- Keep the lens clean so dust and mud do not cut output.
- Use reflective or visible gear as a backup to your light, especially near roads or shared paths.
Night riding still requires conservative judgment. A light improves visibility, but it does not remove the need to slow down for unfamiliar terrain, blind corners, or wet surfaces.
Cleaning, charging, and storage between rides
After muddy rides, wipe the housing and mount with a soft cloth and follow the manufacturer’s cleaning guidance. Avoid forcing water into ports, seals, or charging covers, and let the light dry fully before storage if it got wet.
For battery care, use the charging method recommended by the manufacturer and do not store the light in extreme heat or cold if the manual advises against it. If the battery is removable, keep it in a safe, dry place and inspect it periodically for swelling, corrosion, or other damage.
If a light gets dropped, submerged, or stops holding charge normally, stop relying on it until you confirm the manufacturer’s service or replacement guidance.
Final Verdict: When Cheap MTB Lights Are Worth It and When They Are Not
Cheap MTB lights are worth considering when your rides are short, slow, and low-risk, and you are willing to check fit, runtime, and weather guidance carefully. They are not a great choice when you need dependable trail lighting for speed, technical terrain, cold weather, or repeated rough use.
Choose a budget light only if you can accept shorter runtime, simpler mounts, and possible compromises in beam quality. If your trail riding depends on stable illumination and consistent performance, a better-built light is usually the safer long-term value.
For any model you are considering, confirm the current specifications, manual, return policy, and warranty before buying. That simple check matters more than the headline lumen number when your rides happen after dark.
Frequently Asked Questions
They often fail because trail riding exposes weak mounts, uneven beam patterns, short runtime, and poor weather protection. A light can look fine on smooth paths but struggle once vibration, mud, and cold weather are involved.
Beam pattern, mount stability, and usable runtime matter more than a big lumen claim. A balanced beam that lights both the trail ahead and the sides is usually more useful than a narrow hotspot.
Yes, if the rides are short, familiar, and low speed, and the rider checks the mount and battery level carefully. It is better suited to backup use or casual paths than to technical night riding.
Handlebar lights help you see the trail surface, while helmet lights help you look through corners and scan ahead. Many riders use both, but the best setup depends on speed, terrain, and the type of riding you do.
Set the beam angle correctly, keep the lens clean, and check the mount before every ride. Also plan around realistic runtime and cold-weather battery loss instead of relying on the maximum claim.
Confirm compatibility, runtime at your preferred brightness, weather-sealing guidance, charging method, and warranty terms. If the manufacturer does not clearly explain these details, compare another model before you buy.
