Beginner trail repairs are small maintenance fixes that restore trail shape, drainage, and safety without changing the trail design. The best beginner repairs are minor, cautious, and only done when the damage is clearly simple and allowed by the trail system.
Beginner mountain bike trail repairs are small, practical fixes that help keep a trail safe, rideable, and less likely to erode after traffic or weather. This guide explains what beginners can handle, what should be left to trail crews, and how to make repairs without making the problem worse.
- Start small: Focus on debris removal, shallow ruts, and minor drainage blockages.
- Protect drainage: Good repairs keep water moving off the trail, not trapped on it.
- Know your limits: Deep erosion, unstable slopes, and fallen trees should be reported.
- Use simple tools: Gloves, a compact shovel or rake, and a tamping tool are usually enough.
What Mountain Bike Trail Repairs Are and Why Beginners Need Them
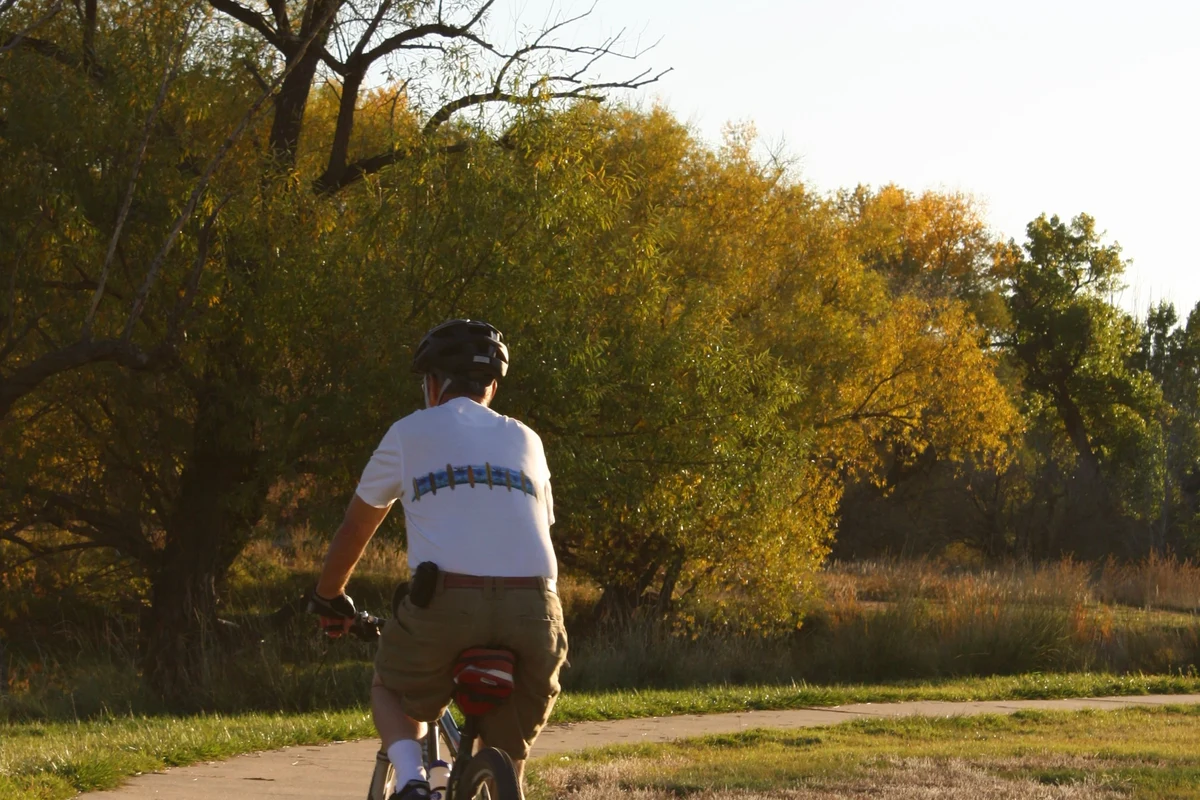
Trail repairs are the small maintenance tasks that restore a trail’s shape, drainage, and ride quality after use, weather, or minor damage. For beginners, the goal is not to “rebuild” the trail; it is to recognize simple problems and make careful, low-impact fixes that support the trail instead of reshaping it beyond its intended design.
How trail repairs work in practice
In practice, a trail repair usually means moving loose material back into place, clearing drainage paths, removing small hazards, or smoothing a narrow damaged spot so water and riders can pass without digging the trail deeper. Most beginner-level work should be light-touch and reversible, especially on shared trails where the original trail design matters.
Think of beginner trail repair as maintenance, not construction. If the fix changes the trail’s line, slope, or drainage in a major way, it is usually beyond a beginner task.
Why quick fixes matter for safety, flow, and trail longevity
Small issues can become larger ones fast. A shallow rut can deepen, a clogged drainage dip can hold water, and a loose rock can turn into a crash risk if riders keep hitting it.
Quick fixes help preserve trail flow, reduce standing water, and limit erosion. They also keep the riding surface more predictable, which matters for beginners who are still learning line choice and bike handling.
When You Should Attempt a Trail Repair Versus Ride On
Not every trail problem should be handled on the spot. A good beginner decision is to fix only what is clearly minor, safe to address, and allowed by the trail system or volunteer program.
Common problems beginners can safely address
Minor debris, small branches, loose leaves hiding a hazard, shallow ruts, and small drainage blockages are often reasonable beginner tasks. If the issue is obvious, shallow, and easy to correct without major digging, it may be a good candidate for a simple repair.
Damage that should be reported or left to trail crews
Deep erosion, washouts, exposed roots that require structural work, landslide debris, fallen trees, unstable slopes, and repeated drainage failure should be reported to the trail manager or volunteer crew. These problems often need tools, planning, and permissions that go beyond casual trail-side maintenance.
Stop and report damage if the area looks unstable, flooded, undermined, or likely to worsen with more foot traffic or bike traffic.
Reading terrain, weather, and erosion conditions before acting
Before touching a repair, check whether the ground is too wet, too loose, or too fragile for light work. Wet clay, saturated loam, and steep slopes can collapse or smear when handled at the wrong time, which can make the damage spread.
Weather matters too. A spot that looks manageable in dry conditions may need a different approach after rain, freeze-thaw cycles, or repeated storm runoff. When in doubt, document the issue and leave it for the right maintenance window.
Essential Tools and Materials for Beginner Trail Repairs
Beginner trail repair tools should be simple, portable, and appropriate for the trail type. The right setup helps you work safely and avoid overdoing the repair.
Basic hand tools, gloves, and compact carry options
Gloves help protect your hands from sharp rocks, thorns, and abrasive soil. A compact hand rake, trowel, or small shovel is usually enough for light repair work, while a tamping tool helps settle soil without aggressive compaction.
Carry tools in a way that keeps them secure and easy to access. A small pack, hip pack, or volunteer tool carrier may work better than loose-carrying items by hand, especially on uneven terrain.
Materials to verify: soil, rocks, water, tamping tools, and markers
Some repairs rely on matching the existing trail material as closely as possible. Soil, rocks, and moisture levels should fit the surrounding surface; otherwise the repair can stand out, wash away, or feel awkward under tires.
Water is often useful for settling soil, but only when the trail design and conditions call for it. Markers or temporary indicators may be helpful if the trail group allows them, but they should not block the trail or create confusion for riders.
What to pack for different trail types and weather conditions
Hardpack trails may need less material and more careful smoothing, while loam or clay trails may need moisture awareness and lighter handling. Rocky trails often need hazard removal or repositioning rather than soil replacement.
For wet or changing weather, pack extra gloves, a brush or small rake, and a method to keep your tools clean. If the trail is remote, bring enough water for basic cleanup and a way to carry out trash or broken debris.
- Use the smallest tool that can do the job cleanly.
- Match the surrounding surface instead of creating a new shape.
- Pack out trash, broken straps, and any debris you remove.
Step-by-Step Trail Repair Methods Beginners Can Learn
Simple trail repair is mostly about restoring the trail’s original function: stable tread, managed water flow, and a clear riding path. The safest beginner fixes are small, controlled, and easy to undo if a trail professional needs to revisit them later.
Filling ruts, smoothing brake bumps, and restoring surface shape
Start by looking at why the damage formed. A rut may be caused by water, braking, or repeated rider traffic in the same line. Add only enough matching material to restore the surface, then shape it gently so the trail still sheds water and does not become a flat basin.
Remove loose debris, roots, or stones that are clearly out of place and easy to lift safely.
Place soil or compatible fill in thin layers rather than dumping a large pile into the rut.
Use a tamping tool lightly so the surface is stable, then smooth it to match the surrounding tread.
Clearing small debris, drainage blockages, and loose hazards
Leaves, pine needles, sticks, and small stones can hide the trail edge or block drainage. Clearing them helps water move off the trail instead of across it, which is one of the simplest ways to protect the surface.
Be careful not to dig deeper than needed. If a drain or water bar is already part of the trail design, remove only the material blocking it, not the structure itself.
Rebuilding minor erosion spots without overworking the trail
Minor erosion spots often look like shallow cuts or soft edges where water has started to pull the tread apart. The best beginner response is usually to stabilize the surface, restore the trail’s shape, and keep the repair small.
Avoid repeatedly raking the same area or making the patch wider than the original damage. Overworking the trail can loosen more soil and create a larger problem than the one you started with.
How to Choose the Right Repair Approach for the Terrain
The same repair method does not work equally well on every trail. Terrain, drainage, and traffic patterns should guide how much material you move and how much shaping you attempt.
Hardpack, loam, rocky sections, and wet trail considerations
Hardpack usually needs careful surface restoration and hazard removal rather than heavy fill. Loam and softer soil can be easier to shape, but they are also easier to damage if you overwork them. Rocky sections often need loose rock repositioned or cleared rather than soil added.
Wet trails deserve extra caution. If the ground smears, sinks, or clumps badly, the best repair may be to leave it and report the issue rather than trying to force a fix in poor conditions.
| Terrain | Best Beginner Approach | Main Caution |
|---|---|---|
| Hardpack | Light smoothing and debris removal | Avoid flattening drainage shape |
| Loam | Gentle fill and light tamping | Do not overcompact |
| Rocky | Move loose hazards or small debris | Do not destabilize larger rocks |
| Wet soil | Often leave for later or report | Working it can worsen erosion |
Matching repair technique to slope, drainage, and traffic patterns
Steeper sections need extra attention to drainage because water and braking forces can deepen damage quickly. High-traffic corners and climbs may need more durable shaping than low-use areas, but they still should not be overbuilt by hand.
Look at where water naturally wants to go and where riders naturally brake or accelerate. A good repair supports those patterns instead of fighting them.
Practical trade-offs between speed, durability, and trail appearance
A fast repair may be enough for a temporary hazard, but it may not last long in heavy traffic or rain. A more durable repair usually takes a little more time to shape and settle, though beginners should still keep the work modest.
Trail appearance matters less than function, but a tidy, blended repair is often less likely to be kicked apart or eroded. Aim for a surface that looks like it belongs there, not a patch that draws attention.
Safety, Trail Etiquette, and Common Beginner Mistakes
Trail work is still outdoor work, and outdoor work carries risk. Good etiquette and cautious habits matter just as much as the repair itself.
Personal safety: visibility, gloves, footwear, and tool handling
Wear footwear that gives stable footing on uneven ground and gloves that protect against sharp material. If you are working near a riding line, make sure you are visible to others and can step out of the way quickly.
Handle tools with control, especially on slopes or near other trail users. Keep tool heads pointed safely away from your body and from anyone nearby.
Never stand in a blind corner or block a trail segment where riders may appear suddenly. If visibility is poor, pause the work and improve your position before continuing.
Trail etiquette: permissions, signage, and respecting trail builders
Some trail systems welcome volunteer maintenance, while others require approval or coordination. Check local signage, trail association guidance, or land manager rules before making changes.
Respect original trail design and the people who built or maintain it. If a trail crew has marked a section for repair, follow their instructions rather than improvising a different fix.
Mistakes to avoid: overfilling, poor drainage, and compacting too soon
One common mistake is overfilling a rut or hole until the trail becomes too high or too flat. That can redirect water incorrectly and create a new soft spot.
Another mistake is compacting wet soil too aggressively or too early. If the material is not ready to hold shape, the repair can slump or seal in water and fail faster.
- Use small amounts of matching material
- Preserve drainage and trail shape
- Report unstable or large-scale damage
- Building a big patch over a small problem
- Working saturated or unstable ground
- Changing the trail line without permission
Care, Storage, and Maintenance After Trail Work
After the repair is done, a little cleanup helps your tools last longer and makes it easier to return for follow-up work later.
Cleaning and storing tools after muddy or wet repairs
Remove mud, grit, and plant material from tools before storing them. Wet soil left on metal parts can lead to corrosion or make the tool harder to use next time.
Dry gloves, wipe handles, and store tools where they will not rust, warp, or snag other gear. If your tools live in a vehicle or pack, keep them secured so they do not shift around on the ride home.
Inspecting repaired sections after rain and repeated traffic
A repaired section often reveals its weaknesses after the next rain or a few days of rider traffic. Check whether the patch held its shape, whether water is flowing correctly, and whether the trail edge is still stable.
If the repair settled well but needs a small touch-up, keep the follow-up small. The goal is to maintain the fix, not keep reworking it indefinitely.
When to revisit, improve, or report a recurring problem
If the same area keeps failing, there may be a deeper drainage or design issue. At that point, the best next step is usually to report it to the trail crew or land manager so the underlying cause can be addressed.
Revisit only when conditions are suitable and the repair is still within beginner scope. If the problem is getting larger, stop treating it like a quick fix.
Is Beginner Trail Repair Worth Learning in 2025?
Yes, basic trail repair is worth learning for riders who use local trails regularly and want to help keep them safe and rideable. The skill is most useful when paired with patience, trail etiquette, and a willingness to leave bigger repairs to experienced crews.
Who benefits most from learning basic repairs
Beginners, volunteer riders, trail ambassadors, and parents who ride with kids can all benefit from knowing how to handle small trail issues. The skill also helps commuters and casual riders who want to recognize hazards and understand when a trail needs attention.
Good fit if you want to handle minor hazards and learn trail care basics.
Strong fit if you ride the same trails often and notice recurring damage.
Useful as a foundation, but larger repairs should follow crew guidance and local standards.
Limitations of beginner-level fixes and when to call in experts
Beginner repairs have clear limits. They are not a substitute for drainage redesign, structural trail rebuilding, landslide cleanup, or work that requires specialized tools and formal approval.
Call in experienced trail builders or land managers when the issue is large, unstable, recurring, or tied to a bigger drainage problem. If you are unsure, err on the side of reporting rather than improvising.
Final recommendation for new riders and volunteer trail users
Learn the basics, carry a small repair kit when appropriate, and focus on simple, low-risk fixes that preserve the trail’s shape and drainage. That approach helps new riders contribute without causing accidental damage, and it keeps the trail safer for everyone who follows.
Frequently Asked Questions
Beginners can usually handle small debris removal, shallow ruts, loose hazards, and minor drainage blockages. If the repair needs major digging or changes to trail shape, it is better left to trail crews.
Report damage that is deep, unstable, flooded, or likely to get worse, such as washouts, landslides, or fallen trees. If the area looks unsafe or beyond a light touch-up, do not improvise a repair.
A basic kit often includes gloves, a small rake, a compact shovel or trowel, and a tamping tool. Some repairs may also call for water, markers, or a way to carry out debris, depending on trail rules.
Usually, wet or muddy ground is not the best time for trail repair because it can smear or compact poorly. If the soil is saturated or unstable, it is often better to wait or report the issue.
Use matching material in thin layers, preserve drainage, and avoid overfilling the damaged spot. A repair that blends with the trail and sheds water is more likely to hold up.
Often yes, because some trail systems require volunteer coordination or land manager approval. Check local signage, trail association guidance, or official rules before making changes.
