Carry hydration, a flat-fix kit, a multitool, ID, and your phone in a mountain bike hip pack. Add snacks, weather protection, and first-aid items only when the ride length, terrain, or conditions call for them.
A mountain bike hip pack should carry the essentials that keep a ride moving: hydration, basic repair tools, safety items, and a few comfort extras. The right loadout depends on ride length, terrain, weather, and how much storage your pack can handle without bouncing or digging into your waist.
- Core loadout: Water, repair tools, phone, and ID cover most trail rides.
- Ride matters: Longer, hotter, or remote routes need more gear than short local laps.
- Fit matters: A stable hip pack should not bounce, twist, or dig into your waist.
- Organization matters: Keep fast-access items easy to reach and heavy items close to your body.
What to Carry in a Mountain Bike Hip Pack: The Short Answer
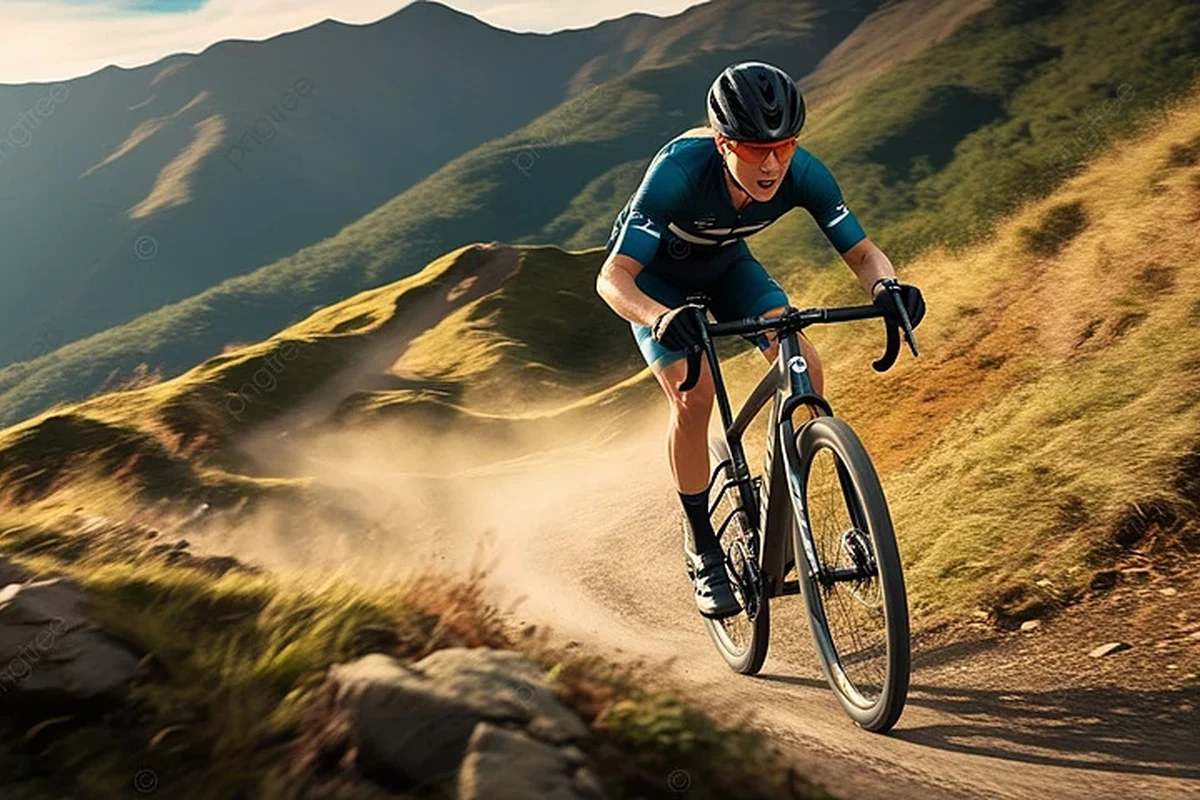
For most riders, the core loadout is water, a repair kit, ID, phone, and a multitool. Add snacks, keys, sunscreen, and a small first-aid kit if the ride is longer, hotter, more remote, or more technical.
How a Mountain Bike Hip Pack Works on the Trail
A hip pack sits around your waist or lower back, shifting storage off your shoulders and onto your hips. That changes how the load feels during climbing, descending, and pedaling over rough ground.
Why riders choose a hip pack over a backpack
Many riders prefer a hip pack because it can feel cooler and less restrictive than a backpack. It also leaves the upper back more open for airflow and can reduce the “carrying a load on your shoulders” feeling on shorter to mid-length rides.
Hip packs are especially appealing for riders who want quick access to tools, snacks, or a phone without removing a pack from their back. The trade-off is capacity: a hip pack usually carries less than a backpack, so you need to be selective.
How weight distribution affects comfort, balance, and ventilation
Weight carried low and close to the body can feel stable if the pack fits well. If the load sits too high, shifts side to side, or hangs loose, it can interfere with pedaling and body movement on rough trails.
Ventilation is another reason riders choose this style. With less material on the upper back, many riders find it easier to stay cooler, though that benefit depends on pack design, clothing, and weather.
Pack heavier items close to your body and keep frequently used items in the easiest-to-reach pocket. That usually improves comfort and reduces time spent digging around on the trail.
The Essential Items Every Rider Should Carry
The exact contents of a hip pack vary, but most trail riders benefit from a simple system: hydrate, fix basic problems, handle small emergencies, and keep the ride legal and practical.
Hydration: water bladder, bottles, or both
Hydration options depend on the pack design. Some hip packs are built for a small bladder, some carry one or two bottles, and some support both. The right choice depends on how long you ride, how hot it is, and whether your bike frame already carries bottles.
If your ride is short and you have easy water access, a bottle may be enough. For longer or hotter rides, a bladder or a second bottle can be more practical. Always confirm the pack’s official hydration compatibility before buying.
Repair basics: tube, tire plugs, CO2, pump, and multitool
A basic repair kit is the most important non-hydration cargo for trail riding. Common items include a spare tube, tire plugs for tubeless setups, a CO2 inflator or compact pump, and a multitool that matches the fasteners on your bike.
Not every rider needs every item on every ride. Tubeless riders may prioritize plugs and sealant support, while riders on remote routes may want both a tube and plug kit in case one method fails. Match the tools to your tire setup and the distance from help.
Tool compatibility matters. Check your bike’s axle style, rotor bolts, stem bolts, and other hardware so the multitool or bits you carry actually fit your setup.
Safety items: ID, phone, cash, lights, and whistle
Keep personal identification and a phone in the pack on every ride where you might need help. A little cash or a card can be useful for emergencies, shuttle fees, or post-ride stops, depending on where you ride.
Small lights and a whistle can add flexibility on late rides, dark trailheads, or unexpected delays. If you ride near traffic or in low light, visibility gear becomes more important, but it should never replace route planning and local rules.
Trail extras: snacks, keys, sunscreen, and small first-aid supplies
Snacks help maintain energy on longer rides and are worth carrying if your route goes beyond an easy neighborhood loop. Keys should be secured so they do not rattle, poke, or scratch other gear.
Small first-aid supplies can include adhesive bandages, blister care, and any personal items you are trained and comfortable carrying. Sunscreen and lip balm are also smart additions in exposed terrain or summer heat.
- Hydration compatibility, storage capacity, and pocket layout
- Tool fit, ride length, and terrain demands
- Comfort, adjustability, and how securely the pack stays in place
What to Carry Based on Ride Type, Terrain, and Weather
Your hip pack should change with the ride, not stay identical every time. A short local lap does not need the same loadout as a remote backcountry outing or a wet, cold shoulder-season ride.
Short local rides vs. long backcountry days
For short local rides, many riders can keep it simple: water, phone, ID, a multitool, and one way to handle a flat. On longer days, add more hydration, repair redundancy, snacks, and weather protection.
Backcountry rides often justify a more complete kit because help may be farther away. In those cases, carrying a little more weight is usually better than being underprepared.
Hot weather, cold weather, wet conditions, and dusty trails
In hot weather, prioritize water, electrolytes if you use them, and lightweight snacks. In cold weather, consider gloves, an extra layer, and items that are easier to use with numb fingers.
Wet conditions call for protection of electronics and a packed-away layer if conditions may change. On dusty trails, keep zippers and pockets closed as much as possible and be aware that grit can wear on moving parts and fabric over time.
Technical descents, remote routes, and park laps
Technical descents reward a secure, low-bounce pack with nothing loose inside. Remote routes justify more repair and safety gear, while bike park laps may allow a lighter kit if support, water, and spares are readily available.
Think about what happens if you get a flat, lose daylight, or need to walk out. The more isolated the ride, the less sense it makes to rely on minimal carry.
How to Choose the Right Hip Pack for Your Needs
The right pack is less about brand hype and more about fit, organization, hydration compatibility, and how well it stays put when you move aggressively on the bike.
Storage capacity, pocket layout, and organization
Look for enough space to carry your essentials without forcing items into one crowded compartment. Good pocket layout matters because it lets you separate tools, food, phone, and personal items so you can find them quickly.
If a pack has one large cavity but poor organization, it may be harder to use on the trail even if the capacity sounds generous. A smaller pack with smarter pockets can be more practical.
Fit, adjustability, and waist stability
Fit is one of the biggest comfort factors. A pack should sit securely without sliding, twisting, or needing constant adjustment while you pedal, climb, and descend.
Adjustability matters if you ride with different layers or want to share the pack across users. Check the manufacturer’s sizing guidance, especially if you wear bulky winter clothing or ride in a very aggressive position.
Hydration compatibility and bottle carry options
Some packs are designed around a bladder, while others prioritize bottles or a hybrid setup. Choose the option that matches your ride style and your bike’s own bottle-carry limitations.
If you already use both bottle cages on the bike, a bladder-based hip pack may make more sense. If you prefer quick refills and simple access, bottle carry can be easier to manage.
Materials, breathability, and weather resistance
Materials affect both comfort and durability. Breathable back panels can improve comfort in warm weather, while more weather-resistant fabrics may offer better protection for electronics and spare clothing.
That said, no fabric makes a pack fully waterproof unless the manufacturer specifically states it and explains the conditions. If weather protection matters, verify the official spec rather than assuming the pack will keep everything dry.
- Choose a pack that stays stable when half full and fully loaded.
- Keep your most-used items in outer or top-access pockets.
- Confirm hydration fit before assuming a bladder or bottle will work.
Common Packing Mistakes and How to Avoid Them
Most hip pack problems come from carrying too much, placing items poorly, or forgetting that ride conditions can change. A small amount of planning usually prevents a lot of trail frustration.
Overpacking and bouncing load issues
Overpacking makes the pack harder to stabilize and can create bounce, pressure points, or twisting at the waist. If the load keeps shifting, the pack may be too full for the ride or adjusted too loosely.
Before each ride, ask whether every item is truly necessary. Removing duplicate tools or “just in case” extras often improves comfort immediately.
Poor weight placement and hard-to-reach essentials
Heavy items should sit close to your body, not at the far edge of the pack. Items you may need quickly, such as a phone, snack, or multitool, should not be buried under everything else.
Poor organization also slows you down when the weather changes or a mechanical issue happens. A few minutes of thoughtful packing can save a lot of trail-side digging.
Forgetting ride-specific tools or emergency items
Some riders pack the same gear for every outing and later realize they forgot something important for the day’s route. A long solo ride, a cold ride, and a park lap each call for different priorities.
Use a simple pre-ride checklist so you do not leave behind the one item you are most likely to need. That habit is often more useful than buying a bigger pack.
Do not rely on a hip pack as a substitute for route planning, weather awareness, or basic bike maintenance. If your pack is damaged, the closure fails, or the load makes it unstable, stop using it until you resolve the problem.
Practical Value: Benefits, Limitations, and Who a Hip Pack Fits Best
A hip pack is a strong middle ground for riders who want more storage than jersey pockets but less bulk than a full backpack. It is not perfect for every rider, but it can be a very practical trail solution when matched to the right use case.
Ideal rider profiles and use cases
Hip packs often suit trail riders, enduro riders, park riders, and anyone who wants quick access to tools and snacks. They can also work well for riders who dislike the upper-back heat or shoulder pressure of a backpack.
Good if you want a simple way to carry basics without committing to a large pack.
Useful if you ride often and want a stable, organized carry system.
Best when you already know your repair and hydration needs by route and terrain.
Trade-offs versus hydration packs, jersey pockets, and frame bags
Compared with hydration packs, hip packs usually feel lighter on the upper body but carry less total gear. Compared with jersey pockets, they offer more organization and often better security for tools and electronics.
Frame bags can carry more and keep weight on the bike, but they are less convenient for items you need frequently. The best option depends on how much gear you actually need and how you prefer to access it.
| Option | Best For | Key Consideration |
|---|---|---|
| Hip pack | Trail riders who want quick access and moderate storage | Must fit well to avoid bounce |
| Hydration pack | Longer rides and larger carry needs | Can feel warmer on the back |
| Jersey pockets | Minimal carry on short rides | Limited organization and storage |
| Frame bag | Bikepacking or heavier loadouts | Less convenient for frequent access |
When a hip pack is not the best choice
A hip pack may not be ideal if you need to carry a lot of water, extra layers, or a full repair kit for very remote terrain. It can also be a poor fit if the pack constantly shifts because of your body shape, clothing layers, or riding position.
In those cases, a hydration pack or frame bag may be the more practical option. The best carry system is the one that matches your ride, not the one that sounds lightest on paper.
Care, Storage, and Final Setup Tips for 2025 Riders
Even a well-designed hip pack lasts longer and works better when it is cleaned, dried, and packed consistently. Small maintenance habits also help prevent odor, wear, and zipper problems.
Cleaning, drying, and long-term storage
Follow the manufacturer’s care instructions first, since fabrics, buckles, and hydration sleeves can vary by model. In general, empty the pack after rides, remove damp items, and let it dry fully before storage.
Long-term storage is easier if the pack is kept clean, uncompressed, and away from excess heat or direct sunlight. If the pack includes a bladder, confirm the cleaning and drying instructions for that component separately.
Inspect buckles, zippers, seams, and hydration parts regularly. Stop using damaged gear and follow the manufacturer’s inspection or service guidance.
Pre-ride checklist for safe, efficient packing
Before rolling out, confirm that the pack is closed securely, the load feels balanced, and the items you may need quickly are easy to reach. Make sure your phone is charged, your ID is packed, and your repair kit matches the bike you are riding.
- Match the load to ride length and terrain
- Test fit with the clothing you will actually wear
- Keep repair items and personal essentials accessible
- Stuffing the pack until it bounces or twists
- Burying your phone or ID under bulky gear
- Ignoring manufacturer care and compatibility guidance
Final recommendation on building a reliable hip pack loadout
For most mountain bikers, the smartest hip pack setup starts with water, a flat-fix kit, a multitool, phone, ID, and a small snack. From there, add only what the ride actually demands, so the pack stays stable, easy to access, and comfortable enough to forget about until you need it.
- Carry hydration, repair tools, and emergency basics first.
- Adjust your load for ride length, terrain, and weather.
- Choose a pack that fits securely and organizes gear well.
- Keep the pack clean, dry, and inspected before every ride.
Common Questions
Carry water, a phone, ID, and a basic repair kit at minimum. That gives you the best chance of handling common trail problems without overpacking.
Usually, yes, if you need better organization and more secure storage. Jersey pockets work for very light carry, but they are less flexible for tools and hydration.
Often, yes, especially on longer or more remote rides. A plug kit is useful, but a tube can still save a ride if the damage is larger than a plug can handle.
A secure fit, balanced load, and smart pocket layout matter most. If the pack shifts or feels top-heavy, comfort usually drops fast.
Use the ride length, weather, and remoteness as your guide. Add snacks, layers, sunscreen, or first-aid items only when they fit the day’s conditions.
Frequently Asked Questions
Pack only what you need for the ride, plus a small buffer for common problems like flats or delays. If the pack feels crowded before you leave, it is probably too full.
That depends on the pack’s design and your ride length. Some riders prefer a bladder for longer rides, while others like bottles for easier refills and simpler use.
A multitool, flat-fix solution, and inflation method are the usual basics. Match the kit to your tire setup and the hardware on your bike.
Yes, if the ride is long enough that energy might dip. Small, easy-to-open snacks are usually more practical than bulky food.
Empty it after rides, let damp gear dry, and clean it according to the manufacturer’s instructions. Storing it dry and uncompressed also helps.
Choose a backpack if you need more water, more layers, or a larger repair kit than a hip pack can comfortably carry. Remote rides often justify the extra capacity.