Most beginners do not need full body armor for every mountain bike ride. Start with a helmet and targeted pads, then add more protection only if your terrain and speed justify it.
For most beginners, full body armor is not required on every mountain bike ride. A better starting point is usually a well-fitting helmet, gloves, and—depending on the trail—knee and elbow protection.
- Best starting point: Helmet first, then knee and elbow protection if your trails get rougher.
- Armor is terrain-dependent: Bike parks, downhill lines, and technical singletrack make it more useful.
- Fit matters most: Protection only helps if it stays centered and does not restrict movement.
- Comfort affects use: Hot, bulky gear is less likely to be worn consistently.
Do Beginners Need Body Armor for Mountain Biking? Short Answer and Who It’s Really For
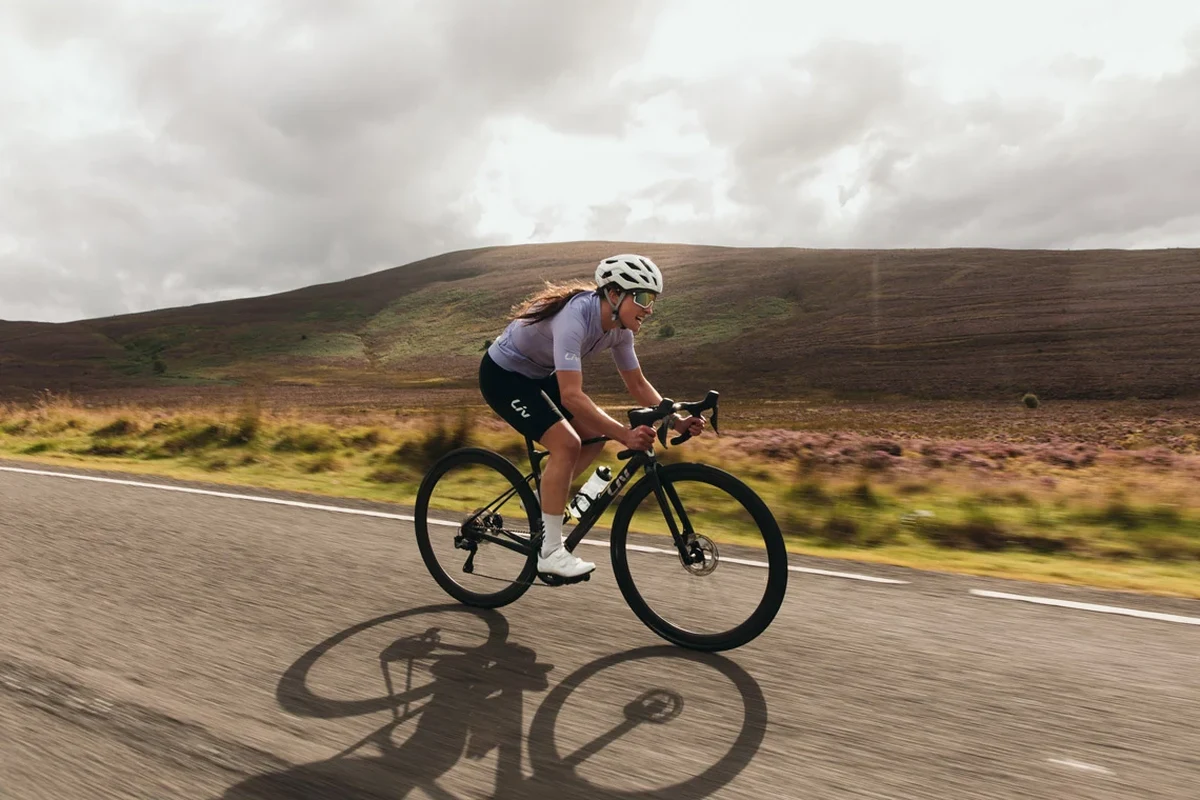
Body armor makes the most sense when a new rider is heading onto steeper, faster, rockier, or more technical terrain, or when confidence is low enough that a minor crash could turn into a bigger problem. The right setup depends less on being “new” and more on where you ride, how fast you ride, and how much protection you can comfortably keep on.
Why most beginners do not need full body armor for every ride
Many entry-level mountain bike rides happen on smooth green trails, mellow dirt paths, or short local loops where the main risks are low-speed falls, pedal strikes, and occasional slips in loose corners. In those settings, full upper-body armor can be more gear than a beginner needs, especially if it makes riding hot, stiff, or distracting.
Comfort matters because beginners already have a lot to manage: balance, braking, trail reading, and bike control. If heavy protection makes you tense up or avoid riding, it can work against the goal of building skills safely.
When body armor becomes a smart choice for new riders
Body armor starts to make more sense when a beginner moves into bike parks, downhill terrain, jump lines, rocky descents, or trails with repeated obstacles and higher speeds. It can also be a reasonable choice for riders who are nervous, recovering confidence after a crash, or learning on terrain where a fall is more likely to involve hard impacts.
How Mountain Bike Body Armor Works and What It Can Actually Protect
Mountain bike body armor is designed to reduce the force of impacts and, in some cases, help limit scrapes from sliding contact. It is not a guarantee against injury, and it cannot make a dangerous crash harmless.
Common protection zones: chest, back, shoulders, elbows, hips, and knees
Different pieces protect different areas. Chest and back protectors focus on the torso, while shoulder, elbow, hip, and knee guards are aimed at the joints and the bony areas that often hit the ground first.
Some products combine several zones into one vest or jacket, while others use modular pieces. Beginners should think about the body parts most likely to hit the ground on their local trails, then choose coverage from there.
Impact protection versus abrasion protection: what beginners should understand
Impact protection is about absorbing or spreading force from a direct hit. Abrasion protection is about helping with scrapes and sliding contact on dirt, rock, or rough trail surfaces.
These are related but not the same. A pad that feels thick may help with one type of crash more than another, so beginners should not assume every piece of armor does everything equally well.
Limits of protection: what armor cannot prevent in a crash
Armor cannot prevent all fractures, sprains, head injuries, or twisting injuries. It also cannot stop a rider from going over the bars, landing awkwardly, or hitting an obstacle at a bad angle.
Protective gear reduces risk, but it does not replace a helmet, trail judgment, or basic bike handling skills.
Beginner Riding Conditions That Change the Need for Armor
Whether a beginner needs body armor depends heavily on the riding environment. A rider on a gentle local trail has very different needs from someone trying park features or steep descents.
Trail type: smooth green trails, technical singletrack, bike parks, and downhill terrain
Smooth green trails usually call for lighter protection. Technical singletrack, with roots, rocks, drops, and tighter lines, raises the case for knee and elbow guards at minimum.
Bike parks and downhill terrain are where more complete coverage becomes more reasonable, especially if speed, airtime, or repeated runs are part of the day. Beginners should match gear to the hardest terrain they expect to ride, not the easiest section of the trail.
Weather and temperature trade-offs: heat, sweat, rain, and layering
Warm weather can make body armor feel much less appealing because heat and sweat build up quickly under padded gear. In cooler weather, some riders tolerate more coverage, but layering still needs to preserve movement and keep straps from shifting.
Rain and mud can also affect comfort and fit. Wet gear can feel heavier, dry more slowly, and increase chafing if the fit is already borderline.
Speed, skill level, and confidence: how these affect risk
Higher speed increases the consequences of a fall, even on trails that seem simple at first glance. New riders who are still learning braking, cornering, and body position may benefit more from targeted protection than from a full armored setup.
If you are unsure, start with the protection that covers the most common crash points for your terrain: usually knees first, then elbows.
How to Choose the Right Body Armor: Fit, Coverage, and Safety Standards
Good armor should stay in place, protect the intended area, and still let you move naturally on the bike. If it shifts, pinches, or blocks your pedaling and steering, it is not the right choice no matter how protective it looks.
Fit and sizing: snug but not restrictive, and how to check mobility
Armor should fit snugly enough that pads stay centered during movement. At the same time, it should not cut circulation, dig into the neck or armpits, or force you into a stiff riding position.
Check mobility by simulating riding motions: bend forward, reach for the bars, twist your torso, and raise your arms as if steering and braking. If the pads drift or the garment bunches badly, sizing or design may be off.
Coverage decisions: full upper-body protection, knee and elbow guards, or modular pieces
Beginners usually get the most value from choosing coverage by risk area instead of buying the most coverage possible. Knee pads are often the first upgrade, followed by elbow pads, then torso protection if the terrain justifies it.
Full upper-body armor can be useful for aggressive riders, but modular pieces are often easier for beginners to wear consistently. Consistency matters because gear left at home offers no protection at all.
Standards and labels to verify for protective gear in 2025
Protective gear standards vary by product type and region, so beginners should check the exact label on the item and confirm what it means on the manufacturer’s site or in the official product manual. For mountain bike body armor, look for recognized impact or protective certifications where applicable, and verify that the claim matches the specific model and size.
Standards, labeling, and certification language can differ by country and by piece of gear, so always verify the exact model before buying.
Compatibility with jerseys, hydration packs, and backpacks
Armor needs to work with the rest of your kit. A chest protector may conflict with a hydration pack, while bulkier back protection can feel awkward under a backpack or jersey layer.
Before buying, think through the full riding setup: jersey fit, pack straps, ventilation, and how easy it will be to remove the gear after a sweaty ride.
Best Value Options for Beginners: What to Look For Before You Buy
“Best value” does not always mean the cheapest option. For beginners, the best value is usually the piece of gear that balances protection, comfort, ventilation, and fit well enough that it actually gets worn.
Key specifications: ventilation, weight, padding thickness, and materials
Ventilation is one of the biggest comfort factors for new riders. If gear traps too much heat, it is more likely to stay in the closet.
Weight, padding layout, and material choice also matter, but these features are model-specific and should be compared carefully on the product page. Beginners should look for enough protection for the trail, not the thickest padding available.
Closure systems, straps, and adjustability for easy on-bike use
Simple closures and easy-to-adjust straps make a big difference when you are learning how to gear up before a ride. Armor that is hard to put on, hard to fine-tune, or hard to remove after a ride tends to become annoying fast.
- Choose straps and closures you can adjust without fighting the gear.
- Recheck fit after a few minutes of movement.
- Buying protection that only fits well when standing still.
- Assuming one adjustment will work for every layer and weather condition.
Price versus protection: where beginners can save and where they should not
Beginners can often save by choosing targeted protection instead of a full armored suit. They should be more careful, however, about fit, coverage, and the credibility of the protection claims than about chasing the lowest sticker price.
If a cheaper item fits poorly or overheats badly, it may end up being a poor value. A slightly more expensive piece that stays comfortable and in place can be the better long-term choice.
Ideal user profiles: casual trail riders, park riders, and nervous first-timers
Usually better off starting with a helmet, gloves, and maybe knee pads rather than full armor.
More likely to benefit from stronger coverage, especially on repeated descents and higher-speed features.
May prefer extra protection for confidence, but should keep comfort high so the gear does not become a distraction.
Common Mistakes Beginners Make When Using Body Armor
Most beginner mistakes are not about protection level alone. They are about fit, comfort, and expecting armor to solve problems that come from trail choice or riding skill.
Buying too much protection too soon
New riders sometimes jump straight to full upper-body armor because it sounds safest. In practice, that can create heat, fatigue, and movement restrictions that make riding less enjoyable and less controlled.
Choosing the wrong size or wearing armor too loose
Loose armor can shift out of position during a fall, which defeats part of the point. Too-tight armor can pinch, rub, or limit breathing and steering movements.
Ignoring comfort, overheating, and movement restrictions
Comfort is not a luxury feature. If gear is too hot or stiff, riders often stop wearing it, which lowers real-world protection more than any spec sheet can show.
Assuming armor replaces skill, trail choice, or a proper helmet
Armor is only one part of a safe setup. A beginner still needs appropriate trail selection, basic braking control, and a helmet that fits correctly and meets the right standard for the riding style.
Stop using damaged gear and follow the manufacturer’s inspection or service guidance.
How to Wear, Inspect, and Maintain Mountain Bike Body Armor
Protection only works well when it is worn correctly and kept in usable condition. Regular inspection and basic care help maintain fit, hygiene, and durability.
Step-by-step setup and adjustment for a secure, comfortable fit
This helps you check real fit, not just a bare-body fit in the house.
Make sure knee, elbow, or torso protection stays where it is supposed to land in a fall.
Bend, twist, and reach to confirm the gear stays stable without restricting control.
Straps and fabrics can settle once you start moving and sweating.
Pre-ride inspection: cracks, worn straps, loose stitching, and damaged pads
Inspect armor before each ride for visible damage, worn closures, loose stitching, compressed padding, or any sign that the piece no longer holds its shape. If the gear looks compromised, follow the manufacturer’s guidance and replace it if needed.
Cleaning and storage: sweat, odor, drying, and avoiding heat damage
Sweat and dirt can shorten the life of protective gear and make it unpleasant to wear. Let armor dry fully after use, clean it according to the care instructions, and avoid leaving it in hot cars or direct heat sources that could damage materials.
If gear still smells damp after drying, it likely needs a deeper clean or more drying time before the next ride.
Replacement guidance: when protective gear should be retired
Retire armor if the padding is crushed, the shell is cracked, the straps no longer hold, or the manufacturer says it should be replaced after a serious impact. When in doubt, the official care and replacement guidance should be the final word.
Final Recommendation: The Best Beginner Approach to Protection on the Trail
For most new mountain bikers, the smartest starting point is a properly fitted helmet, gloves, and trail-appropriate knee protection, with elbow pads or torso armor added only when the terrain or speed justifies it. Full body armor is most useful for riders on technical, fast, or downhill-focused trails, or for beginners who want extra confidence and are willing to manage the added heat and bulk.
When to start with a helmet, gloves, knee pads, or elbow pads instead of full armor
If you are riding mellow trails, start light and build protection only as your terrain gets harder. If you are riding park laps, steeper descents, or rocky technical lines, add the pieces that protect the areas most likely to hit first.
Transparent verdict on whether beginners need body armor in 2025
Beginners do not universally need full body armor, but some do benefit from it. The right answer depends on trail difficulty, crash risk, comfort, and whether the gear will actually be worn consistently.
Simple decision rule based on trail difficulty, budget, and comfort
If your rides are mostly smooth and controlled, start with a helmet and targeted pads. If your trails are fast, technical, or park-oriented, or if extra protection helps you ride more confidently, body armor becomes a more reasonable investment.
Most beginners should not rush into full body armor, but many should consider knee and elbow protection as a practical middle ground. Choose the least bulky setup that matches your terrain, fits well, and still lets you ride naturally.
Common Questions
Usually not. A helmet, gloves, and maybe knee pads are often enough for mellow trails.
It can be, but mainly for technical, fast, or downhill riding. For casual trail riding, it is often more than you need.
Knee pads are often the most practical next step. They cover a common crash point without adding too much bulk.
Snug, but not restrictive. It should stay in place when you move like you are riding.
No. Armor reduces risk, but it does not replace a proper helmet, trail choice, or riding technique.
Frequently Asked Questions
Usually no. Most beginners are better served by a helmet and targeted protection like knee or elbow pads unless they ride technical, fast, or downhill terrain.
Depending on the model, armor can protect the chest, back, shoulders, elbows, hips, and knees. Different pieces focus on different crash zones.
It should fit snugly without restricting breathing or movement. Pads should stay centered when you bend, twist, and reach into riding positions.
Check the exact size, coverage, compatibility with jerseys or packs, care instructions, and any relevant safety or impact standards listed by the manufacturer.
No. Armor can reduce risk, but it does not replace a properly fitted helmet, basic bike handling skills, or choosing trails that match your ability.
Replace it if the padding is crushed, straps fail, stitching is damaged, or the manufacturer says to retire it after a serious impact.
