An MTB helmet fits correctly when it sits level, feels snug, and stays stable as you move your head. If it shifts, pinches, or rides too high, the size or adjustment is probably wrong.
If your MTB helmet sits level on your head, feels snug all the way around, and stays put when you shake your head, the fit is probably on the right track. The best check is simple: it should feel secure without creating pain, pressure points, or movement that changes how the helmet covers your forehead and temples.
- Level and low: The front of the helmet should protect the forehead, not tilt back.
- Snug but not painful: Even contact is good; pressure points are a sign to re-fit or resize.
- Stable in motion: Shake, nod, and ride-position checks should not cause sliding or rocking.
- Verify the setup: Match the size chart, adjust the retention dial, and check strap placement.
- Inspect often: Damage, worn parts, or a crash can mean the helmet needs replacement.
How to Know If Your MTB Helmet Fits Correctly: The Quick Answer
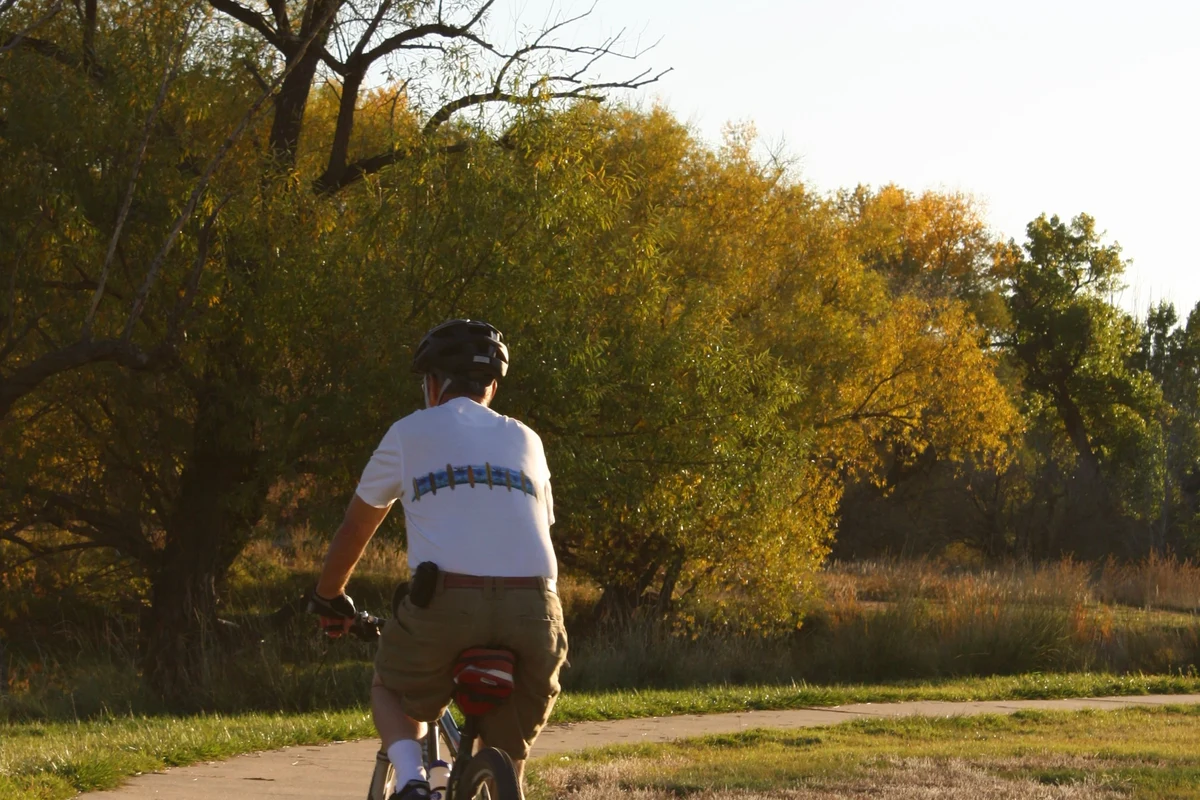
A correctly fitting mountain bike helmet sits low and level, with the front edge protecting the forehead rather than tilting back. The straps and retention system should hold the helmet steady during normal movement, but the helmet should never feel crushing, pinch at the jaw, or slide around when you ride in an aggressive position.
Why Correct MTB Helmet Fit Matters for Safety, Comfort, and Control
Helmet fit affects more than comfort. If the helmet is too loose, it can shift during a fall or even during a hard trail descent, which may reduce coverage when you need it most. If it is too tight, you may get headaches, hot spots, or pressure that makes you want to loosen the straps until the helmet becomes unstable.
Fit also matters for trail control. Mountain biking often involves rough terrain, head movement, climbing, and looking down steep lines. A helmet that stays centered and stable is easier to forget about, which lets you focus on the trail instead of constantly adjusting gear.
A helmet can reduce risk, but it cannot guarantee protection from every crash or impact. Always follow the manufacturer’s fit instructions and replace the helmet if it is damaged or no longer fits securely.
How an MTB Helmet Should Fit: The Core Fit Checks to Do First
Before you worry about style, ventilation, or visor shape, check the basic fit. These three checks tell you whether the helmet is close to correct: position, contact, and stability.
Position on the Head: Level, Low, and Centered
The helmet should sit level across your head, not tipped backward like a cap. The front edge should rest low enough to protect the forehead, usually about one or two finger widths above the eyebrows, unless the manufacturer’s instructions say otherwise.
It should also stay centered from side to side. If it naturally drifts left or right, the shell shape or size may not match your head well enough for a secure fit.
Pressure Points and Contact: Snug Without Hot Spots
A good MTB helmet feels snug all the way around, but it should not create sharp pressure points. You should notice even contact from the interior padding and retention system rather than a single spot digging into your forehead, temples, or crown.
If you feel a hot spot within a minute or two, do not assume it will “break in” completely. Some padding can settle slightly, but persistent pressure usually means the helmet shape or size is wrong for your head.
Try the helmet on for several minutes before deciding. Small fit problems often show up after the first few minutes, especially around the forehead and temples.
Stability Test: Shake, Nod, and Ride-Position Movement
With the chin strap fastened, shake your head gently side to side and nod forward as if you were scanning a trail. The helmet should move with you, not independently slide, rock, or rotate.
Then lean into a riding posture. Some helmets feel fine while standing upright but shift once you tilt forward. That matters because mountain biking rarely happens in a perfectly upright position.
MTB Helmet Sizing and Adjustment: What to Verify Before You Ride
Size labels are only a starting point. The right fit usually depends on head circumference, shell shape, retention adjustment, and how the helmet works with your hair, eyewear, or headwear.
Measuring Your Head and Matching the Size Chart
Use a soft measuring tape around the widest part of your head, usually just above the eyebrows and around the back of the skull. Compare that number with the manufacturer’s size chart for the exact model, because one brand’s medium may fit differently from another brand’s medium.
If you are between sizes, the right choice depends on head shape and adjustment range. A larger size may be more comfortable for some riders, but only if the retention system can still hold the helmet securely without over-tightening.
Retention System, Dial Fit, and Strap Placement
Most modern MTB helmets use a rear retention dial or cradle to fine-tune fit. That system should hold the helmet evenly around the back of the head rather than pushing the helmet upward or forward.
Straps should form a clean “V” under and slightly in front of the ears, then buckle under the chin without pinching. You should be able to open your mouth comfortably, but not so loosely that the helmet shifts when you speak or look down.
- Measure your head and compare it to the exact model’s size chart
- Check that the retention system centers the helmet without pressure points
- Confirm the straps sit correctly around the ears and under the chin
- Make sure the helmet works with your glasses, goggles, or hair style
Visor, Pads, and Hair/Headwear Compatibility
A visor should not force the helmet to sit too high or create an awkward tilt. If the visor position changes how the helmet covers your forehead, the fit may need adjustment or a different model.
Pad thickness can also change fit, but pads should fine-tune comfort, not rescue a fundamentally wrong size. If you wear a thin cap, braids, dreadlocks, or bulky hair accessories, test the helmet with your normal setup before buying.
Safety Standards, Protection Limits, and What MTB Helmets Can and Cannot Do
Fit matters, but so does the helmet’s safety certification and condition. A helmet that fits well but does not meet the relevant standard for your region or riding type may not be the right choice.
Standards to Look For in 2025
Look for the certification labels required or recognized in your market, and confirm them against the manufacturer’s current product page or manual. For mountain biking, riders commonly verify that a helmet meets the applicable bicycle helmet standard in their region, and some riders also look for additional trail-specific coverage or rotational-impact technologies.
Because standards and labeling can vary by country and model, confirm the exact certification directly with the brand before purchase. If you ride in events, check the event rules too, since some organizations require specific helmet types.
Impact Limits, Crash Replacement, and Shell Damage
Helmets are designed to manage impact energy, but they are not reusable after every crash. Even if the outer shell looks fine, the foam inside may be compromised after a significant impact.
If the helmet has visible cracks, crushed foam, a damaged strap, a broken buckle, or a retention system that no longer holds, stop using it. Follow the brand’s crash replacement guidance and inspection instructions rather than guessing.
When a Helmet Is Too Old, Too Small, or Too Worn Out
A helmet can become a poor fit over time if the padding compresses, the straps loosen, or the adjustment hardware wears out. If you need to max out the retention system just to keep it stable, the helmet may be too small or simply the wrong shape.
Age guidance varies by manufacturer and storage conditions, so check the official manual instead of relying on a universal replacement timeline. Heat, sun exposure, sweat, and repeated use can all affect materials differently.
Stop using a helmet with cracks, crushed foam, broken straps, or a retention system that no longer holds securely. Confirm replacement guidance in the manufacturer’s instructions.
Common MTB Helmet Fit Mistakes and How to Fix Them
Many fit problems come from small setup errors rather than the wrong helmet entirely. The good news is that several issues are easy to spot before a ride.
Too Loose, Too Tight, or Tilted Back
If the helmet slides when you shake your head, it is too loose, even if the straps feel snug. Tighten the retention system first, then adjust the straps, and only then reassess the size.
A helmet worn too high or tilted back leaves the forehead less protected and often looks “normal” only from the side. The front edge should not sit far above the eyebrows just because it feels cooler or looks more stylish.
Strap Misalignment and Buckle Problems
Straps that sit too far forward or behind the ears can make the helmet feel unstable. If the side strap splitters are adjustable, use them to create a balanced “V” shape under the ears.
The chin buckle should close cleanly and stay secure without pinching skin. If the buckle or strap hardware twists, loosens, or sits awkwardly, the helmet may need a different strap position or a different model.
Buying by Looks Instead of Head Shape and Use Case
Some helmets look great on the shelf but do not match a rider’s head shape. Rounder and more oval heads often need different internal shapes, and the same is true for riders who want extra coverage for enduro or trail use versus lighter coverage for XC.
Appearance matters, but fit and intended use should come first. A helmet that matches your riding style and head shape is usually the better long-term choice.
Real-World Use: Terrain, Weather, Comfort, and Trade-Offs
The right fit should still feel right when conditions change. Heat, rain, dust, glasses, and different trail styles can all affect how a helmet feels on the bike.
Trail Riding vs. Enduro vs. XC Fit Priorities
Trail and enduro riders often prioritize coverage, stability, and compatibility with goggles or glasses. XC riders may prefer a lighter, more ventilated feel, but the helmet still has to stay secure during climbs and rough descents.
There is no single “best” fit for every discipline. The right choice depends on how aggressive your riding is, how much time you spend climbing, and how much coverage you want around the back and sides of the head.
Heat, Ventilation, Rain, and Goggle/Glasses Compatibility
Good ventilation helps comfort, but vents should not be the reason you accept a loose fit. In hot weather, a helmet that fits correctly but has less airflow may still be safer and more usable than one that feels airy but shifts around.
If you wear glasses or goggles, test them with the helmet on. The temples, straps, and visor should not create pressure that changes the fit or pushes the helmet off center.
Storage, Travel, and Daily Wear Considerations
How you store the helmet matters because heat, crushing, and rough transport can affect fit and shell condition. Tossing it loosely into a crowded trunk or hanging it where it gets baked by sun can shorten its useful life.
If you commute or travel with the helmet often, choose one that keeps its shape and adjustment settings well. A helmet that is easy to re-fit after packing is usually less frustrating over time.
Inspection, Care, and Replacement: Keeping the Fit Safe Over Time
Correct fit is not a one-time event. Sweat, cleaning, storage, and ordinary wear can slowly change how a helmet sits and how secure it feels.
Cleaning, Storage, and UV/Heat Protection
Clean the helmet according to the manufacturer’s instructions, usually with mild soap and water rather than harsh solvents. Strong cleaners can damage foam, straps, pads, or shell coatings.
Store the helmet away from direct sunlight, car dashboards, heaters, and other heat sources. Excess heat and UV exposure can weaken materials and change the way the helmet fits over time.
After cleaning, let the helmet dry fully before storing it. Damp pads and straps can wear faster and may make the helmet feel inconsistent on the next ride.
Routine Checks Before Every Ride
Before riding, check that the straps are flat, the buckle closes properly, and the retention dial still holds the helmet steady. A quick shake test takes only a few seconds and can catch a loose fit before you roll out.
Also check for new cracks, dents, frayed straps, or pads that have shifted out of place. If anything changed since the last ride, inspect it before heading out.
When to Replace Your MTB Helmet for Safety or Fit Reasons
Replace the helmet if it no longer fits securely, if the adjustment system fails, or if the foam or shell shows damage. You should also replace it if the helmet no longer matches your head shape because of wear, weight changes, or changes in how you ride.
When in doubt, use the manufacturer’s guidance and current recall notices. If the helmet’s condition or certification status is unclear, do not assume it is still safe.
Final Recommendation: How to Choose the Right MTB Helmet Fit with Confidence
The best MTB helmet fit is level, low, snug, and stable, with no pressure points and no shifting when you move your head in a riding position. If a helmet passes those checks, matches your head size and shape, and meets the relevant safety standard for your region, you are much closer to a confident choice.
When the fit is borderline, trust the basics over the styling: coverage, stability, and comfort should win. If you still cannot get a secure fit without discomfort, choose a different size or model rather than trying to force the wrong helmet to work.
- Level, low, and centered is the starting point for a correct MTB helmet fit
- Snug is good, but pressure points and helmet movement are warning signs
- Check the size chart, retention system, straps, and compatibility with glasses or headwear
- Inspect the helmet often and replace it after damage, wear, or a poor fit change
Common Questions
It should sit level, low, and centered. The front edge should protect your forehead without tilting back.
If it slides, rocks, or rotates when you shake your head, it is too loose. A secure helmet should move with you, not on its own.
Yes. If it creates hot spots, headaches, or pressure on the forehead or temples, the fit is too tight or the shape is wrong.
Yes. The straps should form a clean V around the ears and buckle comfortably under the chin.
Usually yes if there was a significant impact or any visible damage. Follow the manufacturer’s replacement guidance.
Frequently Asked Questions
It should feel snug all around and sit level on your head. The helmet should not wobble, tilt back, or create sharp pressure points.
Fasten the strap, then shake your head and nod forward in a riding position. If the helmet shifts a lot, the fit needs adjustment.
No, it only fine-tunes the fit. If the helmet is the wrong shape or size, the dial will not solve the problem.
Very important. Check the exact certification required in your region and confirm it on the product label or manufacturer page.
Stop using it if the shell, foam, straps, or buckle are damaged, or if it no longer fits securely. Also follow the brand’s crash and replacement guidance.
That often means the shape is wrong or there is a pressure point. Try a different size or model rather than forcing a poor fit.
