Maintain a lights e-bike helmet by cleaning it gently, checking the fit and shell, and keeping the lights, ports, and battery in good condition. If the helmet is damaged, poorly fitting, or the electronics fail, replace it or follow the manufacturer’s guidance.
A lights e-bike helmet can make everyday riding simpler, but only if the helmet itself stays clean, secure, and electrically sound. This guide explains how the lights work, what to check before you trust them, and how to maintain the helmet so it remains comfortable and safe to use.
ProKingsEdge may earn a commission from qualifying purchases, at no extra cost to you. Recommendations remain editorially independent.
- Fit first: A lighted helmet only helps if it fits level, snug, and secure.
- Inspect often: Check the shell, straps, mounts, switches, and charging port regularly.
- Charge carefully: Use the approved cable and keep moisture out of the electronics.
- Replace after impact: Any significant crash can compromise the helmet even if damage is not obvious.
Lights E-Bike Helmet Maintenance Guide: What You Need to Know First
The main job of a lights e-bike helmet is still protection. The built-in lights are a visibility feature, not a substitute for reflective gear, hand signals, or proper traffic awareness.
Maintenance matters because helmet lights add extra parts that can wear out: batteries, charging ports, switches, wiring, mounts, and seals. If any of those fail, the helmet may still be wearable, but the light system may no longer be reliable.
For riders, the safest approach is to maintain the helmet like safety gear first and electronics second. That means checking fit, shell condition, and retention before focusing on brightness or battery life.
How Lights on an E-Bike Helmet Work and Why Maintenance Matters
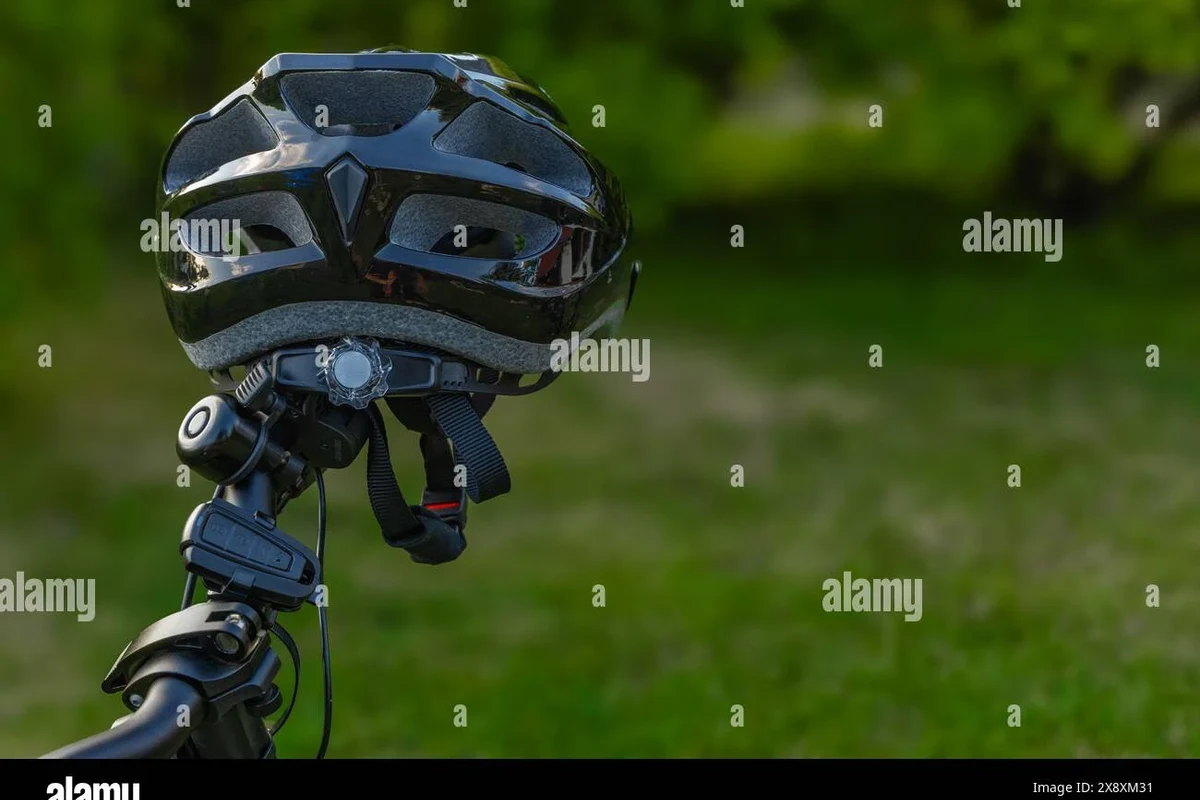
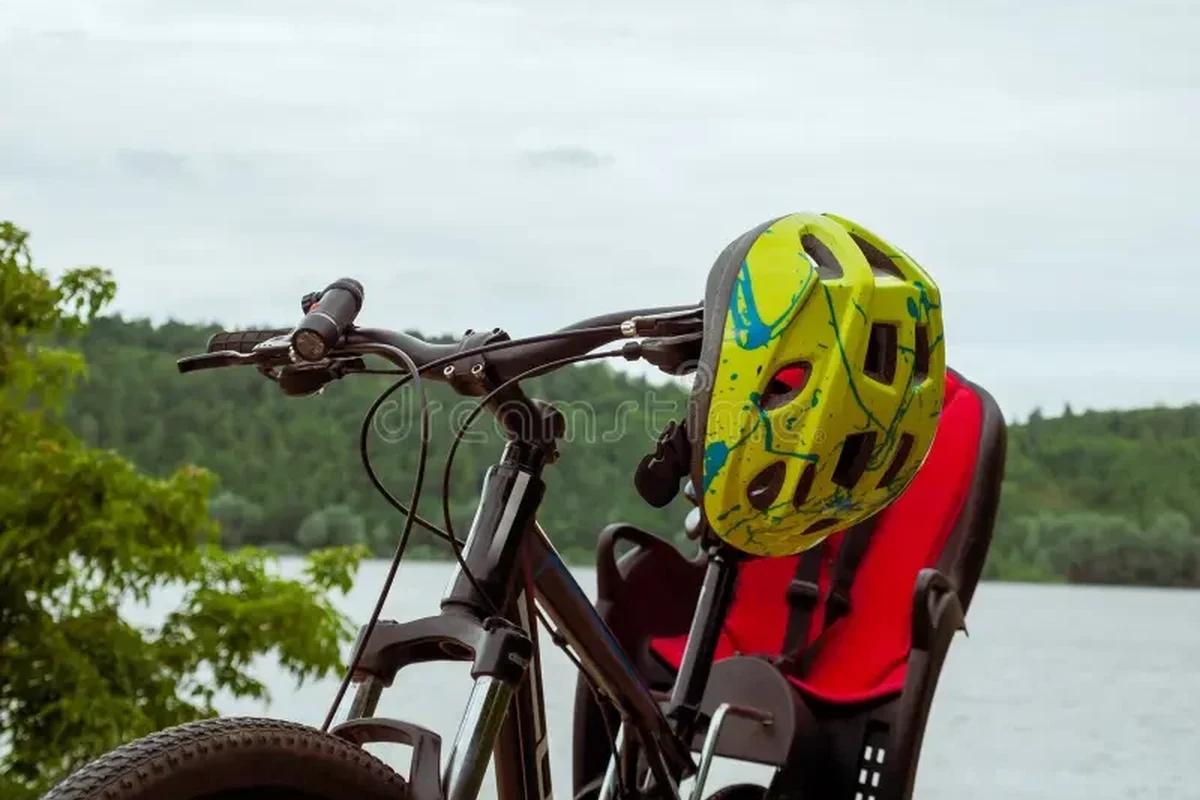
Most light-equipped helmets use small LED modules built into the front, rear, or sides of the shell. Power usually comes from a rechargeable battery, and controls may be a button on the helmet or a remote switch.
Because these parts sit close to sweat, rain, dust, and repeated handling, they benefit from regular inspection. A loose mount, corroded port, or damaged cable can reduce visibility or make charging unreliable.
Many helmet light issues are not “burned out” LEDs. They are often caused by dirt in the charging port, a loose connection, or a battery that was stored poorly.
Who This Helmet Maintenance Guide Is For in 2026
This guide is for riders who want a practical way to keep a lighted helmet working without overcomplicating the process. It is especially useful if you ride often, commute in traffic, or depend on your helmet in changing weather.
Commuters, casual riders, and high-mileage e-bike users
Commuters and frequent riders usually cycle through more charging, more weather exposure, and more handling than occasional users. That makes routine cleaning and inspection more important than occasional cosmetic care.
Riders in low-light, wet, or variable-weather conditions
If you ride at dawn, dusk, in rain, or during seasonal weather swings, the light system may be more valuable to you than to a fair-weather rider. Those conditions also raise the chance of moisture intrusion and grime buildup, so maintenance becomes part of everyday safety.
Key Helmet Specifications to Verify Before You Rely on the Lights
Before you trust any lighted helmet, confirm the safety and feature details in the manufacturer’s manual or product page. Specifications vary by model, and the helmet’s light system should never distract from the core safety check: proper fit and recognized helmet certification.
- Confirm the helmet’s certification labels in the official documentation
- Check how the lights are powered, charged, and controlled
- Review fit, retention, weather resistance, and replacement guidance
Safety standards and certification labels to check
Look for the certification labels listed by the manufacturer and verify them against the helmet’s actual markings and manual. Do not assume a helmet is certified just because it has lights, a premium finish, or a cycling-oriented design.
If a helmet’s certification status is unclear, inconsistent, or missing from the product documentation, do not rely on it for riding until you verify the details with the manufacturer or seller.
Light type, brightness, battery life, and charging method
Check whether the lights are integrated LEDs, removable modules, or a mix of both. Also confirm the charging method, whether it uses USB-C or another connector, and whether the battery is user-replaceable or sealed inside the helmet.
Brightness and runtime are model-specific. If you need dependable visibility for long commutes, compare the stated runtime with your actual ride length and charging routine.
Fit, retention system, vents, and weather resistance
A lighted helmet still needs a secure fit with the retention system adjusted correctly. Vents affect comfort, but more vents do not automatically mean better safety or better light performance.
Weather resistance matters because rain, sweat, and washing can affect electronics. If the manufacturer does not clearly explain water exposure limits, treat the helmet as lightly weather-resistant at best and avoid unnecessary moisture.
Step-by-Step Lights E-Bike Helmet Maintenance Guide
Good maintenance is simple, but it should be consistent. Use the manufacturer’s manual first, and avoid any repair or modification that could damage the helmet structure or electrical system.
Cleaning the shell, padding, straps, and light components
Wipe the shell with a soft, damp cloth. Use mild soap only if the manual allows it, and keep water away from the charging port and switches.
Follow the care label or manual for removable padding. Hand-clean straps carefully and let everything dry fully before storage or charging.
Wipe light lenses and control buttons with a dry or slightly damp cloth. Do not soak the helmet, spray cleaner directly into openings, or use harsh solvents.
If your helmet has removable padding, wash and dry it on a regular schedule instead of waiting until it smells or feels sticky. That helps reduce sweat buildup around the light components too.
Inspecting mounts, wiring, switches, and charging ports
Check that the light modules sit firmly in place and that any visible wiring is intact. Press the control button to confirm the system responds normally, and inspect the charging port for dirt, moisture, or bent contacts.
If a mount feels loose, a switch sticks, or the light flickers when the helmet is handled, stop using the helmet until you can confirm the issue through the official support channel or manual. Do not open sealed electronics or alter the housing.
Stop using damaged gear and follow the manufacturer’s inspection or service guidance. Electrical issues, cracked shells, or loose attachments can make the helmet unsafe.
Battery care, charging habits, and storage tips
Charge the helmet only with the method approved by the manufacturer. Avoid leaving it plugged in longer than recommended, and do not charge it if the port or cable is wet.
For storage, keep the helmet in a cool, dry place away from direct sun and extreme heat. Long-term heat exposure can shorten battery life and may also degrade foam, straps, and plastics.
- Charge on a dry surface with the approved cable
- Store it clean and fully dry
- Follow the manual for battery care and replacement
- Do not use damaged cables or ports
- Do not expose the helmet to high heat or soaking
- Do not modify sealed battery or wiring components
Real-World Benefits, Limits, and Common Mistakes
Lighted helmets can improve everyday convenience because the visibility feature is built into the gear you already wear. They are especially appealing to riders who want fewer separate accessories and a simpler pre-ride routine.
Better visibility, convenience, and everyday ride confidence
A built-in light can help make a rider easier to notice in low-light conditions, especially when paired with reflective clothing and bike lights. The convenience factor is real too: one helmet may reduce the need to remember a separate rear light every ride.
What helmet lights cannot do in traffic or bad weather
Helmet lights do not guarantee that drivers will see you, and they do not replace a proper front and rear bike light setup. In heavy rain, fog, glare, or cluttered traffic, visibility depends on many factors beyond the helmet.
They also cannot compensate for a poor fit, a damaged shell, or a worn-out retention system. If the helmet itself is compromised, the lights do not make it safe.
Common maintenance mistakes that shorten helmet life
One common mistake is washing the helmet too aggressively. Another is storing it wet or leaving it in a hot car, which can damage both the foam and the battery.
Riders also sometimes ignore a flickering light or cracked mount because the helmet still “looks fine.” That is a mistake with any safety gear, especially one that includes electronics.
- Inspect the helmet after any fall, even if the impact seems minor
- Keep the charging cable with the helmet so you use the correct one
- Set a monthly reminder to check lights, straps, and battery condition
Fit, Inspection, and Replacement: Safety Checks Every Rider Should Do
Fit and inspection are the core of helmet safety. A bright light does not help if the helmet shifts around, sits too high, or has hidden damage.
How a proper fit should feel on the head
The helmet should sit level on the head, with the front low enough to protect the forehead without blocking vision. The retention system should feel snug, not painful, and the helmet should not rock side to side when you move your head.
Straps should form a secure V shape around the ears and buckle comfortably under the chin. If you need to overtighten the dial or straps just to keep the helmet in place, the size or model may not be right.
When to replace after impact, wear, or battery failure
Replace the helmet after any significant impact, even if the shell does not show obvious damage. Foam can be compromised in ways you cannot easily see.
Battery failure alone does not always mean the helmet must be discarded, but it does mean the light system may no longer be dependable. Follow the manufacturer’s guidance on whether the battery, electronics, or entire helmet should be replaced.
Signs the helmet is no longer safe to use
Stop using the helmet if you see cracks, deep dents, broken straps, loose buckles, persistent light failure, or a battery that overheats, swells, or will not charge properly. Any strong odor, melted area, or water-damaged electronics should also be treated seriously.
When in doubt, err on the side of replacement. Helmet safety is not the place to guess.
- Check fit and certification before depending on the lights
- Clean gently and protect the charging port from moisture
- Replace the helmet after impact or serious wear
Value, Alternatives, and Final Recommendation
A lights e-bike helmet makes sense when you want a cleaner everyday setup and you ride in conditions where visibility matters. The value is strongest when the helmet fits well, the light system is easy to charge, and the manufacturer gives clear care instructions.
When a lights e-bike helmet is worth the price
It is worth considering if you commute often, ride in low light, or want fewer separate accessories to manage. It can also be a good fit for riders who value convenience and are willing to maintain the electronics properly.
When separate lights may be a better option
Separate front and rear bike lights may be better if you want easier replacement, longer runtime flexibility, or less dependence on a single integrated system. Some riders also prefer a standard helmet plus external lights because it can be simpler to maintain over time.
Transparent verdict for ProKingsEdge readers
For most riders, a lights e-bike helmet is a smart convenience upgrade, not a must-have safety solution. Choose one only if the helmet meets the safety standards you need, fits correctly, and the light system is easy to maintain; otherwise, a well-fitting standard helmet with separate lights may be the better long-term choice.
Best for riders who want built-in visibility and simple daily use, as long as they keep up with cleaning, charging, and inspection. If the fit is uncertain, the electronics are poorly documented, or replacement parts are unclear, choose a standard helmet and add separate bike lights instead.
Frequently Asked Questions
Check it before rides, clean it regularly, and inspect the lights, straps, and charging port at least monthly. Do a full inspection after rain, heavy sweat, or any impact.
Verify the helmet’s certification labels, fit, retention system, light controls, charging method, and weather guidance in the official manual. The lights should work consistently, but they do not replace bike lights or reflective gear.
Use only the cleaning method allowed by the manufacturer, usually a soft damp cloth and mild soap if approved. Avoid soaking the helmet, spraying water into ports, or submerging electronic parts.
Replace it after a significant impact, when the shell or straps are damaged, or when the light system or battery becomes unsafe. If the helmet no longer fits correctly or shows structural damage, stop using it.
Helmet lights can improve visibility, but they cannot guarantee that drivers will notice you. Use them with front and rear bike lights, reflective gear, and safe riding habits.
Choose a lights helmet if you want convenience and built-in visibility, and the helmet fits well with clear maintenance guidance. Choose separate lights if you want easier replacement, longer flexibility, or a simpler standard helmet.
