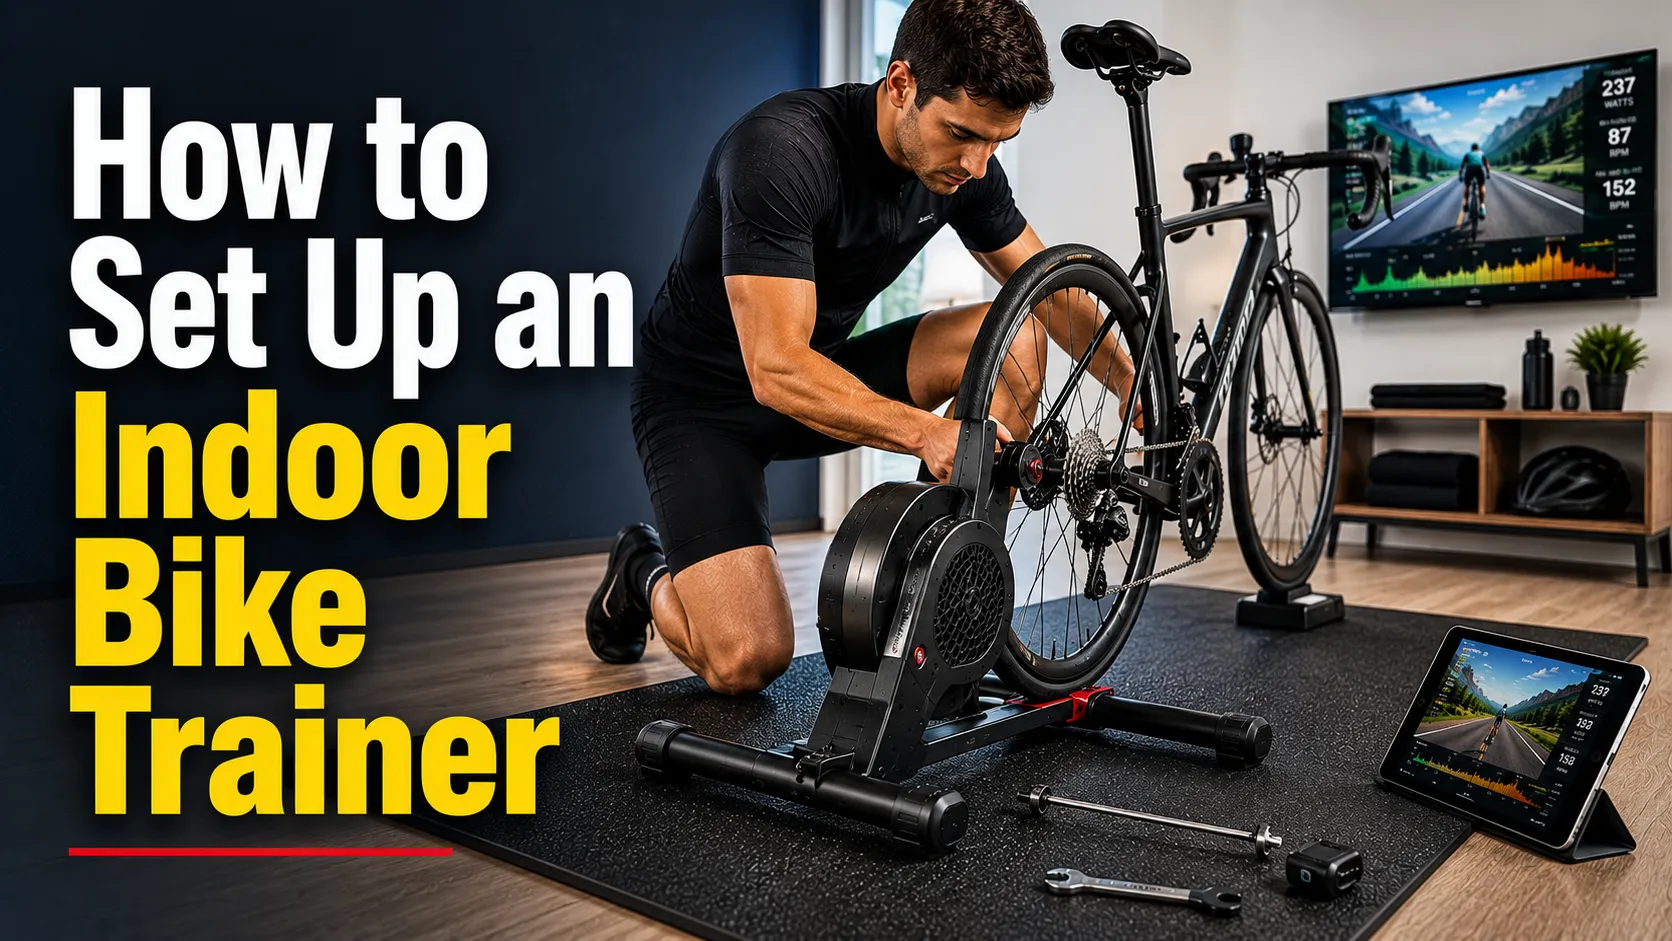
To set up an indoor bike trainer, choose a flat space, place a trainer mat under the setup, mount your bike securely, check axle or cassette compatibility, adjust resistance, add a fan, and test the bike slowly before starting your workout.
Set up an indoor bike trainer by placing it on a stable floor, using a trainer mat, attaching your bike correctly, checking tire pressure or cassette fit, tightening all contact points, adding a front wheel riser if needed, and testing the setup at low speed before riding hard.
My Simple Take on Indoor Bike Trainer Setup
I am Ryan Mitchel, and I write about cycling gear and active lifestyle products for ProKingsEdge.com.
An indoor bike trainer is useful only if the setup is safe and comfortable.
A good trainer setup should feel stable. It should not rock, slip, scrape your floor, or make your bike feel loose.
The mistake many beginners make is simple. They buy a trainer, clamp the bike in quickly, and start riding hard without checking the details.
That is asking for problems.
You need to set up the trainer properly before you trust it.
Safety note: No indoor bike trainer can fully prevent falls, injury, or equipment damage. Always check bike compatibility, tighten all parts, use the correct adapters, and stop riding if the bike feels unstable.
What You Need Before Setting Up an Indoor Bike Trainer
Before you start, gather the basic items.
You do not need a huge home gym. But you do need a stable setup.
You may not need every item.
But for most home cycling setups, a trainer mat, fan, towel, and water bottle make the ride much better.
How an Indoor Bike Trainer Setup Works
The trainer holds your bike in place and creates resistance while you pedal. A wheel-on trainer uses your rear tire against a roller. A direct-drive trainer replaces the rear wheel and connects to your bike drivetrain.
The setup depends on the trainer type.
A wheel-on trainer is usually easier for beginners. You keep your rear wheel on the bike.
A direct-drive trainer takes more setup. You remove the rear wheel and attach the bike to the trainer cassette.
Both can work well. The key is correct mounting.
Step 1: Choose the Right Space
Start with the floor.
Pick a flat, stable area with enough room around the bike.
You need space for your bike, trainer, fan, towel, water bottle, and phone or tablet if you use one.
Do not set up too close to furniture, glass, doors, or walls.
Leave enough side space so you can get on and off the bike safely. Indoor trainer falls often happen during mounting or dismounting, not during normal pedaling.
Indoor Bike Trainer Space Guide
| Setup Area | Best Choice | Why It Matters |
|---|---|---|
| Floor type | Flat and stable floor | Helps prevent rocking and slipping |
| Room space | Open area around bike | Makes mounting and dismounting safer |
| Airflow | Fan or open air path | Helps keep you cooler indoors |
| Noise control | Mat under trainer | Reduces vibration and protects floor |
| Device placement | Safe phone or tablet position | Prevents reaching while riding |
Step 2: Place a Trainer Mat Under the Bike
A trainer mat is not just for looks.
It protects your floor from sweat, tire marks, vibration, and small movement.
If you live in an apartment, a mat can also help reduce vibration through the floor.
Hard truth: skipping the mat is cheap thinking. Sweat and vibration can damage your setup over time.
A yoga mat may work for light use, but a real bike trainer mat is usually better for sweat, grip, and vibration control.
Step 3: Open and Position the Trainer
Place the trainer on the mat.
Open the trainer legs fully if it is foldable.
Make sure the trainer sits flat.
If one side is not touching the floor properly, stop and fix it before mounting the bike.
A trainer that sits unevenly can feel unstable during harder efforts.
Never ride a trainer with partially opened legs, loose bolts, or an uneven base. A weak setup can shift under load.
Step 4: Check Bike Compatibility
Before attaching the bike, check compatibility.
This matters more than people think.
Your bike may use a quick-release skewer, thru-axle, disc brake setup, different cassette, or wider rear spacing.
Some trainers need adapters.
Do not guess.
- Check your rear axle type.
- Check your wheel size.
- Check your bike frame spacing.
- Check cassette compatibility for direct-drive trainers.
- Check whether you need a thru-axle adapter.
- Check the trainer weight limit.
- Check tire type if using a wheel-on trainer.
Wheel-On vs Direct-Drive Setup
| Feature | Wheel-On Trainer | Direct-Drive Trainer |
|---|---|---|
| Rear wheel | Stays on the bike | Comes off the bike |
| Setup difficulty | Easier for beginners | More setup needed |
| Contact point | Tire touches roller | Chain connects to trainer cassette |
| Tire wear | Can wear rear tire | No rear tire wear |
| Noise | Usually louder | Usually quieter |
| Best for | Simple home workouts | Serious indoor training |
Step 5: Set Up a Wheel-On Trainer
If you use a wheel-on trainer, keep the rear wheel on your bike.
Attach the bike to the trainer using the rear axle area.
Make sure both sides are locked evenly.
Then adjust the roller until it touches the rear tire with firm contact.
Too loose can cause slipping. Too tight can wear your tire faster.
Secure the bike into the trainer clamps or axle cups.
Bring the roller against the tire with firm, even pressure.
Pedal lightly and check for tire slipping, wobble, or strange noise.
Step 6: Set Up a Direct-Drive Trainer
For a direct-drive trainer, remove the rear wheel.
Then mount your bike onto the trainer like you would mount it onto a rear wheel hub.
Your chain should run on the trainer cassette.
Make sure the cassette matches your bike drivetrain.
If the gears click, skip, or feel rough, the cassette or indexing may not be right.
Some direct-drive trainers come without a cassette. You may need to buy and install one that matches your bike.
Step 7: Use a Front Wheel Riser if Needed
A front wheel riser lifts the front wheel.
This helps level the bike when the rear wheel is mounted on the trainer.
Some riders skip it. But without it, the bike may tilt downward at the front.
That can make your riding position feel strange.
If your bike feels nose-down, use a riser block.
Step 8: Check Tire Pressure
This step matters for wheel-on trainers.
Low tire pressure can cause slipping and poor ride feel.
Too much roller pressure can create extra tire wear.
Use the tire pressure range printed on your tire sidewall as a guide.
If you use a wheel-on trainer often, consider a trainer tire. It can reduce tire wear and sometimes lower noise.
Step 9: Add a Fan
Indoor cycling gets hot fast.
Outside, air movement cools you down.
Inside, you do not get that natural airflow.
A fan is not optional if you plan to ride longer than a few minutes.
Place the fan in front of you or slightly to the side.
Do not place it where you need to lean dangerously to adjust it.
Step 10: Keep Water and a Towel Nearby
You will sweat more indoors.
Keep water within easy reach.
Use a towel to protect your bike and wipe sweat from your face.
Sweat can be rough on bike parts over time, especially bolts, headset areas, and bars.
Indoor Bike Trainer Setup Essentials
| Item | Purpose | Is It Necessary? |
|---|---|---|
| Trainer mat | Protects floor and reduces vibration | Highly recommended |
| Fan | Keeps you cooler during rides | Yes for longer workouts |
| Towel | Controls sweat | Yes |
| Water bottle | Helps hydration | Yes |
| Front wheel riser | Levels bike position | Useful for many wheel-on setups |
| Trainer tire | Reduces tire wear on wheel-on trainers | Useful for regular use |
Step 11: Do a Stability Test
Before riding hard, test the setup.
Hold the bike and gently move it side to side.
The bike should feel secure.
Then pedal slowly.
Listen for rubbing, slipping, clicking, or grinding.
If anything feels wrong, stop and fix it.
Do not stand and sprint on a trainer before checking stability. Start seated and easy first.
Step 12: Adjust Resistance
Resistance depends on your trainer type.
Some magnetic trainers have a manual remote. Some fluid trainers adjust based on speed. Smart trainers can change resistance through apps.
Start easy.
Do not begin with high resistance just to prove something. That is a beginner mistake.
| Trainer Type | How to Adjust Resistance | Beginner Advice |
|---|---|---|
| Magnetic trainer | Use resistance knob or handlebar remote | Start low and increase slowly |
| Fluid trainer | Pedal faster or shift gears | Use easy gears first |
| Smart trainer | Use app or workout mode | Start with basic mode |
| Direct-drive trainer | Use gears or app control | Check shifting before hard riding |
Best Setup by Rider Type
Use a wheel-on trainer, mat, fan, towel, and easy resistance setting.
Use a quiet trainer, thick mat, clean drivetrain, and avoid loud knobby tires.
Use a smart direct-drive trainer, app setup, fan, mat, and stable device holder.
Common Indoor Bike Trainer Setup Mistakes
Skipping the Compatibility Check
This is the worst mistake.
If your bike does not fit correctly, the setup is not safe.
Riding Without a Mat
A mat protects the floor and helps with vibration.
Skipping it can make your setup louder and messier.
Using Too Much Roller Pressure
On a wheel-on trainer, too much pressure can wear the tire fast.
Too little pressure can cause tire slipping.
Forgetting a Fan
Indoor cycling without airflow feels bad quickly.
You will overheat faster than expected.
Starting Too Hard
Test the setup before riding hard.
Do not sprint on a trainer you have not checked.
- Use a flat floor
- Check bike compatibility
- Use a trainer mat
- Tighten all mounts
- Test slowly first
- Forcing the bike into place
- Skipping adapters
- Riding with loose parts
- Using damaged gear
- Sprinting before testing
Indoor Bike Trainer Problem Solver
| Problem | Likely Cause | Simple Fix |
|---|---|---|
| Bike feels unstable | Trainer not fully locked | Check axle, legs, and clamps |
| Tire slips | Low tire pressure or loose roller | Inflate tire and adjust roller contact |
| Trainer is loud | Tire noise or floor vibration | Use a mat and trainer tire |
| Bike tilts forward | No front wheel riser | Use a riser block |
| Gears skip | Cassette or indexing mismatch | Check drivetrain setup |
| Floor gets wet | Sweat dripping during ride | Use towel and mat |
How to Set Up for Quiet Indoor Cycling
If noise matters, setup matters.
Use a trainer mat. Keep your chain clean. Avoid knobby tires. Make sure the trainer is stable.
A quiet trainer can still sound loud on a hard upstairs floor.
That is why vibration control matters.
- Use a thick trainer mat under the full setup.
- Keep your chain clean and lubricated.
- Use a smooth tire on wheel-on trainers.
- Place the trainer away from shared walls if possible.
- Do not ride late at night if vibration bothers neighbors.
- Check that nothing is rattling before your workout.
How to Set Up for Apps and Smart Training
If you use a smart trainer, connect it before the workout.
Pair the trainer with your phone, tablet, computer, or cycling app.
Check Bluetooth or ANT+ connection.
Make sure the device is charged.
Do not start your workout and then spend ten minutes fighting the app.
For cyclists who want more structured training ideas, USA Cycling shares useful cycling resources.
How to Set Up for Safety
Indoor riding feels controlled, but safety still matters.
Your bike is fixed in one place. That means your movement and force go into the trainer.
If something is loose, it can become a problem.
The League of American Bicyclists offers cycling education that can help riders build safer habits indoors and outdoors.
- Check trainer legs are fully open.
- Check bike is locked into the trainer.
- Check tire or cassette connection.
- Check floor is not slippery.
- Keep cords away from pedals.
- Keep children and pets away while riding.
- Stop if the bike shifts or feels loose.
Value Check: What Setup Gear Is Worth Buying?
Start with a trainer mat, towel, water bottle, and basic fan.
Add a trainer tire, front wheel riser, and better fan for comfort.
Add a smart trainer, tablet holder, heart rate monitor, and app-based setup.
You do not need everything on day one.
But do not skip the basics that protect your floor, bike, and comfort.
Quick Setup Pick Categories
These are not exact product names. They are useful setup types to consider.
A simple setup for beginners who want indoor cycling without a big budget.
A better choice for apartments, shared homes, and early morning rides.
Best for riders who want structured workouts, virtual rides, and training data.
ProKingsEdge Setup Note
Do not treat indoor bike trainer setup like furniture assembly. It holds your bike while you put force through it. Take setup seriously.
Notes Before Your First Ride
Your first indoor trainer ride should be a test ride. Keep it short, easy, and focused on checking stability, noise, comfort, and resistance.
Start with 10 to 15 minutes.
Check if the bike feels stable.
Check if the trainer moves.
Check if your floor vibrates too much.
Fix small problems before they become bigger problems.
Key Takeaways
To set up an indoor bike trainer correctly, focus on a stable floor, bike compatibility, secure mounting, floor protection, cooling, and a slow test ride before hard workouts.
- Choose a flat and open space.
- Use a trainer mat under the setup.
- Check bike compatibility before mounting.
- Use the right adapter if needed.
- Set roller tension correctly on wheel-on trainers.
- Use a fan for cooling.
- Test slowly before riding hard.
FAQ
How do I set up an indoor bike trainer?
Place the trainer on a flat floor with a mat, attach your bike securely, check compatibility, adjust resistance, add a fan, and test the setup slowly.
Do I need a mat under an indoor bike trainer?
Yes, a mat is highly useful. It protects the floor, catches sweat, improves grip, and helps reduce vibration.
Do I need a front wheel riser?
You may need one if your bike feels tilted forward. A riser helps level the bike and improve comfort.
Can I use any bike on an indoor trainer?
No. You must check wheel size, axle type, frame spacing, cassette needs, and trainer compatibility before setup.
How do I make an indoor bike trainer quieter?
Use a trainer mat, keep the drivetrain clean, use a trainer tire on wheel-on trainers, and make sure the setup is stable.
Do indoor bike trainers wear out tires?
Wheel-on trainers can wear rear tires faster. A trainer tire can help. Direct-drive trainers do not use the rear tire.
Should I use a fan with an indoor bike trainer?
Yes. Indoor cycling gets hot quickly because there is no natural outdoor airflow.
How long should my first indoor trainer ride be?
Keep your first ride short and easy. Ten to fifteen minutes is enough to test stability, noise, and comfort.
Conclusion
Setting up an indoor bike trainer is simple, but you cannot be careless.
Choose a stable space. Use a mat. Check bike compatibility. Mount the bike correctly. Add airflow. Test everything before riding hard.
For most beginners, the best setup is a stable wheel-on trainer, trainer mat, fan, towel, water bottle, and a short first test ride.
If you want a quieter and more serious setup, a direct-drive or smart trainer may be worth it.
A good indoor bike trainer setup should feel stable, safe, quiet enough, and comfortable enough to use often. If the bike feels loose, noisy, or awkward, fix the setup before starting a real workout.
